Einleitung

This replacement guide for the Nook HD+ requires the use of a soldering iron which should not be used by children, and if mishandled could lead to extreme injury.

  1. 2xVii6SGUEmMLHLP
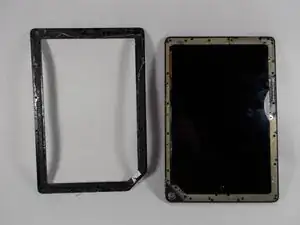
    • Pry the front frame off of the nook by wedging the plastic opening piece between the frame and the nook.

  2. qEosEOWCIHOLtdFY
    qEosEOWCIHOLtdFY
    XpTSPUbuIlUCTHba
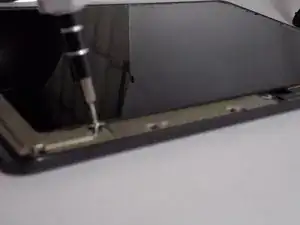
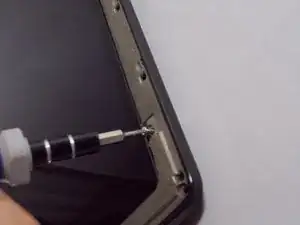
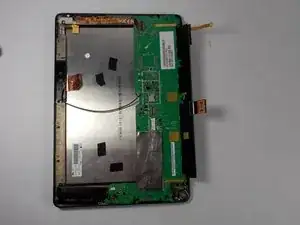
    • Remove every visible screw from the front of the nook using the T-4 attachment for the screwdriver in the iFixit screwdriver kit.

  3. 4YwaxODlEdore1fC
    4YwaxODlEdore1fC
    HrGZ3LyeFutmeLF1
    • Carefully remove the center chassis from the bottom frame.

  4. wMBGnaNEpVaQZZF2
    wMBGnaNEpVaQZZF2
    SqUD2MdZSEgaIuTq
    HCyGHGKRMj24xTHB
    • Detach the battery ribbon from the motherboard.

  5. g2pfnARwVHTVm1Ds
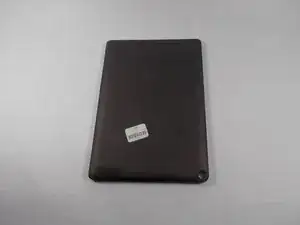
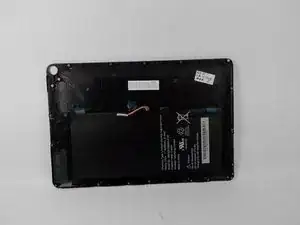
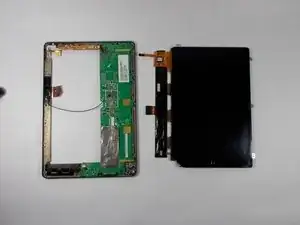
    • Flip the center chassis so that the screen is facing down, and the hole is positioned in the bottom right corner.

  6. GWLAeLXhMXQIv3Rc
    GWLAeLXhMXQIv3Rc
    w6pWFjeVX2fHMgtx
    • Remove the wire from the attachment on the motherboard (this wire un-clips).

  7. VWCliBfqtyfEjin6
    VWCliBfqtyfEjin6
    lnoLK31GZUxHP3oK
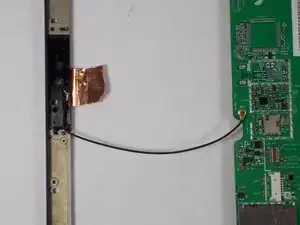
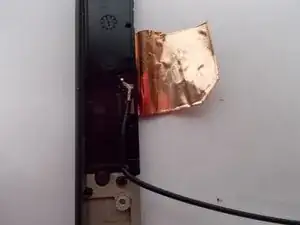
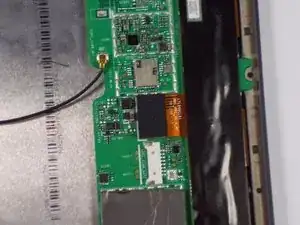
    • Apply soldering iron to the wire where it connects on the frame side. Remove wire when the solder is molten.

  8. TOTSHcX3lWSKBN3o
    TOTSHcX3lWSKBN3o
    HpatlAnLoRkUCRWX
    • Replace new antenna following all the steps in reverse.

Abschluss

To reassemble your device, follow these instructions in reverse order.

Elijah Gonsalves

Mitglied seit: 24/10/14

1028 Reputation

0 Kommentare