Einleitung
Werkzeuge
-
-
Be sure the device is powered off. Clean the device to prevent any dirt and dust from entering into the device.
-
Use the plastic opening tool to gently pry the plastic screen frame away from the screen. Run the plastic opening tool along the interior edge of the screen until the screen frame is completely separated from the glass.
-
The screen frame is held onto the Nook by a set of tab that run around the outside of the frame. There may also be a line of rubber cement around the Nook under the screen frame. If your Nook has this, you will have to dig deep to separate the frame from the Nook.
-
-
-
Use the plastic opening tool to gently unclip the wire from the pins by pulling the white connector up.
-
-
-
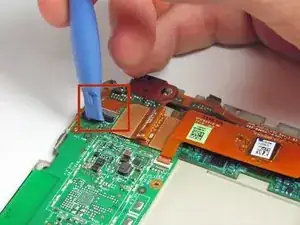
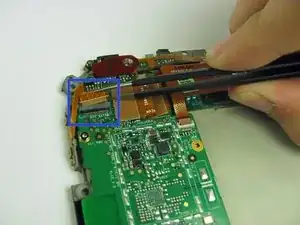
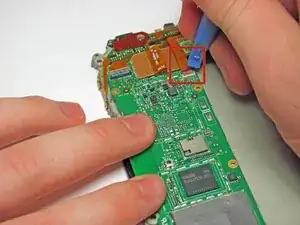
There are three ribbon cable connections that you must disconnect in order to remove the motherboard.
-
The first of these connections is small black - grey plastic connection housing.
-
Use the plastic opening tool to pull the black part of the ribbon cable housing up and away from the circuit board.
-
Carefully pull the ribbon cable out of the plastic connection housing.
-
-
-
The second of these connections is a small white - tan plastic connection housing.
-
Use the plastic opening tool to pull the tan part of the housing up and away from the circuit board.
-
Carefully pull the ribbon cable out of the plastic connection housing.
-
-
-
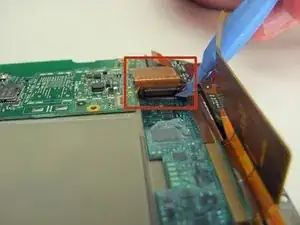
The final connection is a large orange ribbon cable that connects to an entirely separate circuit board.
-
Use the plastic opening tool to gently pry the cable away from the smaller circuit board as to disconnect the cable from the pins.
-
Carefully pull the ribbon cable out of the plastic connection housing.
-
-
-
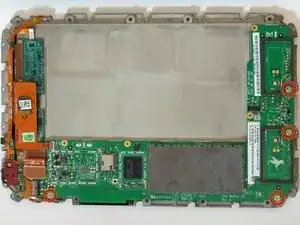
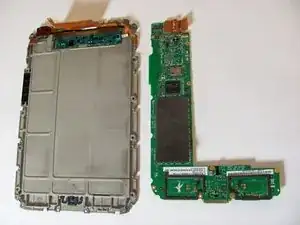
Use the T5 torx screwdriver to remove the four 2.5 millimeter screws that attach the motherboard to the back plate.
-
-
-
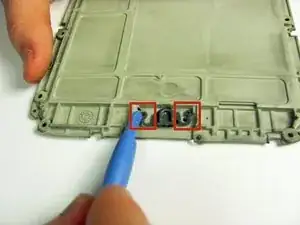
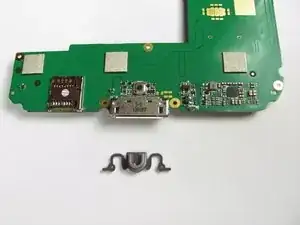
Using the plastic opening tool, lever the button arms towards the center of the nook so the button mechanism slides free.
-
Check moving parts for dust or other obstructions and contacts for insulators.
-
To reassemble your device, follow these instructions in reverse order.
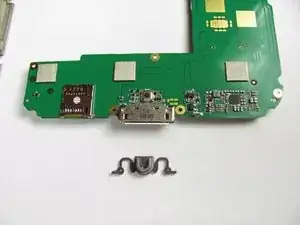
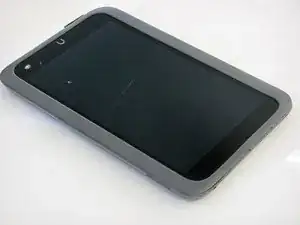
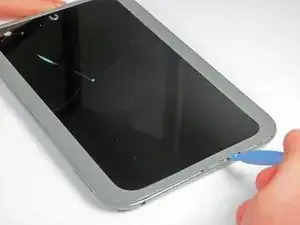
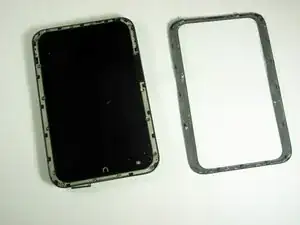
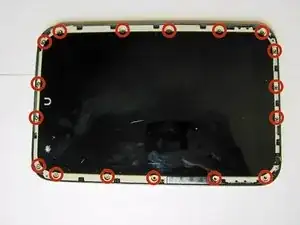
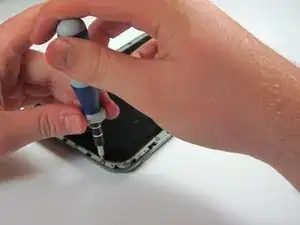
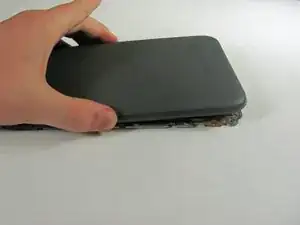
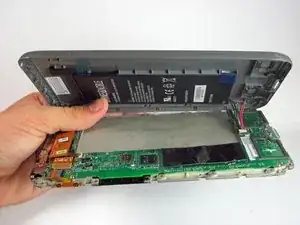
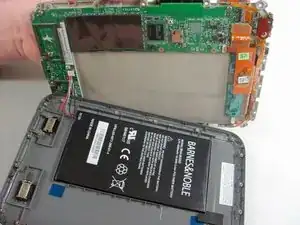
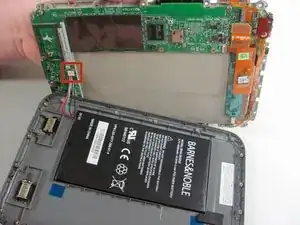
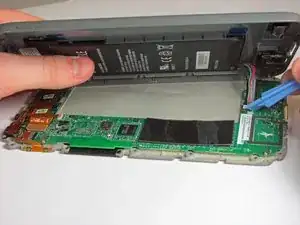
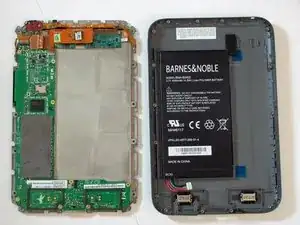
This is by far the hardest step, if your Nook is like mine. There was a line of rubber cement around the Nook under the cover. If you have trouble removing the cover, do not be afraid to dig deep with your plastic prying tool. BTW, do not try this without the plastic prying tool!
David Gauntt -