Einleitung

  1. EXxHyigiNay1KbNI
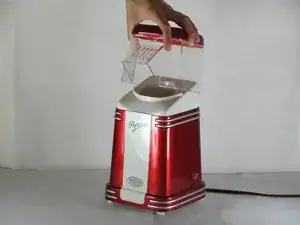
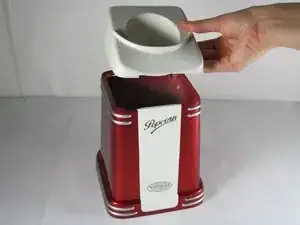
    • Unplug the popper.

    • Remove the plastic lid by lifting the lid up.

  2. Sk2mLMGtX3BFyIag
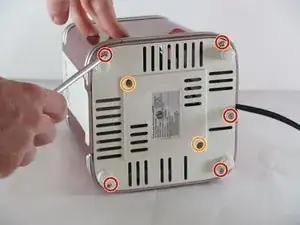
    • Lay the popper on its side.

    • Remove the five 12mm Philips #2 screws around the perimeter of the base with the Phillips #2 phillips head screwdriver.

    • Remove the two 15mm Philips #2 screws in the center of the base with the Phillips #2 phillips head screwdriver.

    • Save the screws you remove from the base in a safe place. They will be needed to reattach the housing to the base.

  3. OOr3nmxYUA6ILjRV
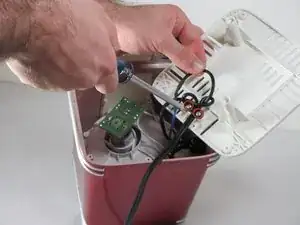
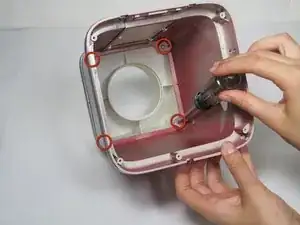
    • Flip the base to view the interior surface of the base.

    • Unscrew the two screws (10 mm Philips #2 screws) from the base.

    • Remove the base and set it aside.

  4. XwiQIcGVxEOQcewd
    XwiQIcGVxEOQcewd
    nCZSOIRQBoRLfVBT
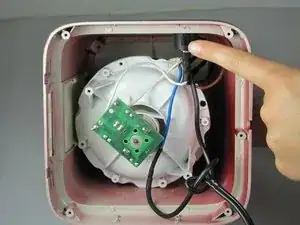
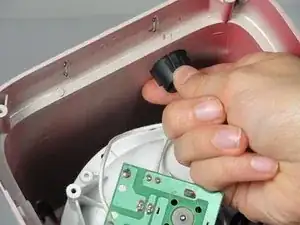
    • Locate the power switch connected to the side of the housing.

    • Carefully pinch the sides of the power switch.

    • Push the power button up and out of the housing.

  5. wIdmPPc26XSJBNpi
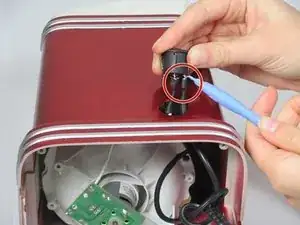
    • Now that the power switch is removed from the housing, you must remove the wires connected to the power switch.

    • Use the plastic opening tool to gently pry the wires loose from the power switch.

    • The wires should easily pop out from the power switch.

  6. AsNWdq21gBqTFJOU
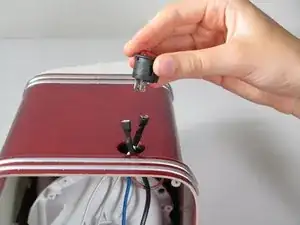
    • Remove the power switch from the device.

    • You can now replace the power switch if necessary.

  7. dekQ21STvvDStVSo
    dekQ21STvvDStVSo
    EoauvG4UqK6woNj3
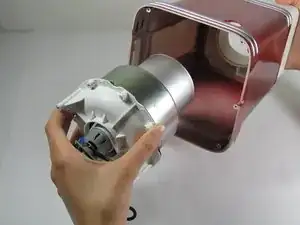
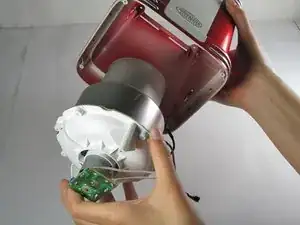
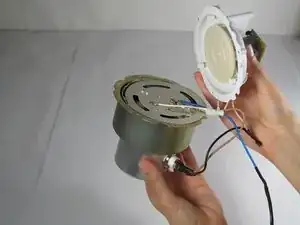
    • Now that the power switch is disconnected from the popper, you will need to remove the white top.

    • Gently remove the heating component from the popper.

    • Unscrew the four screws (11mm Philips #2 screws) that connect the white top to the housing.

  8. PV1Kn1gIVoOLEJV4
    • Remove the white top from the housing.

    • Save the screws from previous step. You will need them to connect the new housing to the white top.

  9. Sw4fsNRaPKbUIEkK
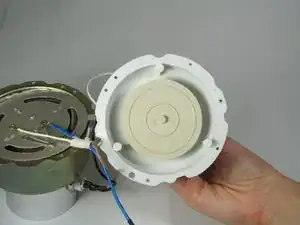
    • Now that the white top is disconnected from the housing, remove the heating component from inside the device.

  10. SJNkpKGNSqaF3KKt
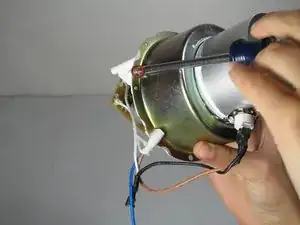
    • Unscrew the three screws (10 mm Philips #2 screws) that hold the heating component together.

  11. FAqqOHcRoLM11S3V
    • Make sure to keep the screws. You will need them to put the heating component back together.

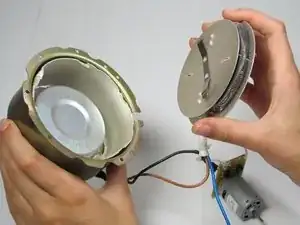
    • Pull the heating component apart.

  12. qHtnJjSNedgBbYiQ
    qHtnJjSNedgBbYiQ
    Nc3ixI1UYoJS5QE6
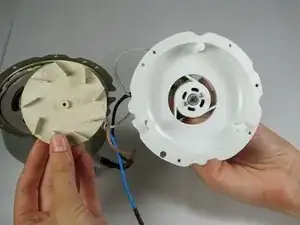
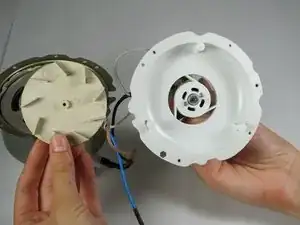
    • Locate the fan.

    • Pull the fan off the motor firmly but gently.

    • When you pull the fan off the motor, be careful. Do not pull to hard or you will break the motor.

  13. balYLTJfCR3LilLI
    • You can now replace the fan.

    • If there is debris stuck in the fan, you can easily clean it out from the fan in this step.

    The fan sounded funny, so I have taken my popcorn popper apart, and removed the fan. The center hole in the plastic fan where it attaches to the motor shaft is cracked and the fan needs to be replaced. Do you have any idea where I can get a new one? This seems to be a special part made of a high heat resistant plastic.

    Ray -

  14. cNQFcHwVS1H1FWFT
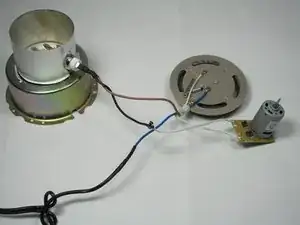
    • Take the heating coil out of complete heating component.

  15. NGacaTKTJ1SC6cg4
    • Visually check the wires for frayed wires.

    • Make sure that the wires are completely connected to a port.

  16. rZSMHjx6RXYsOKGw
    • If you see a wire that is not connected, solder it back into place.

    • These websites might be helpful in soldering: Wikipedia Theoatc

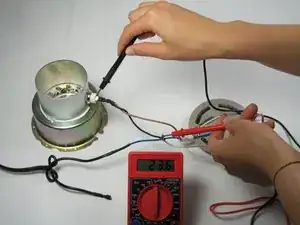
    • Also, use a digital multi-meter to check to make sure there is a current through the wire. If the meter does not read, you might need to replace all the wires.

    • This website may be helpful in with wiring: How Stuff Works

  17. yDb3lF3yIaVyWQmC
    • This website will help with reconnecting wires:eHow

Abschluss

To reassemble your device, follow these instructions in reverse order.
Dana Clarke

Mitglied seit: 26/09/12

50 Reputation

0 Kommentare