Einleitung
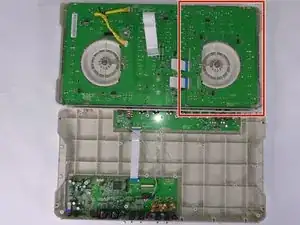
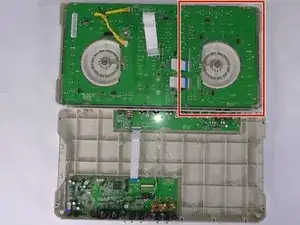
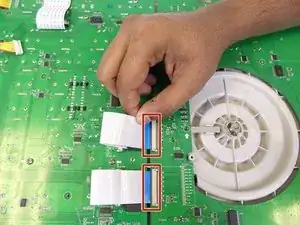
If the majority of your buttons are not working on one side, it is likely that the PCB circuit board under it is faulty. There are two PCB circuit boards underneath the top panel, each responsible for the button functionality directly above it. This guide will instruct the reader on how to replace the top right PCB circuit board, but the process is identical for both sides.
Werkzeuge
Ersatzteile
-
-
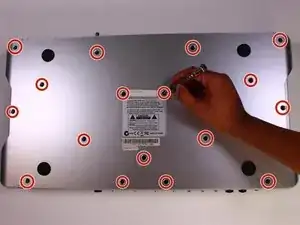
Turn the Numark N4 over so that the bottom panel is facing upwards.
-
Loosen and remove the 17 12mm screws from the bottom panel using a Phillips #2 screwdriver.
-
-
-
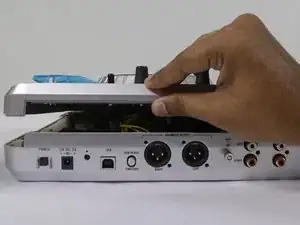
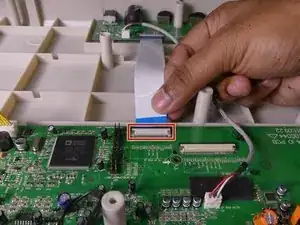
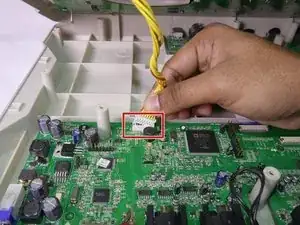
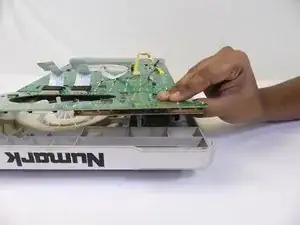
Using your fingers, gently pull apart the two panels of the device until you feel resistance from the cables.
-
-
-
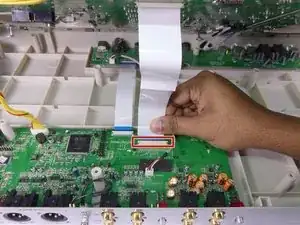
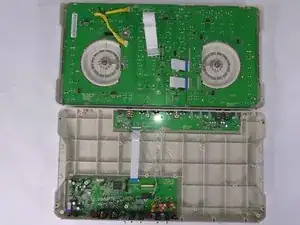
Open the two panels completely, gently placing each side on your working area to avoid damage to the buttons on the outside face.
-
-
-
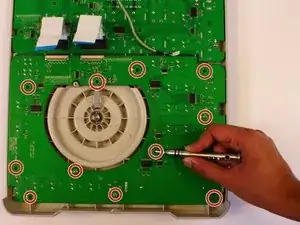
Loosen and remove the 11 12mm screws from the circuit board using a Phillips #2 screwdriver.
-
To reassemble your device, follow these instructions in reverse order.
