Einleitung
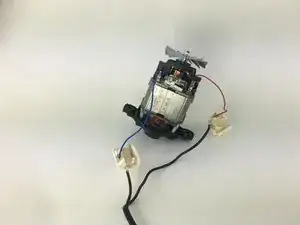
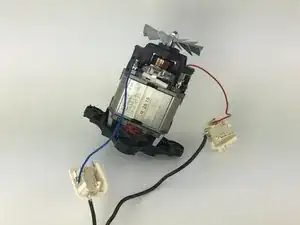
Using this guide, users will be able to replace the motor of their blender.
Werkzeuge
-
-
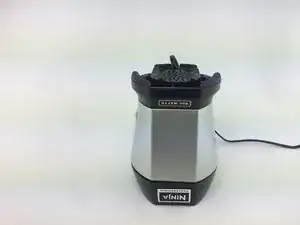
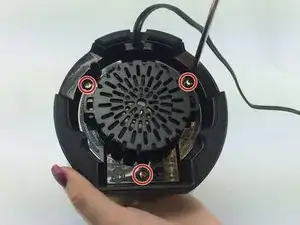
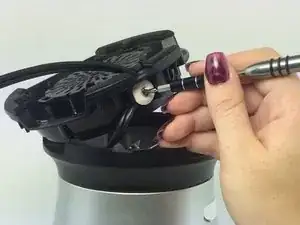
Turn the blender over and unscrew the three 14 mm screws holding the slotted base in place. These are Torx Security bits (TR9) on some units.
-
-
-
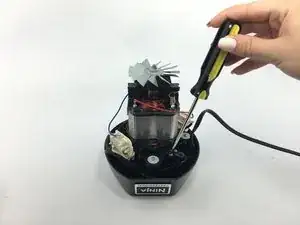
Using a the standard Phillips head screwdriver bit, remove the slotted black plastic covering and then unscrew the one 11mm screw holding the power cord in place.
-
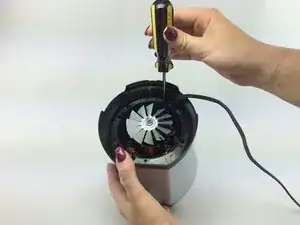
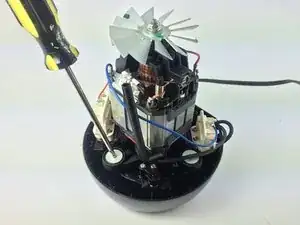
Unscrew the four 14 mm screws that are in the deep slots. This will release the motor from the base.
-
-
-
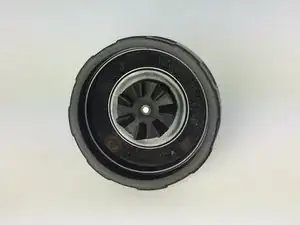
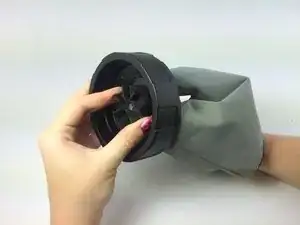
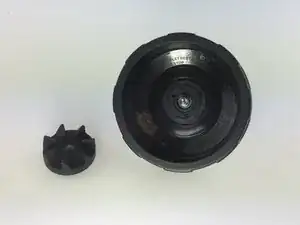
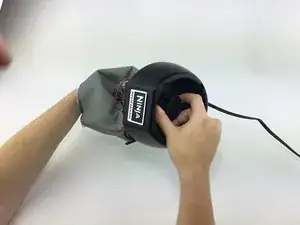
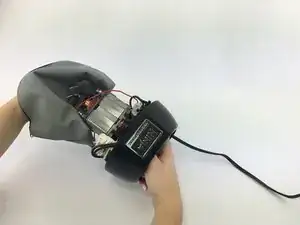
Using a towel, hold the silver fan still. Twist the small black rubber wheel that is attached to the top of the blender base to the right. This will remove the wheel for replacement.
-
-
-
Use the standard Phillips head screw bit to unscrew the screws in the black plastic with the silver circular discs.
-
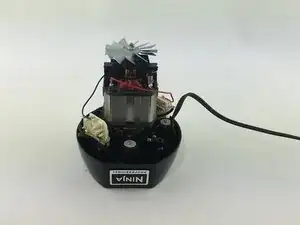
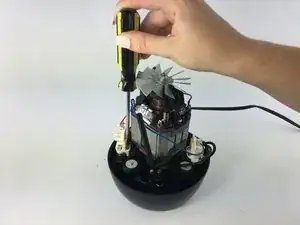
Using the T9 screw bit, unscrew the four sets of two 11 mm screws located on each of the four sides of the motor.
-
To reassemble your device, follow these instructions in reverse order.
3 Kommentare
The only problem with my Nutri Ninja Pro BlenderModel BL470UK 30220-240V-50hZ 900W is the carbon brush tension spring is snapped on its bend point your suggestion to replace the motor is ludicrous and so wast full this is bad advice
This tutorial is labeled “motor replacement”, not “carbon brush replacement”. It’s obviously intended to show how to remove the motor assembly as a whole, & doesn’t go into details on specific components of the assembly. I notice all of the repair pages for this model seem to be by a single person. Do you really expect one person to think of everything that could go wrong with a blender & make a separate guide for every single possible breakage? Repair tutorials here generally presume that the reader has common sense & basic intelligence & will be able to use the guide in a general manner, even if their specific problem is not shown.
The fact that you can look at your motor assembly & diagnose the problem as a broken spring suggests you also have enough knowledge to repair that problem without a specific guide. Other people may have an irreparable motor & may need to replace the whole assembly.
I’m just glad there’s guides showing the inside of the blender; I can do my own diagnosing once I get it opened up.
Nerfbomb -
I've got a BL480EU, but it seems to be similar in construction. I guess the only real difference is a 230V motor and electronics. I couldn't remove the motor because I wasn't able to perform step 6. You can definitely not unscrew to the rubber connector with 2 fingers ;)
I used a pair of pliers (vice grips might work as well) but it was so tight I ended up rotating the propeller in the back, I was holding on to. Can anyone confirm that the rubber dog/driver/connector is actually screwed in in the BL480 and not pressed on? Would love take mine apart. Any hints are appreciated!
Hannes -
