Einleitung
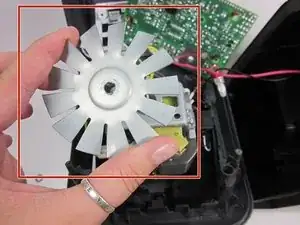
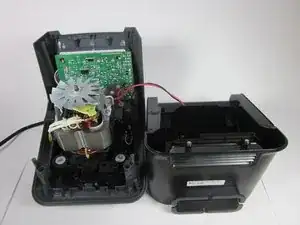
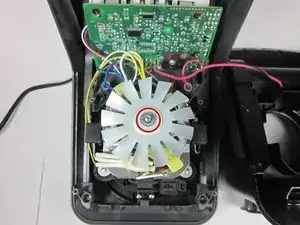
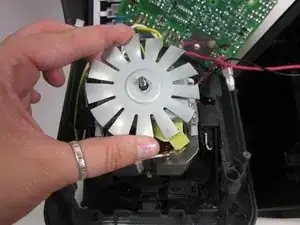
The fan can become warped or broken which can lead to overheating and noise. This is how to replace this main fan.
Werkzeuge
-
-
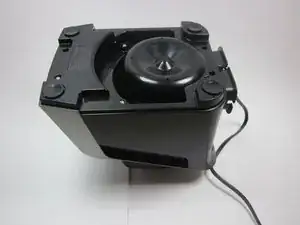
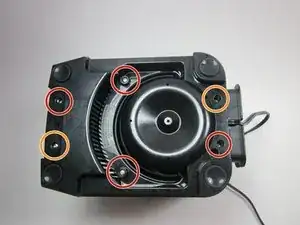
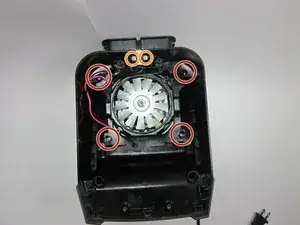
Remove these six screws (0.5 inch 5 gauge phillip's head)
-
Note: 2 of the screws will be star shaped circled in blue
-
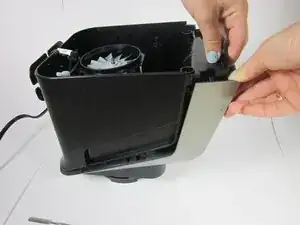
Lift the bottom panel off
-
-
-
Unscrew and remove these six phillip's screws. (0.5 inch 5 gauge phillips)
-
Note: The screws circled in blue are 1/8" longer and have a slightly different top than the rest. These are the only two screws that are different than the rest.
-
-
-
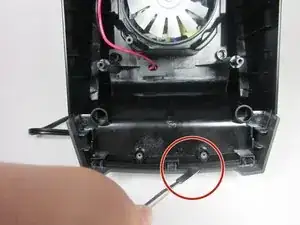
Insert pry tool in between the two plastic pieces to separate them
-
Move pry tool back and forth from right to left until the two pieces begin to separate as shown.
-
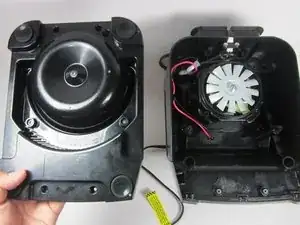
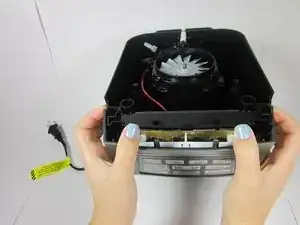
Pry the two pieces apart with your hands as shown in the picture to finish separating the pieces.
-
-
-
This completes the disassembly of the main body of the blender so you can continue to perform replacements on the internal parts.
-
-
-
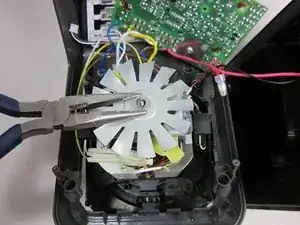
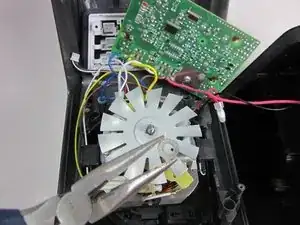
Remove this hex nut with the adjustable wrench.
-
Be sure to hold the fan still GENTLY while unscrewing the nut so the bolt does not spin with the nut.
-
To reassemble your device, follow these instructions in reverse order along with the body disassembly guide.
Ein Kommentar
Buenas noches.
¿Cómo puedo comprar una tarjeta de esta licuadora?
