Einleitung
Werkzeuge
-
-
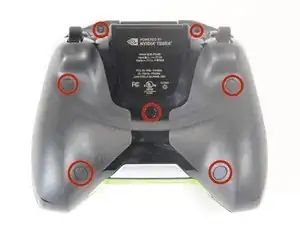
Remove the seven 6.4mm T5 Torx screws from the back panel.
-
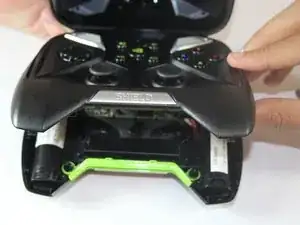
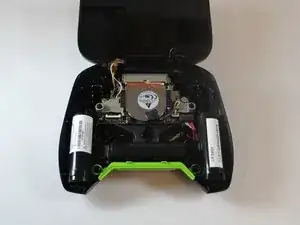
Use the spudger to separate the front and back panels.
-
-
-
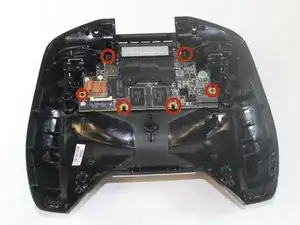
Remove the six 6.5mm T5 Torx screws.
-
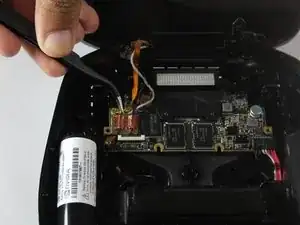
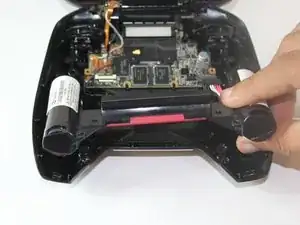
Disconnect the power wires.
-
Peel back the copper tape and disconnect the black and white wires.
-
-
-
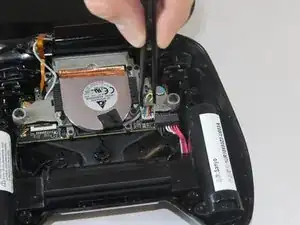
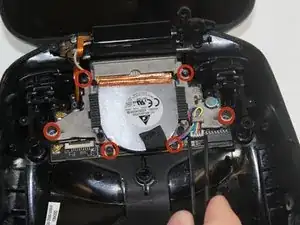
Remove the two 7.3mm and four 8.4mm T5 Torx screws and disconnect the power cable.
-
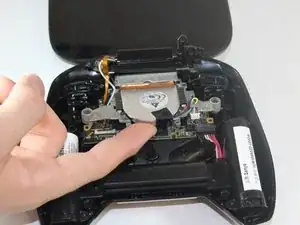
Lift the fan free after the screws and cable are removed.
-
-
-
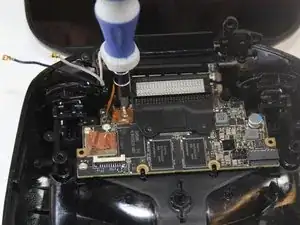
Using your T5 Torx screwdriver, remove six screws from the motherboard—two 7.3 mm screws and four 8.4 mm screws.
-
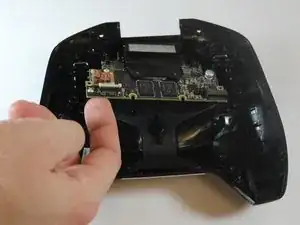
Simply pull gently on the edges of the board, wiggling it if necessary so as not to damage the ports at the top of the board.
-
-
-
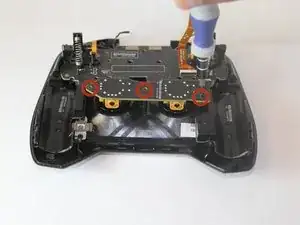
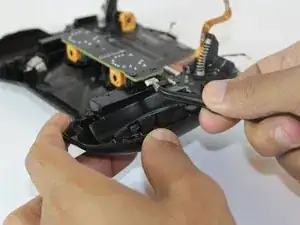
Unscrew the 3 6.5mm screws from the Joystick board
-
Unplug the ribbon attached on the right hand side of the board
-
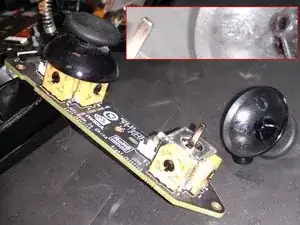
Once removed, the Joystick board will lift from the panel, allowing replacement
-
The thumb-Sticks can be pulled off of the metal pegs for replacement.
-
To reassemble your device, follow these instructions in reverse order.
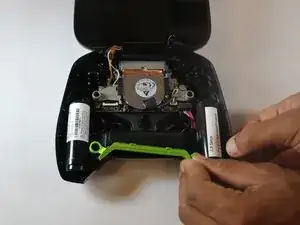
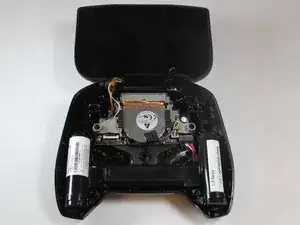
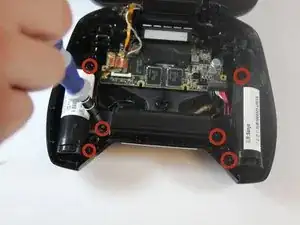
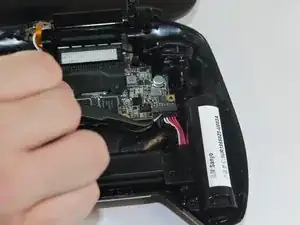
For the rubber screw covers, it is easiest to push at them at the top, otherwise you have the possibility of damaging the surrounding rubber.
Any hints at getting the center plastic screw cover out?
Miles Raymond -