Einleitung
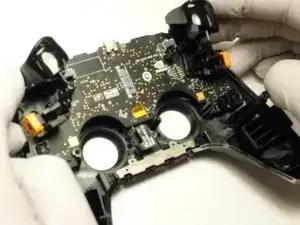
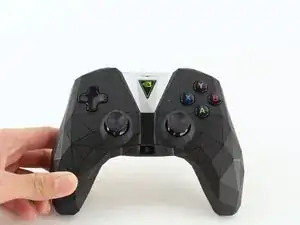
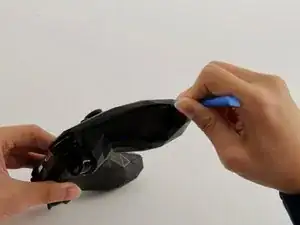
Every gamer knows how important triggers are for our gaming experience. So, if your Nvidia Shield Pro Android TV Controller triggers are sticking or aren't functioning properly, then you need to replace your controllers’ triggers. Luckily, you're in the right place, this is an easy to follow guide and there are no special skills required. The goal of this guide is for you to be able to properly replace the controllers’ triggers, so you can go back to enjoying your games. Although, please be cautious when disconnecting the wires and gently apply pressure to thumbsticks when removing so nothing gets damaged. Lastly, Two different screwdrivers will be used, so if you're unfamiliar with them, then please refer to this link for Screwdriver Best Practices.
Verwendung von Schraubendrehern[br
|new_window=true]
Werkzeuge
-
-
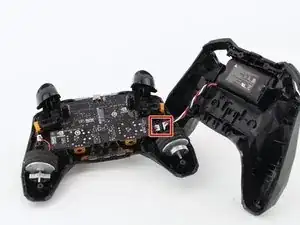
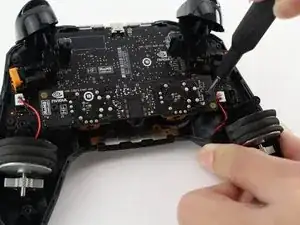
Gently pull the wire connector directly out of its socket, separating the two halves of the controller.
-
-
-
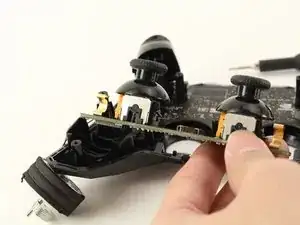
Remove the guard piece that secures the thumb-sticks to the controller.
-
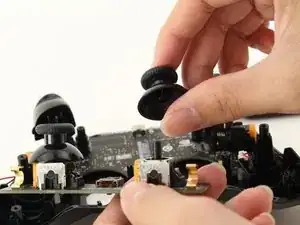
Apply vertical pressure with two fingers to carefully pop off the thumb-stick(s) in need of repair.
-
-
-
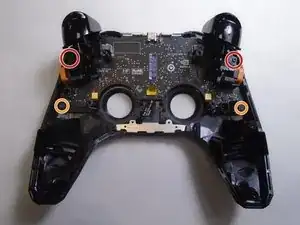
Use a Torx T6 screwdriver to remove the two 7 mm screws from the triggers (one on each trigger).
-
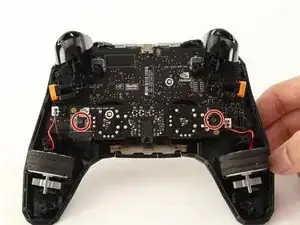
Use a Torx T5 screwdriver to remove the two 5 mm screws securing the motherboard.
-
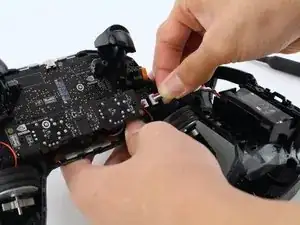
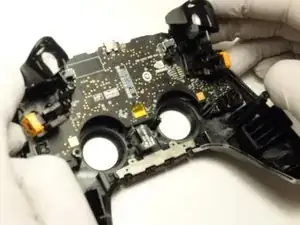
Gently lift the motherboard from the controller housing.
-
-
-
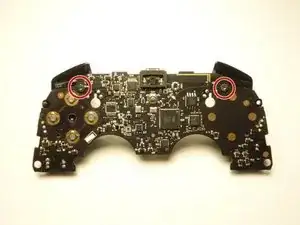
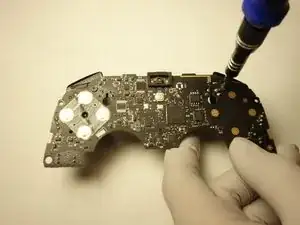
Use a Torx T5 screwdriver to remove the two 5 mm screws from the motherboard.
-
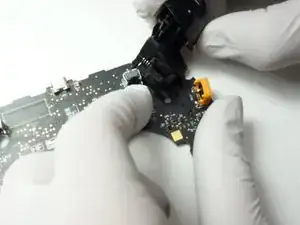
Carefully pull the trigger directly out of its socket.
-
To reassemble your device, follow these instructions in reverse order.
