Einleitung
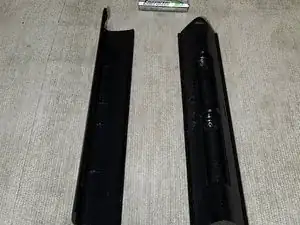
As a result of a sugary drink spilling on my drink, most of my buttons had gone crunchy. Needing to fix that, I searched the web for a dissabemly guide, but came up empty. Since I was ready to replace the remote with a new one, I decided to give taking it apart a try.
Disclaimer My remote is 100% functional after teardown and reassembly, but I may have messed up some internal latch since the front plate is not as flush along the bottom seams as it was out of box.
Werkzeuge
-
-
Remove the battery cover and x2 AAA batteries.
-
-
-
-
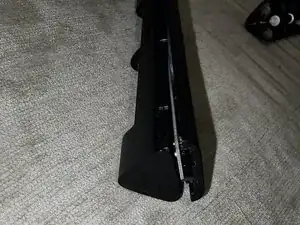
Use a plastic opening tool to separate the body of the remote from the front. Start at the bottom between where the faceplate and body meet, carefully moving upwards to the top of the remote.
-
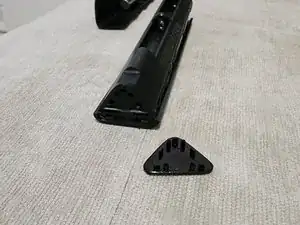
At the top of the remote, some resistance will be met when trying to complete the separation. This is because that glossy triangle piece of plastic adjoins them. Carefully pop it off (there are no electronics there).
-
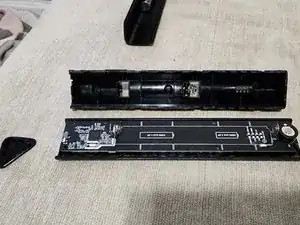
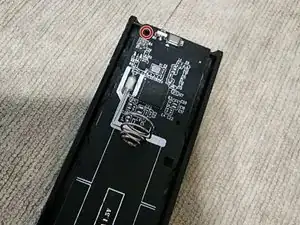
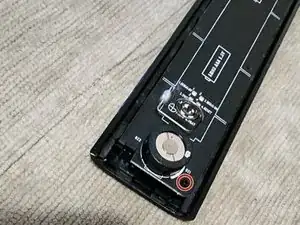
Slide the frame vertically. from the front If you see the middle battery spring still attached to the back cover, don't panic like I did and think you ripped it off the board - it is built into the cover.
-
-
-
Grab along the edges of the PCB and lift the PCB up off the plastic standoffs.
-
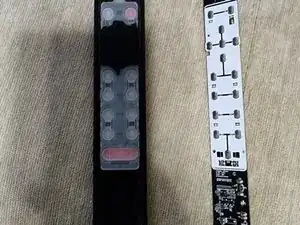
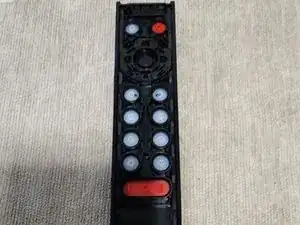
Now you'll have the PCB separated from the front plate + buttons.
-
Reassembly Tip The springs on the PCB slot into corresponding spaces on the inside of the battery cover.
-
-
-
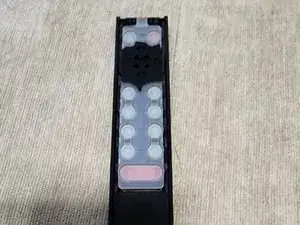
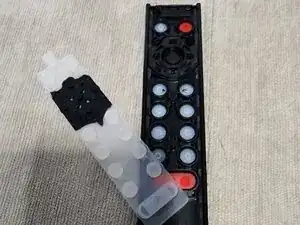
The plastic for the buttons to interact with the PCB is one piece and can be removed by hand.
-
-
-
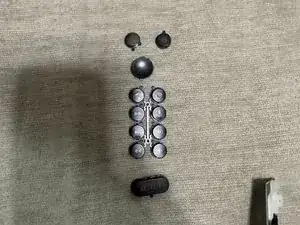
Remove button covers.
-
Reassembly Tip The inside of the front cover has grooves to ensure the correctly placed buttons are in the correct orientation.
-
To reassemble your device, follow these instructions in reverse order.
