Einleitung

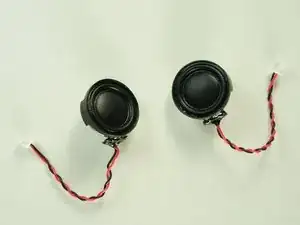
Fix fuzzy, muffled, or a complete absence of sound with a new set of speakers.

  1. 5JZujLyxqZ5YkfZv
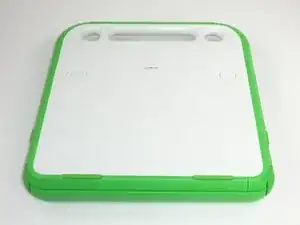
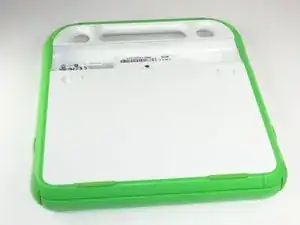
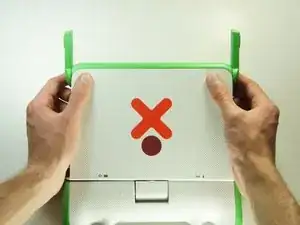
    • Place the laptop upside down with the handle away from you.

  2. JqKAjkWlGoNU32XI
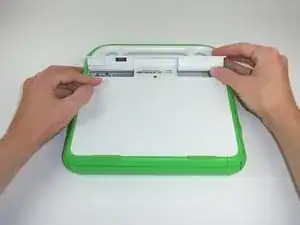
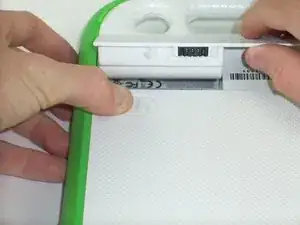
    • Slide the tabs out, towards the green edges, to show the open lock symbol.

    • The right tab will stay in place, but the left tab must be held in position while you remove the battery.

  3. bsBtmQOI1WCAMVhB
    bsBtmQOI1WCAMVhB
    1IMB3qOYwcSJJqFD
    fRqOjNwNPttV2o1B
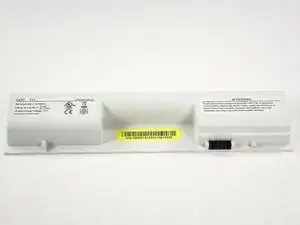
    • Lift the middle of the battery to remove it.

  4. PG1OSFAoP1wxYxMk
    PG1OSFAoP1wxYxMk
    XNnQxNujR6rbyym6
    iumOWCRCgtO3c5cm
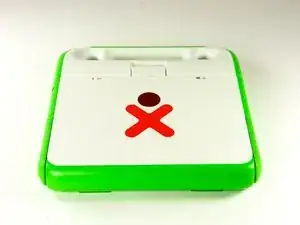
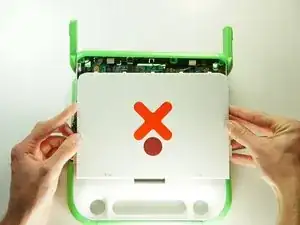
    • Turn the laptop so it is resting on its bottom.

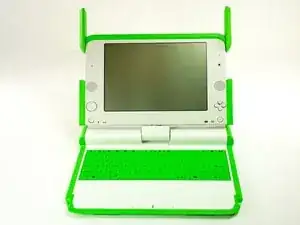
    • Open the laptop by rotating the green wings on the side up, then lifting the top half of the laptop.

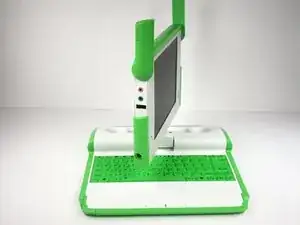
    • Rotate the top half of the laptop about 90 degrees.

  5. 2YiXDZwTUVSMUYPQ
    2YiXDZwTUVSMUYPQ
    3VYImrlbWoNsUCLL
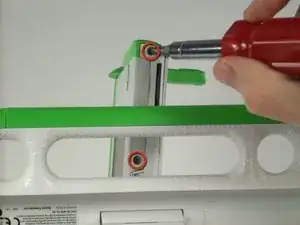
    • Turn the laptop upside down, so you can see the screws on the bottom of the top half.

    • Remove the two 4mm screws with a Phillips #1 screwdriver.

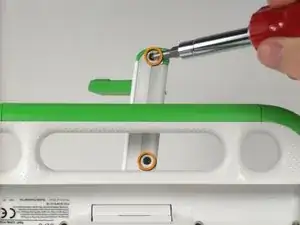
    • Rotate the top half 180 degrees.

    • Remove the two 4mm screws with a Phillips #1 screwdriver.

  6. ujq2iJGuCxBgPoQu
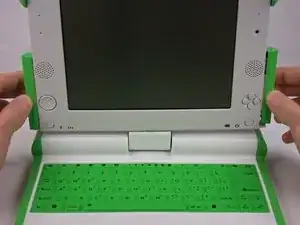
    • Rotate the top of the laptop 90 degrees, so that it is facing you again.

    • Slide the green pieces off the device. They should come off easily.

  7. fOVio1MNgtpxiGMG
    fOVio1MNgtpxiGMG
    yTvYb2EkXsUuBy34
    qpSHpwFFiVZmFMVQ
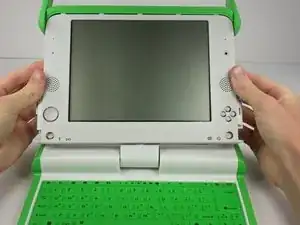
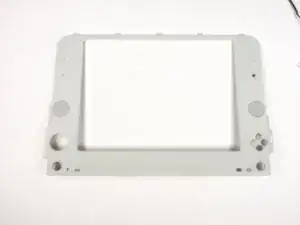
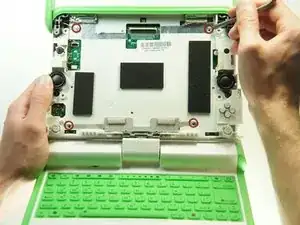
    • Pull down on the white screen cover. It does not require much force.

    • Remove the screen cover.

    • The game pad on the left sometimes falls during this step.

  8. BbuHw3D5gm1qkbiV
    BbuHw3D5gm1qkbiV
    qRDhoQXMxDjkj3SS
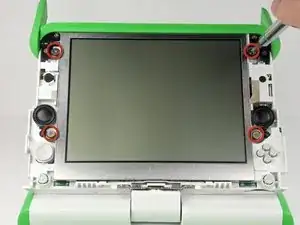
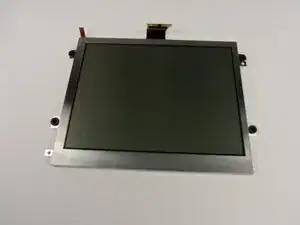
    • Unscrew the four 7.62mm Phillips #1 screws on either side of the screen.

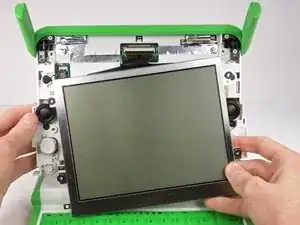
    • The screen is still connected by ribbon cables. You can damage the cables if you remove the screen before disconnecting the cables.

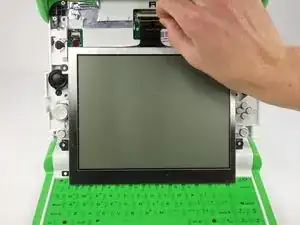
    • Move the screen down a little to expose the ribbon cables.

  9. Ww4Ko2yruZILCHYD
    Ww4Ko2yruZILCHYD
    2j6lWrbH3gTHVxSU
    OKVZ55kY6nuH3KyP
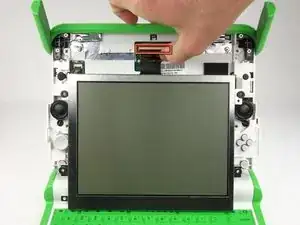
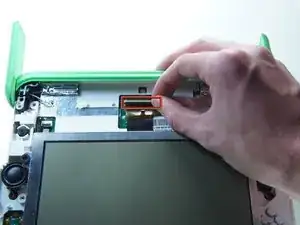
    • Flip up the tab right under the middle top of the screen.

    • Pull the black ribbon cable out of the socket.

  10. K4ova12yB1qD56Pi
    K4ova12yB1qD56Pi
    IRDZ4rUX2roaBLGX
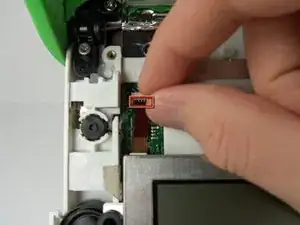
    • Flip up the smaller tab under the left side of the screen.

    • Remove the small cable to separate the screen from the rest of the laptop.

    • Gently remove the screen.

  11. qjeoaFgSL2TGF6Yj
    • Remove the four 4mm Phillips #1 screws that hold the top cover to the case.

  12. Wu5JXPKYIG2ZcJom
    Wu5JXPKYIG2ZcJom
    VBM6XGMRIKnkoXgO
    • Close the lid and rotate the device 180°.

    • Press firmly on the top two corners of the outside cover. Then slide it down, away from the antennas.

  13. GgwGBxwTv4saoDJb
    GgwGBxwTv4saoDJb
    FV3isMEJ6kXIaTYM
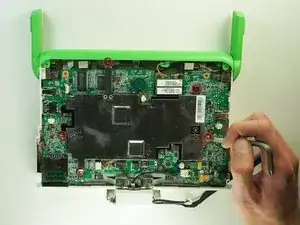
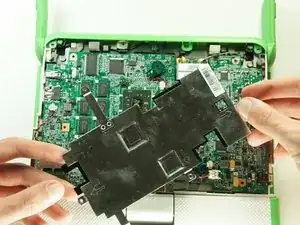
    • Remove the five 4mm Phillips #1 screws securing the EMI shield to the motherboard.

    • Gently lift up and remove the EMI shield.

  14. yX3pqWFMHqyau4JD
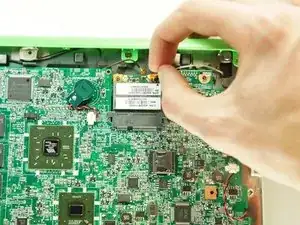
    • Gently remove the two antenna cables by lightly pulling the cable connectors up.

  15. LJAen1STLUUdJEUO
    LJAen1STLUUdJEUO
    WYjxJkBCtGeURMvM
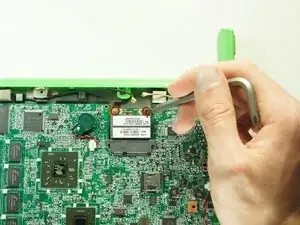
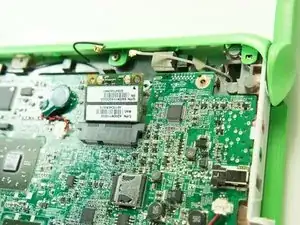
    • Remove the two 5mm Phillips #1 screws holding the wireless card to the motherboard.

    • The wireless card will pop up at an angle.

  16. CVKfxQCHEDi5xuXk
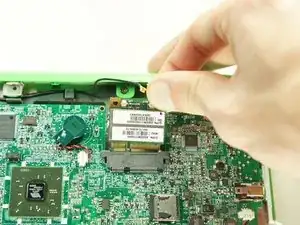
    • Remove the wireless card by gently lifting it out of the socket.

  17. JYf2ApVm3VDmDHmU
    JYf2ApVm3VDmDHmU
    KxQTY4NwmZ4Ic4sQ
    sdxJkbKsTyGULVLt
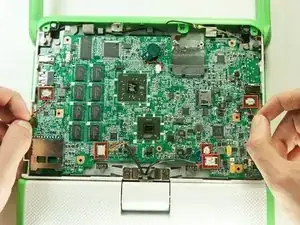
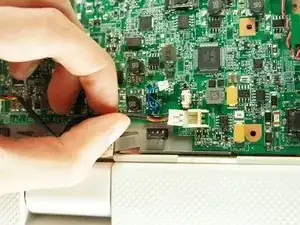
    • Disconnect the five cables that connect the motherboard to the case by pulling them straight out of their sockets.

    • The motherboard is still attached to the case by a microphone cable. Do not remove the motherboard or you will damage the cable.

  18. 5gJ3CvTjQi3AvE1X
    • Rotate the device 180° and open the lid.

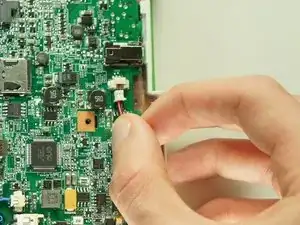
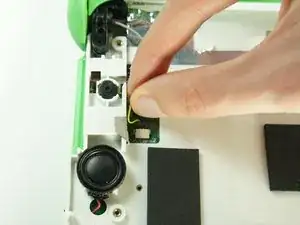
    • Disconnect the microphone cable by pulling its connector straight out of its socket on the motherboard.

  19. FkmkMms3imXtAUJy
    FkmkMms3imXtAUJy
    4fWRvugP45VuX2xW
    MVSl6qvdHMTJgPX6
    • Close the lid and rotate the device 180°.

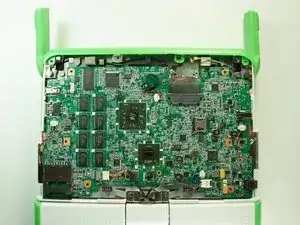
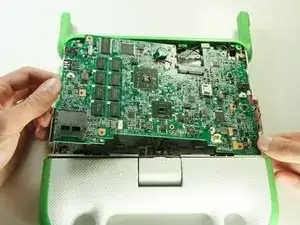
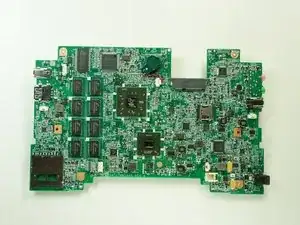
    • Lift the left edge of the motherboard and remove it from the case.

    • Make sure that the microphone and headphone jack don't catch on the case as you are removing the motherboard.

  20. qlStRStSinKkS6oV
    qlStRStSinKkS6oV
    JyubWUYWDSWt3hIu
    vOHZDo5fVwkT5RU6
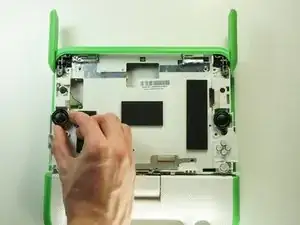
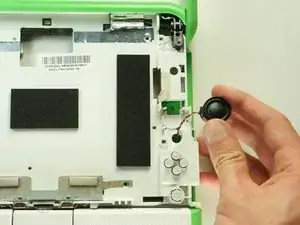
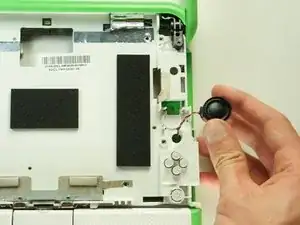
    • Open the lid, rotate it 180° degrees, and close it again so the speakers are facing up.

    • Pull the speakers out and feed the cables through their holes in the case.

Abschluss

To reassemble your device, follow these instructions in reverse order.
Wei Xia

Mitglied seit: 26/01/13

518 Reputation

0 Kommentare