Einleitung

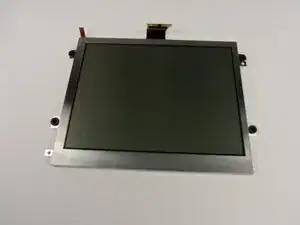
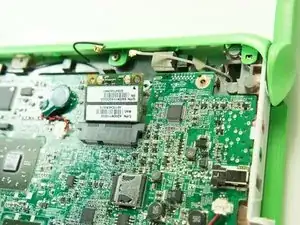
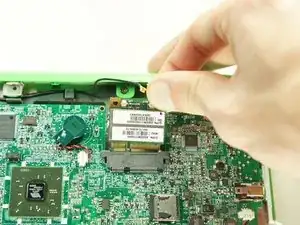
This guide will show you how to access the wireless card in the OLPC X0 1.5. The wireless card allows access to the internet and interaction with other OLPCs.

  1. 5JZujLyxqZ5YkfZv
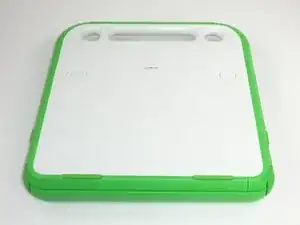
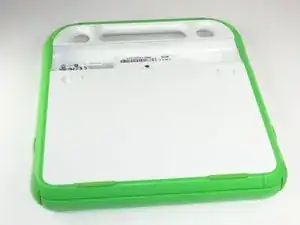
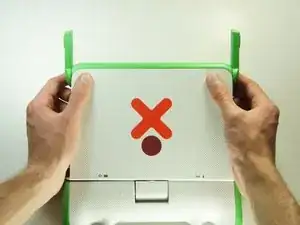
    • Place the laptop upside down with the handle away from you.

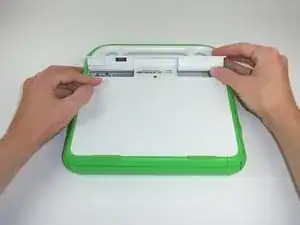
  2. JqKAjkWlGoNU32XI
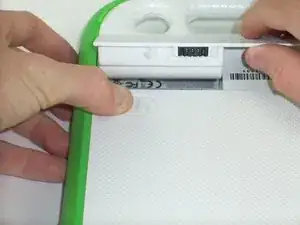
    • Slide the tabs out, towards the green edges, to show the open lock symbol.

    • The right tab will stay in place, but the left tab must be held in position while you remove the battery.

  3. bsBtmQOI1WCAMVhB
    bsBtmQOI1WCAMVhB
    1IMB3qOYwcSJJqFD
    fRqOjNwNPttV2o1B
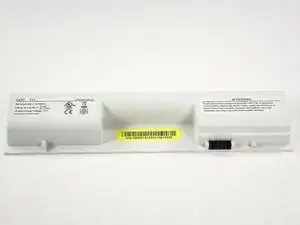
    • Lift the middle of the battery to remove it.

  4. PG1OSFAoP1wxYxMk
    PG1OSFAoP1wxYxMk
    XNnQxNujR6rbyym6
    iumOWCRCgtO3c5cm
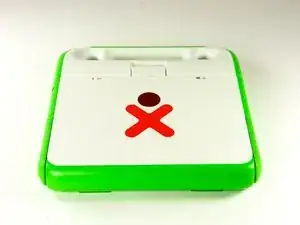
    • Turn the laptop so it is resting on its bottom.

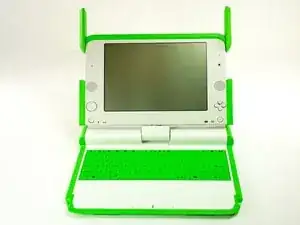
    • Open the laptop by rotating the green wings on the side up, then lifting the top half of the laptop.

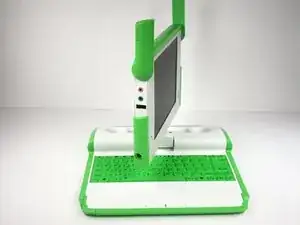
    • Rotate the top half of the laptop about 90 degrees.

  5. 2YiXDZwTUVSMUYPQ
    2YiXDZwTUVSMUYPQ
    3VYImrlbWoNsUCLL
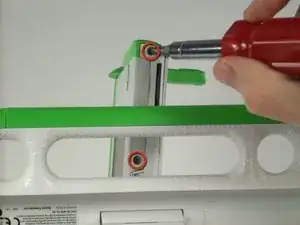
    • Turn the laptop upside down, so you can see the screws on the bottom of the top half.

    • Remove the two 4mm screws with a Phillips #1 screwdriver.

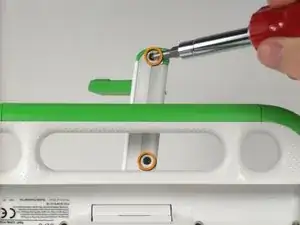
    • Rotate the top half 180 degrees.

    • Remove the two 4mm screws with a Phillips #1 screwdriver.

  6. ujq2iJGuCxBgPoQu
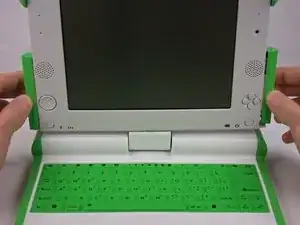
    • Rotate the top of the laptop 90 degrees, so that it is facing you again.

    • Slide the green pieces off the device. They should come off easily.

  7. fOVio1MNgtpxiGMG
    fOVio1MNgtpxiGMG
    yTvYb2EkXsUuBy34
    qpSHpwFFiVZmFMVQ
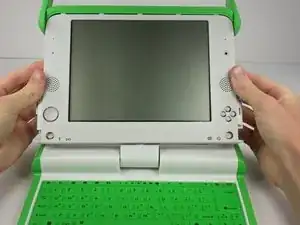
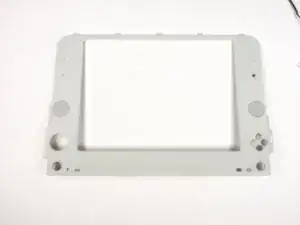
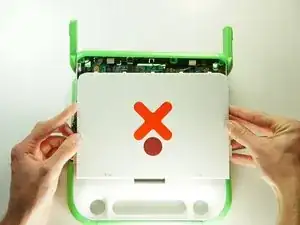
    • Pull down on the white screen cover. It does not require much force.

    • Remove the screen cover.

    • The game pad on the left sometimes falls during this step.

  8. BbuHw3D5gm1qkbiV
    BbuHw3D5gm1qkbiV
    qRDhoQXMxDjkj3SS
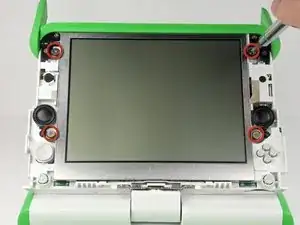
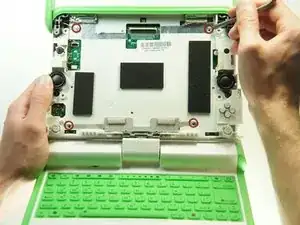
    • Unscrew the four 7.62mm Phillips #1 screws on either side of the screen.

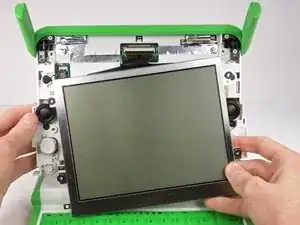
    • The screen is still connected by ribbon cables. You can damage the cables if you remove the screen before disconnecting the cables.

    • Move the screen down a little to expose the ribbon cables.

  9. Ww4Ko2yruZILCHYD
    Ww4Ko2yruZILCHYD
    2j6lWrbH3gTHVxSU
    OKVZ55kY6nuH3KyP
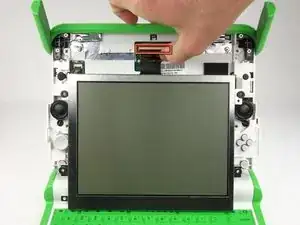
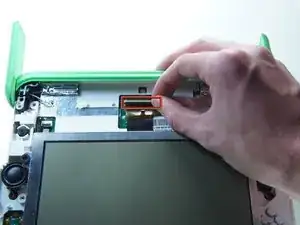
    • Flip up the tab right under the middle top of the screen.

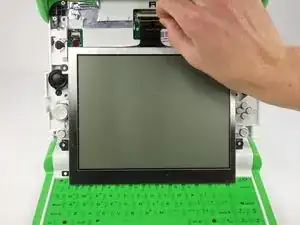
    • Pull the black ribbon cable out of the socket.

  10. K4ova12yB1qD56Pi
    K4ova12yB1qD56Pi
    IRDZ4rUX2roaBLGX
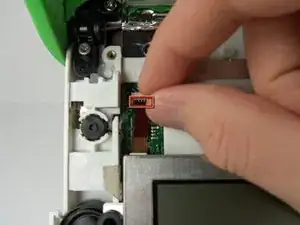
    • Flip up the smaller tab under the left side of the screen.

    • Remove the small cable to separate the screen from the rest of the laptop.

    • Gently remove the screen.

  11. qjeoaFgSL2TGF6Yj
    • Remove the four 4mm Phillips #1 screws that hold the top cover to the case.

  12. Wu5JXPKYIG2ZcJom
    Wu5JXPKYIG2ZcJom
    VBM6XGMRIKnkoXgO
    • Close the lid and rotate the device 180°.

    • Press firmly on the top two corners of the outside cover. Then slide it down, away from the antennas.

  13. GgwGBxwTv4saoDJb
    GgwGBxwTv4saoDJb
    FV3isMEJ6kXIaTYM
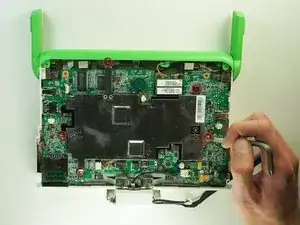
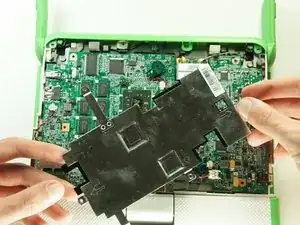
    • Remove the five 4mm Phillips #1 screws securing the EMI shield to the motherboard.

    • Gently lift up and remove the EMI shield.

  14. yX3pqWFMHqyau4JD
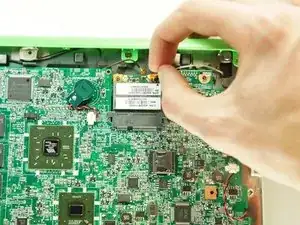
    • Gently remove the two antenna cables by lightly pulling the cable connectors up.

  15. LJAen1STLUUdJEUO
    LJAen1STLUUdJEUO
    WYjxJkBCtGeURMvM
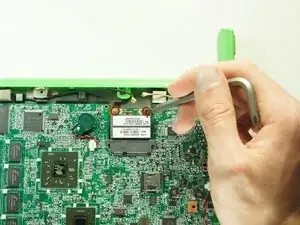
    • Remove the two 5mm Phillips #1 screws holding the wireless card to the motherboard.

    • The wireless card will pop up at an angle.

  16. CVKfxQCHEDi5xuXk
    • Remove the wireless card by gently lifting it out of the socket.

Abschluss

To reassemble your device, follow these instructions in reverse order.
Wei Xia

Mitglied seit: 26/01/13

518 Reputation

0 Kommentare