Einleitung

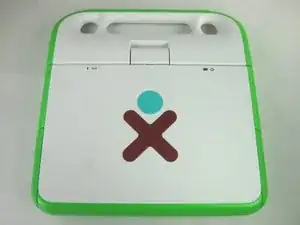
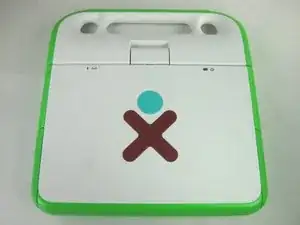
Use this guide to replace a broken mouse buttons controller.

  1. IVDjFWXGlqHFaVWw
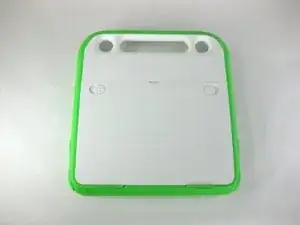
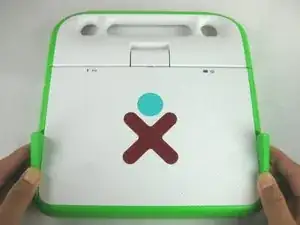
    • Turn the laptop upside-down, with the handle facing away from you.

  2. d5MasQwOp11X2VZr
    d5MasQwOp11X2VZr
    sRU3hllA2YskCHfU
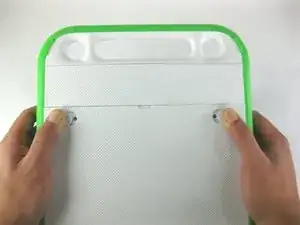
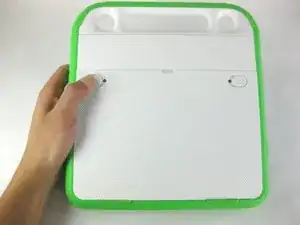
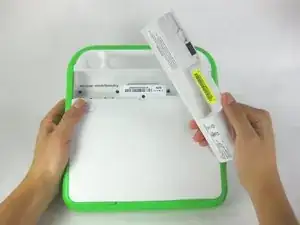
    • Pull the lock tabs towards the green outer edges of the laptop.

    • Hold the left lock tab in the unlock position until the battery is completely removed in the next step.

  3. ZWV1wud4mI1HUWGt
    ZWV1wud4mI1HUWGt
    UnbfciGCtddNpqAL
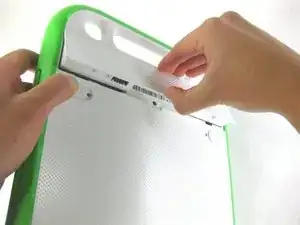
    • Lift up on the middle of the battery to remove it from the device.

  4. duH23APyoNIBcqx6
    duH23APyoNIBcqx6
    nHeyrbQZWdOCnxQD
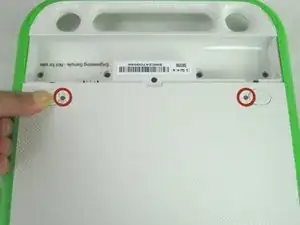
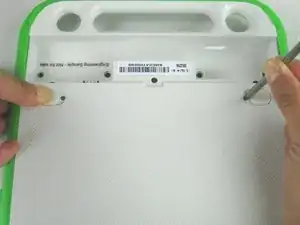
    • Remove the two 2mm Phillips #1 screws from beneath the battery lock tabs.

  5. 5xGrtHDgsFPbKvWV
    5xGrtHDgsFPbKvWV
    Q64NQE1ujDPilYvf
    CPQaFmN43mFLkHdG
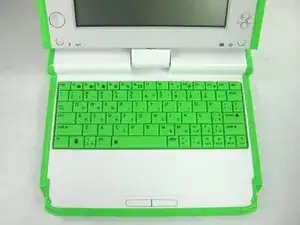
    • Flip the laptop over to its normal position.

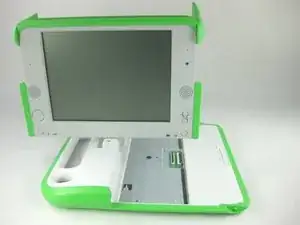
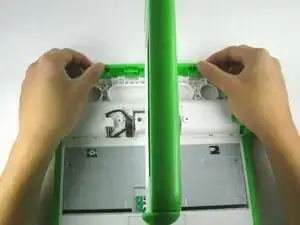
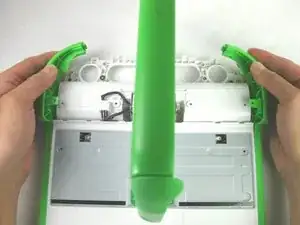
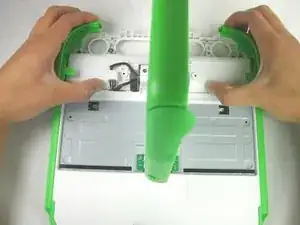
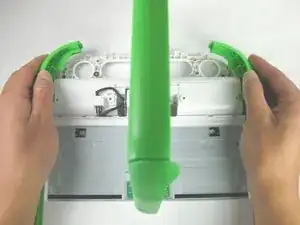
    • Lift the two antennas on both sides to unlock the screen.

    • Open the laptop.

  6. TipslQ5P2NHxR6A5
    TipslQ5P2NHxR6A5
    1stUSWCQPZIARLCF
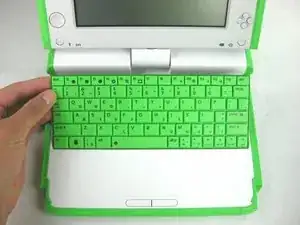
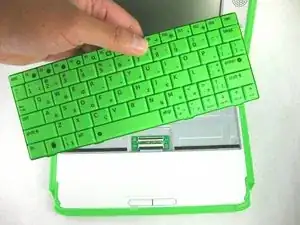
    • Be careful not to pull the keyboard too far because there is still a ribbon cable attached to the bottom.

    • Gently lift up on the back of the keyboard.

    • Pull the keyboard up far enough to expose the ribbon cable.

  7. YcvHYOZXkxxJXlZX
    YcvHYOZXkxxJXlZX
    Un4xYLG1Ab4ojhho
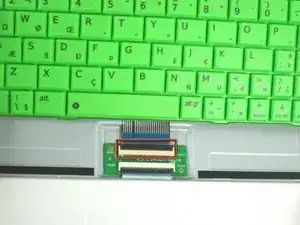
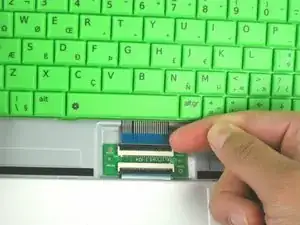
    • Gently lift up on the black connector to release the ribbon cable.

    • Gently pull the blue plastic tab up and away from the black connector.

    • Remove the keyboard from the laptop.

  8. KuT43soKveEFFxZN
    KuT43soKveEFFxZN
    ixcK52bOIubNlny6
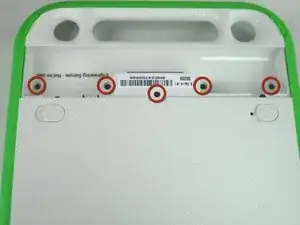
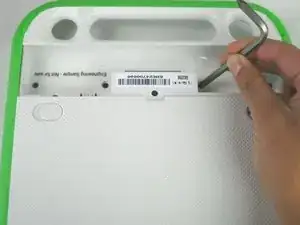
    • Close and flip the laptop over so you are looking at the battery compartment

    • Remove the five 4mm Phillips #1 screws from inside the battery compartment

  9. di2resAVYfj16IyZ
    di2resAVYfj16IyZ
    4M1h6Z3BATteoF25
    Cl5krIPZtRgYHJ22
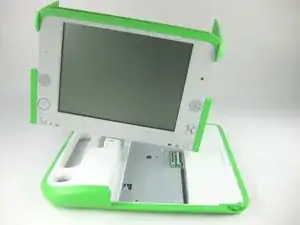
    • Flip the laptop over, showing the top of the device.

    • Open the laptop and rotate the screen ninety degrees.

    • Tilt the screen so the lower right corner of the screen is closer to the lower case.

  10. FGlJDXGjtgJwcAmA
    FGlJDXGjtgJwcAmA
    gMFWAG4GGjbuBKr2
    BQPlTDFol1NViuM1
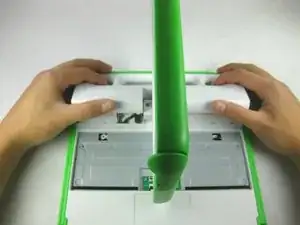
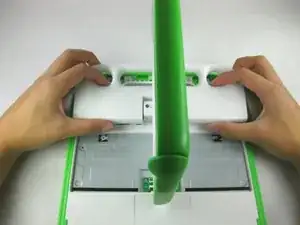
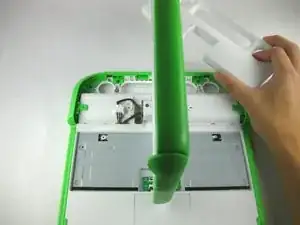
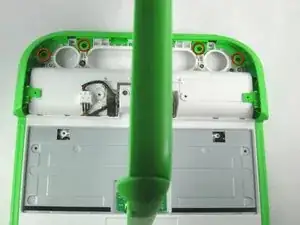
    • Push in and lift up on the keyboard edge of the white handle piece.

    • Pull the piece towards yourself to remove it from the laptop.

  11. b2CVSGI3xiUYWEK1
    • Remove the four 4mm Phillips #1 screws attaching the green trim to the body of the computer.

  12. tUXYXFfPBRD2rXAJ
    tUXYXFfPBRD2rXAJ
    v12eaMkSM1BYmBwQ
    • Pry off the rear green trim piece.

  13. sQhMCvGgMlaCgrTg
    sQhMCvGgMlaCgrTg
    wBVempV3k26bOgVu
    OU6NOIoE5OBS1I2I
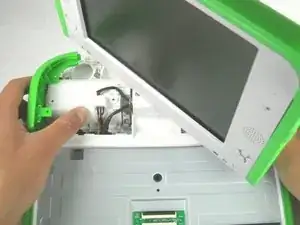
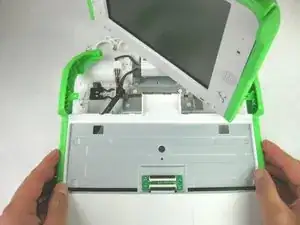
    • Be careful not to pull the bottom portion of the laptop completely off, as there is a cable connecting it to the laptop.

    • Slide the green trim pieces away from the screen.

    • This should release the entire bottom portion of the laptop.

  14. uku2OCZDrHTAkVAN
    uku2OCZDrHTAkVAN
    MBdChigar3mVP5nl
    JiTHCppVvZnOmuqV
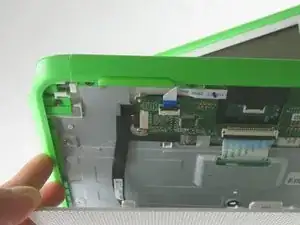
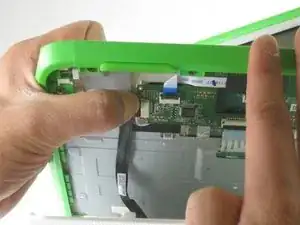
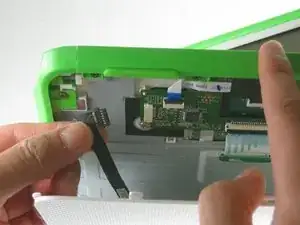
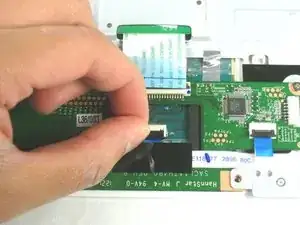
    • Unplug the cable from the mouse buttons controller to completely remove the lower frame from the device.

  15. rwW1ehZoZaS3Avju
    rwW1ehZoZaS3Avju
    QIXoOIG5arlC1se6
    • Rotate the entire lower assembly up slightly, and pull it away from the screen to free it from the screen hinge.

    • There may be some adhesive holding the cable to the metal plate. Gently pull the cable off of the plate if it is stuck.

  16. cLuayLnIIUSweeHA
    cLuayLnIIUSweeHA
    vKQFpUaEAXpQTNfe
    HaUIhAndL4C13SUr
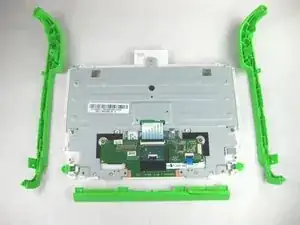
    • You should now be looking at the bottom of the lower case.

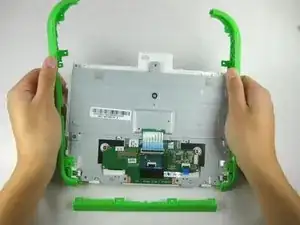
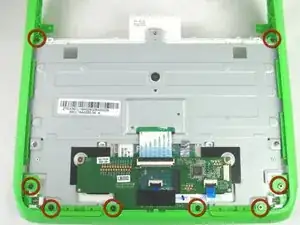
    • Remove the eight 4mm Phillips #1 screws attaching the green trim pieces to the lower frame.

    • Pry off the front and side trim pieces.

  17. QYCGVMRviP3ObbtY
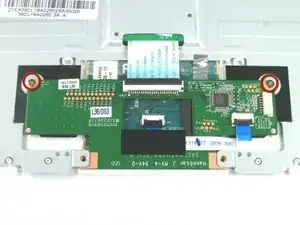
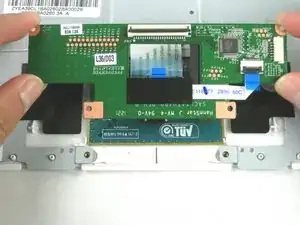
    • Remove the two 4mm Phillips #1 screws that attach the mouse buttons controller to the lower frame.

  18. NjYt2qbV2tVqSFik
    NjYt2qbV2tVqSFik
    ZNhNJuVTXyPitpSr
    chqA2UIgIT2OtdvK
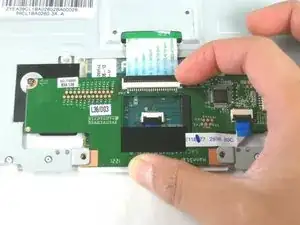
    • Disconnect the ribbon cable attached to the keyboard compartment.

    • Unplug the ribbon cable between the touchpad and the mouse buttons controller.

    • Remove the mouse buttons controller from the device.

Abschluss

To reassemble your device, follow these instructions in reverse order.
Michael Kellerman

Mitglied seit: 25/01/13

58 Reputation

0 Kommentare