Einleitung

The purpose of this guide is to provide information on replacing the buttons on your Oculus Rift CV1 remote. You can learn more about the Oculus Rift CV1 on the device page. You will need a Phillips #000 screwdriver for this replacement. Ensure buttons are cleaned with an electronics safe cleaner before reassembly to prevent the buttons from sticking.

  1. Dqk4eNwNVWnMpKsV
    Dqk4eNwNVWnMpKsV
    NPdiNTniI5XcCuBo
    RSXdvDTZGNTNP6GD
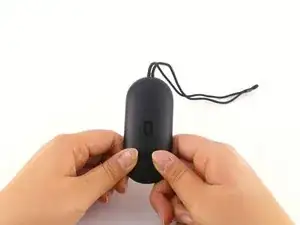
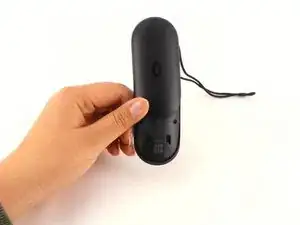
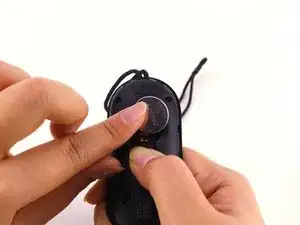
    • Remove the back panel by firmly sliding it towards the strap.

  2. DIcsHZPwkfdGgmZV
    DIcsHZPwkfdGgmZV
    svSNpYK4rAmJRLM1
    YXeS1IX4VayQevmo
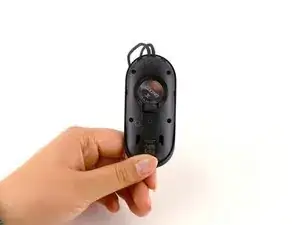
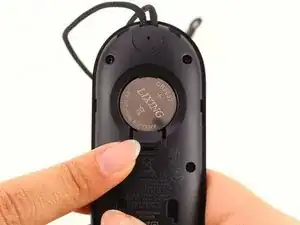
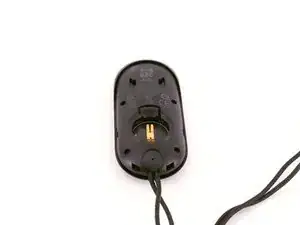
    • Push down on the tab under the battery.

    • Firmly slide the battery away from you. The battery should unlatch from its previous position.

    • Once the battery is removed, release the tab.

  3. EGJp4CpZs56XjubC
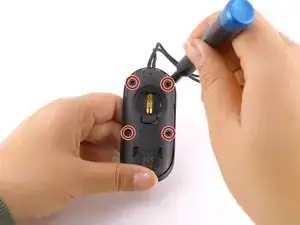
    • Remove the four 4mm Phillips #000 screws from the back of the remote.

  4. bWcxjfjRZubtmjVC
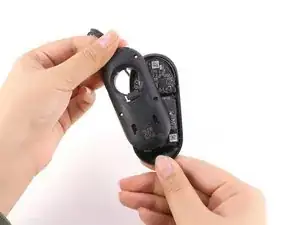
    • Gently lift the wrist strap to split the back panel into two.

  5. opAREeaEZqDRYV2o
    opAREeaEZqDRYV2o
    RARQPBoD1JxaPVVB
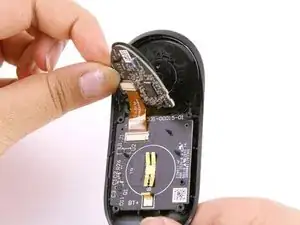
    • Gently peel off the top of the control board.

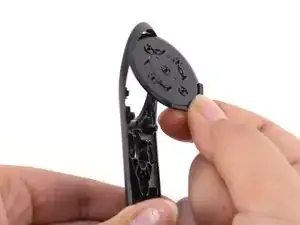
    • Be gentle, if the buttons fall off, try to keep them in the orientation that they were in.

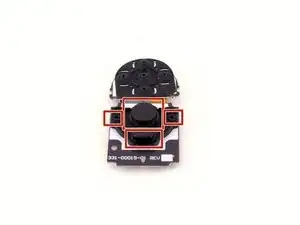
    • If the large black button falls off, place it back into the shell by orienting the tabs on the button to match the holes on the shell.

  6. WMaoRxkXKDxnkpIe
    • Pull the old buttons off and replace them with the new ones.

Abschluss

To reassemble your device, follow these instructions in reverse order.
Christian Perry

Mitglied seit: 24/01/19

223 Reputation

0 Kommentare