Einleitung
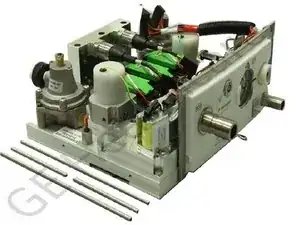
The vent engine is the key mechanical assembly that controls airflow in the ventilator. This guide will show you how to replace the vent engine if your current ventilator has a faulty one.
For more information on removing the vent engine, please refer to page 9-5 (section 9.3.2) in the technical manual.
Werkzeuge
Ersatzteile
-
-
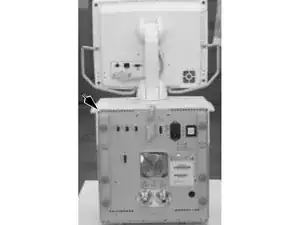
With the main chassis separated from the cart, position the device upright with the monitor centered to prevent any tipping.
-
Disconnect any external connectors as well as the display connector.
-
-
-
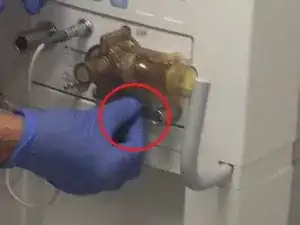
Push down on the small grey tab below the exhalation valve.
-
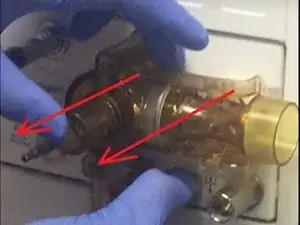
While holding the tab down, you should be able to pull and extract the exhalation valve from the device.
-
-
-
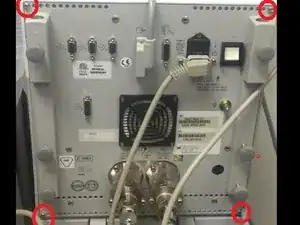
There are four Phillips screws to be removed at each corner of the back of the device.
-
Once the screws are removed, slide the housing along with display to reveal the main chassis.
-
-
-
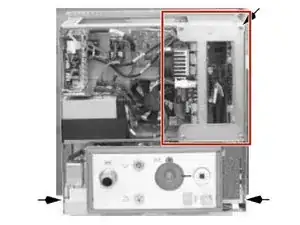
Remove the circuit board retainer in the upper right by unscrewing the four screws (M4-0.7 x 12mm Phillips) that hold it in place.
-
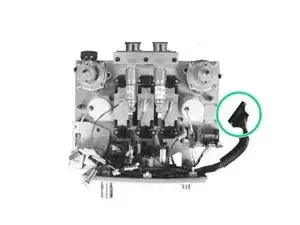
Disconnect the connectors coming from the vent engine to the circuitry.
-
-
-
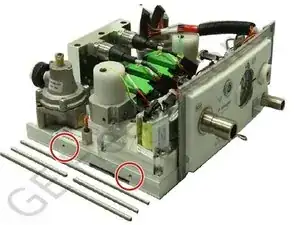
The vent engine is held in place by two screws on each side of the device. Unscrew all four and remove the vent engine.
-
Install the new vent engine and screw into place.
-
Connect the vent engine connectors to the circuit board and reinstall the circuit board retainer.
-
To reassemble your device, follow these instructions in reverse order.
