Einleitung
Werkzeuge
-
-
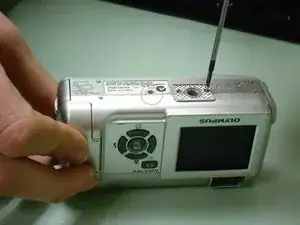
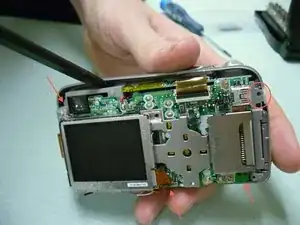
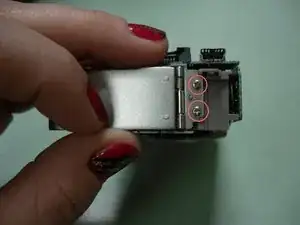
Remove all five screws found on the outer shell of the camera. You will find three along the bottom (see picture #1) and two more up one side (the side closest to the LCD screen).
-
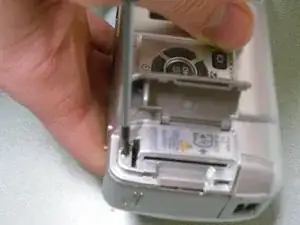
You will find three more under the USB port flap and one more under the memory card flap. Remove these four as well.
-
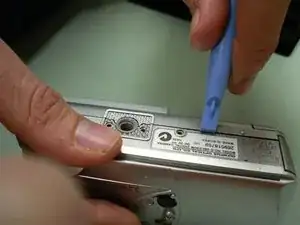
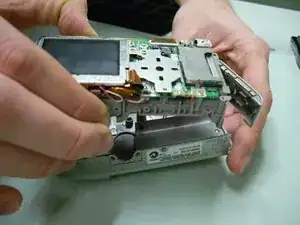
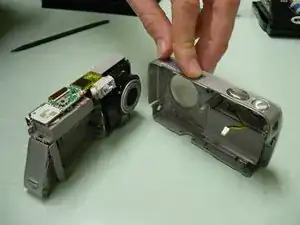
Once all screws are removed, use a blue iPod opening tool (seen in picture #3) to carefully pry the back outer shell away from the rest of the camera.
-
-
-
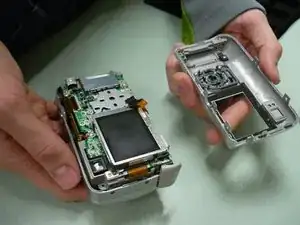
Completely separate the back cover from the rest of the camera. Set the back cover aside.
-
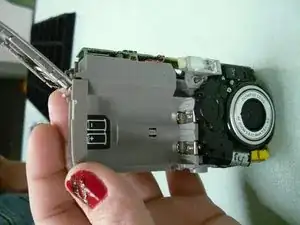
Remove 4 screws from the front outer cover to the camera (see image #2 for screw locations).
-
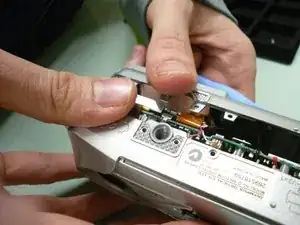
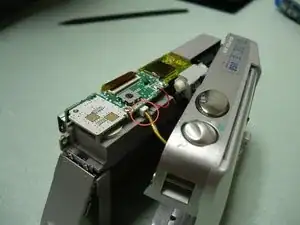
Use a Spudger to pry the front outer cover away from the camera. Do this gently to avoid damaging the yellow and black wires connecting the front outer cover to the camera.
-
-
-
Unplug the yellow and black wires connecting the front outer cover of the camera to the rest of the camera, as shown in image #2. This can be done by gently unplugging the end of the wire connected to the inner casing of the camera.
-
-
-
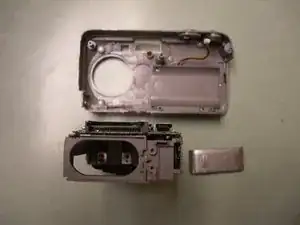
Carefully set aside the front outer cover of the camera. Then, locate the two screws attaching the battery compartment cover to the rest of the camera (see picture #2).
-
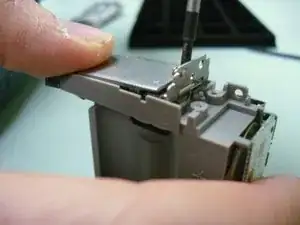
Remove the 2 screws attaching the battery compartment cover to the rest of the camera.
-
-
-
Your battery compartment cover should now be completely removed and ready for repair or replacement.
-
To reassemble your device, follow these instructions in reverse order.
Ein Kommentar
can someone , please, show me how to replace or repair the flashlight of this camera? mine stopped working.
thank you, hendrik
olé kike -
