Einleitung

You will need a clean, well-lit area, an iFixit repair kit including the specialized screw driver, along with the Phillips #000 bit. We also recommend you have an organization tray in order to keep track of all the screws you will be taking out.

  1. JyaKJWUqcUjWhovG
    JyaKJWUqcUjWhovG
    V6TFyrM54IMCxePe
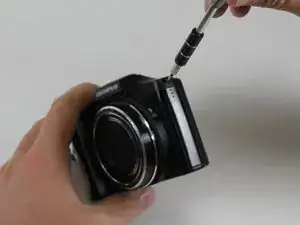
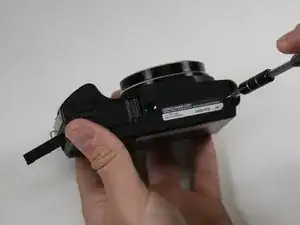
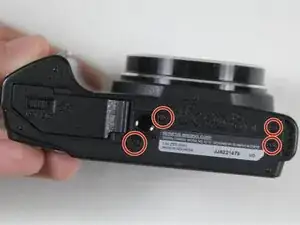
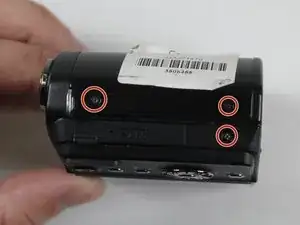
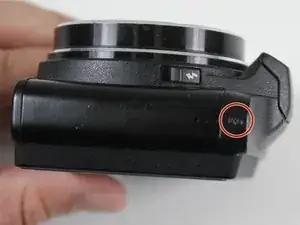
    • Remove nine 4.45mm Phillips #000 screws from the outside of the case.

  2. wbRtUHYROu2VAHwu
    • There are four screws to take out on the bottom of the camera.

  3. YDjTuvTPg6EhkLrF
    • There are three screws to take out on this side.

  4. tXQH4UvKvekpVsYk
    • There is one screw to take out on this side.

  5. uKdlrAXhedCSFOYK
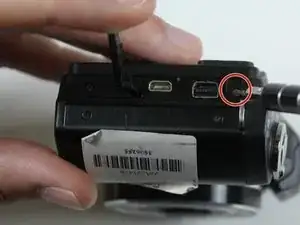
    • There is one hidden screw inside the HDMI port.

  6. UKcbknZwnKAQQRxD
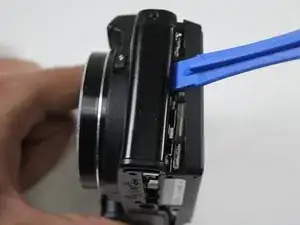
    • Using the blue plastic opening tool, wedge open and remove the case.

  7. XnIZC13OPSkdpTM1
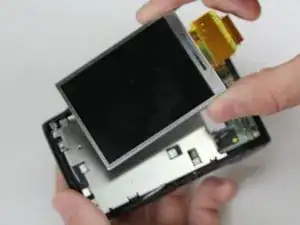
    • Once you have the back case off, remove the LCD Screen.

  8. YvCqwvnVP22CZN6G
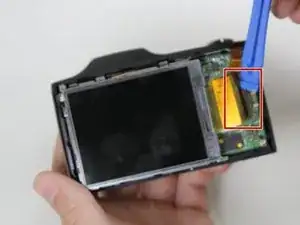
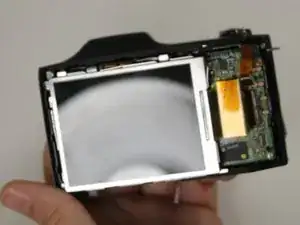
    • Using a plastic opening tool, gently lift the retaining flap on the display cable ZIF connector.

    • Pull the display cable from its socket on the motherboard.

  9. mhFCmhY1YKJGXZc4
    • Remove the LCD screen from the device.

    • Be careful not to rip the display's ribbon cable as you pull the screen away from the device.

Abschluss

To reassemble your device, follow these instructions in reverse order.
Samuel Hays

Mitglied seit: 14/03/17

515 Reputation

0 Kommentare