Einleitung

This guide will help you to replace the flash device on your Olympus Stylus 1010.

  1. nWCrP2ciGA3BWeEi
    nWCrP2ciGA3BWeEi
    4OLLqKyZHgm3lWt4
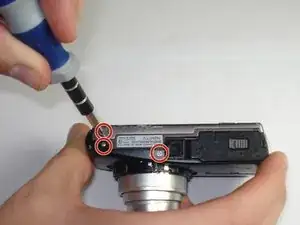
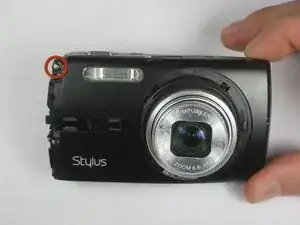
    • Remove the five Phillips #00 bottom and right side panel screws.

    Put a notice on here that the screws are very small and are easy to misplace while disassembling device. Also, while disassembling the device there was only one screw present, where the guide suggested there were three.

    Curtis Reedy -

    Before beginning, put a note that the camera should be turned off before proceeding.

    Curtis Reedy -

    Add a note at the beginning of the guide that there are a large number of small screws that should be separated as the steps are completed.

    Curtis Reedy -

    There's a capacitor .....watch out for it in every step.

    BILL BOYD -

  2. oxAsOZ2SFGGMNRuh
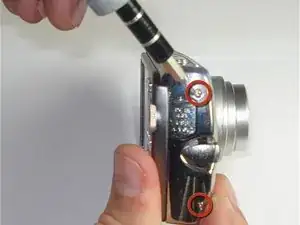
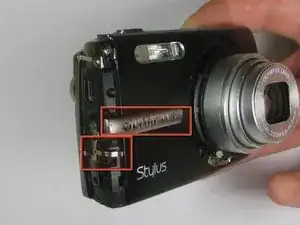
    • Remove the right side panel by pulling off the large silver piece.

    There is no reference to removing screws from the right side panel, where it is necessary to remove 2 screws to do so.

    Curtis Reedy -

  3. Teo2OBEcIwX4gZYP
    Teo2OBEcIwX4gZYP
    KXsbeTqMVWQrtgGu
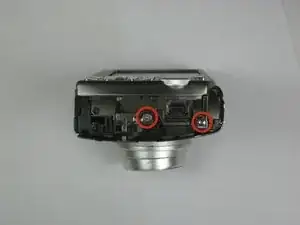
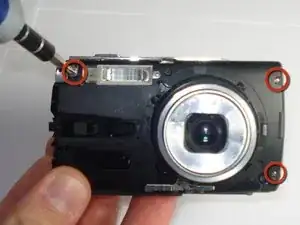
    • Remove the remaining three Phillips #00 side and front panel screws.

  4. KQJ65IkAfKxgNbCT
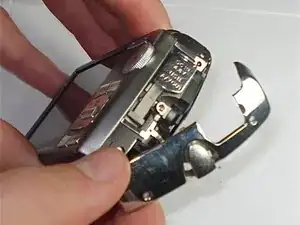
    • Using your thumb and forefinger, pull off the silver name plate and silver "T-shape" piece.

  5. ZDICwaDcLsf5fWkB
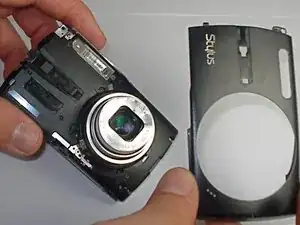
    • Remove the black front panel by sliding it towards the lens and then pulling it up off of the camera.

  6. iXrfTiMeOEPFjeTe
    iXrfTiMeOEPFjeTe
    SRwIsBvyELCVGKxZ
    G5jdDDquQOgNmCGZ
    • Remove the three Phillips #00 screws from the front of the camera.

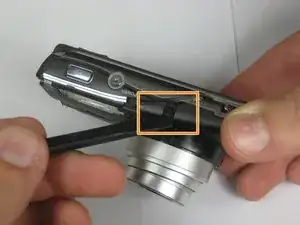
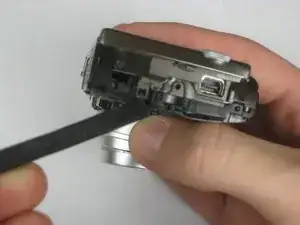
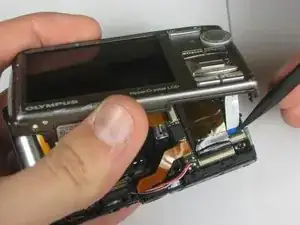
    • Using a spudger, lift the two tabs to separate the case—one tab on top and one tab on the right side.

    Wrong point of focus for the second picture. What should be in focus is very blurry.

    Curtis Reedy -

  7. enJVfQcESAg4hLKE
    enJVfQcESAg4hLKE
    6Q2XiEQEIu1nnIyQ
    bxrNMX3MLo1RpSro
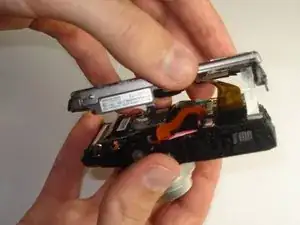
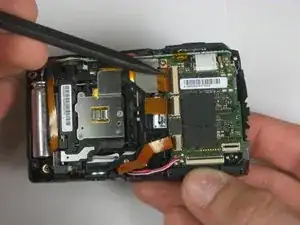
    • Using a plastic spudger, lift up the black clips.

    • Still using the plastic spudger, detach the gold connector strip and white connector strip.

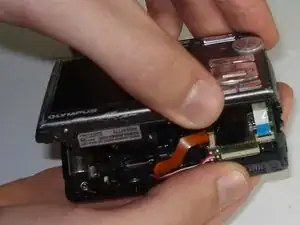
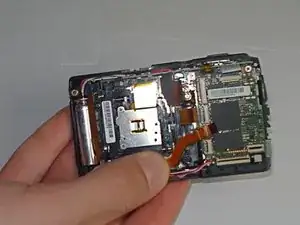
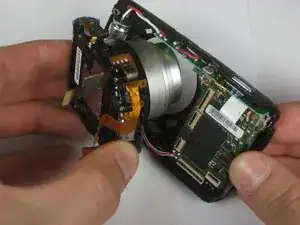
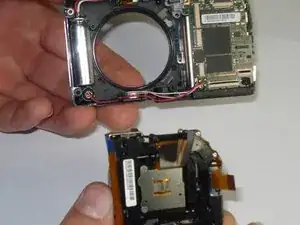
    • Using both hands, pull the camera apart into two pieces.

    There were multiple gold strips, so the one that needs to be pulled should be highlited in the picture.

    Curtis Reedy -

    in step seven pull up the black bar of the ZIF connectors before pulling out the white or gold ribbons

    Curtis Reedy -

  8. TIVqb14dKMHT1PlO
    TIVqb14dKMHT1PlO
    gLAjjB6HMF6a5PgP
    • Using a plastic spudger, lift up the black clips.

    • Still using the spudger, detach the three gold wire tape connectors from the inside of the camera.

  9. cBQcQD1lCHCFE5LJ
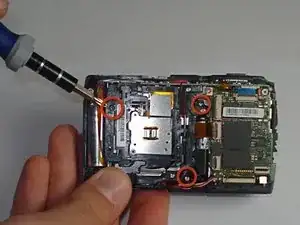
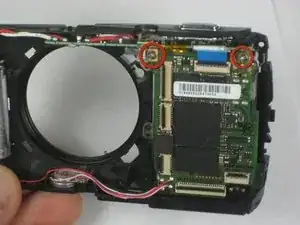
    • Remove the three screws from the inside of the camera using a #00 screwdriver.

  10. t2Zk4K51mJCXgA2i
    t2Zk4K51mJCXgA2i
    BXXUVPAZfKJEOri3
    • Using your thumb and forefinger, pull the lens piece straight out from the body of the camera.

  11. 1iRrwob2O6LkMJuG
    • Remove the two Phillips #00 screws on the right side of the camera.

  12. FtQDXoZc14LaFVWR
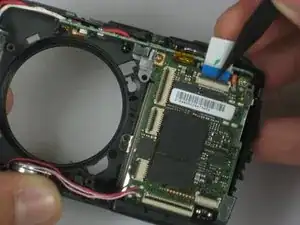
    • Using a plastic spudger, lift up the black clips.

    • Still using the spudger, detach the gold wire tape connectors from the motherboard.

  13. KNML5F4LRaQigLUw
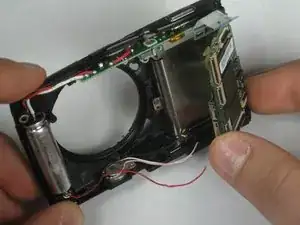
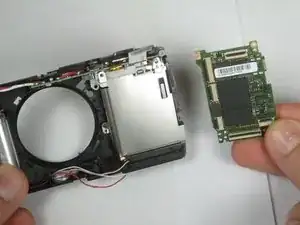
    • Desolder the upper right and lower left wires to remove the motherboard.

  14. IlmyjHne2LYHFHWc
    IlmyjHne2LYHFHWc
    ERXmMDaCTyGkJgyA
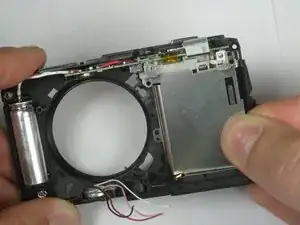
    • In order to remove the motherboard, grab each side of it and pull up using your thumb and forefinger.

  15. eNSW1MfxMSEVvbjK
    eNSW1MfxMSEVvbjK
    Ofw4PeV5kvLtOgHv
    KFH4BUCppwybEkGK
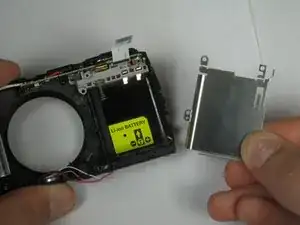
    • Remove the two remaining Phillips #00 screws.

    • Lift the metal piece straight up to remove it.

  16. TEDLVjbnyPXhYswC
    TEDLVjbnyPXhYswC
    aT5ggSQJmo3T6yVa
    secY4pQXgMNvXFXK
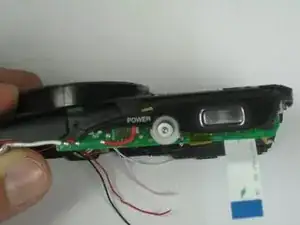
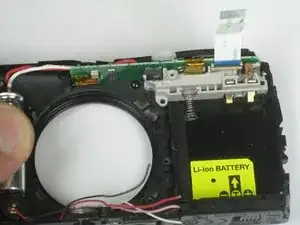
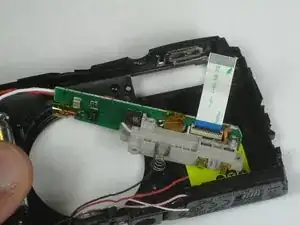
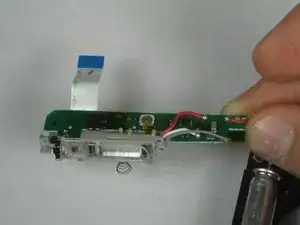
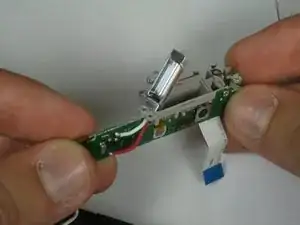
    • Pull gently on the white tab to remove the small motherboard with the flash device on it.

  17. AmRnOYSJdbW2hOsQ
    AmRnOYSJdbW2hOsQ
    V1LyZdUVmIruOCLF
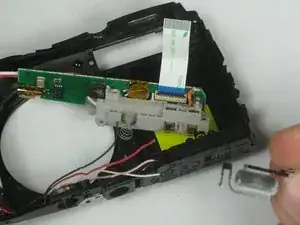
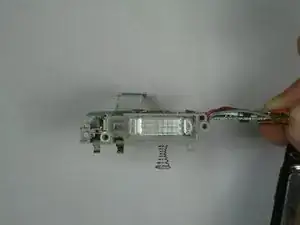
    • Pull out the silver button using your thumb and forefinger.

    • Remove the small motherboard from the camera casing.

  18. LSejbWIuRvXaLxkU
    LSejbWIuRvXaLxkU
    FtjJuFacJ5LLh5rK
    duVtjXSpNfeuFYTx
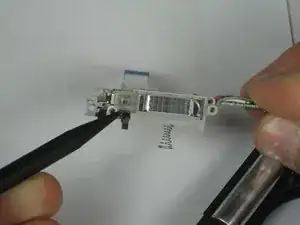
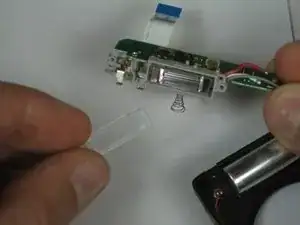
    • Remove the plastic flash cover using a spudger.

  19. r1AF1fnJhT2FXLGo
    r1AF1fnJhT2FXLGo
    MC5DooSJppMkArOR
    • Remove the flash bulb using a plastic spudger.

Abschluss

To reassemble your device, follow these instructions in reverse order.
Curtis Reedy

Mitglied seit: 13/01/11

267 Reputation

0 Kommentare