Einleitung

  1. VgUx6ja5QHIS1rbs
    VgUx6ja5QHIS1rbs
    AE1uCxCAsRiydoQ6
    GwY4FqYsDts3LX1d
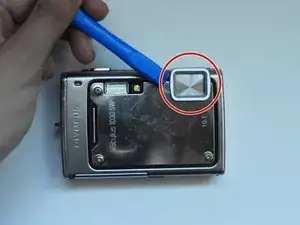
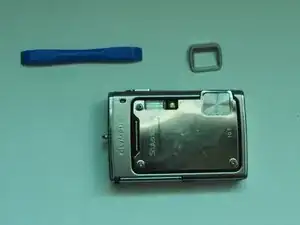
    • Using the iFixit Opening Tool, pry off the plastic part of the lens.

    • Using the T6 Torx screwdriver, unscrew the three screws.

    What secures the plastic part back to the lens when reassembling?

    Patrick Mitchell -

  2. UNBAOdKjPDsLCV6J
    UNBAOdKjPDsLCV6J
    BtdFYQnwqIhIrVuw
    RynIgLQmp6UsvIUf
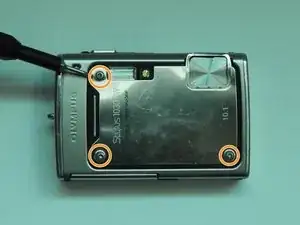
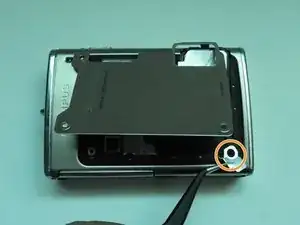
    • Using the Phillips #00 screwdriver, unscrew the three screws.

    • Carefully swivel the metal cover out towards you.

    • Using tweezers, remove the metal washer.

  3. pbZInchAttwmBAPg
    pbZInchAttwmBAPg
    S4vGVFtOsJ2yId2O
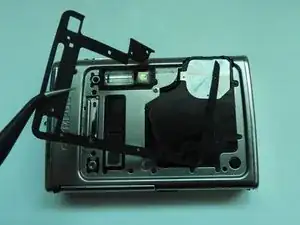
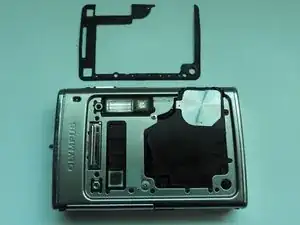
    • Using the tweezers, slowly peel off the plate.

  4. GB6MgZd5yVYXcB1a
    GB6MgZd5yVYXcB1a
    aD156DIxGXJDyBKZ
    ZJyJecLhPJaHDoAw
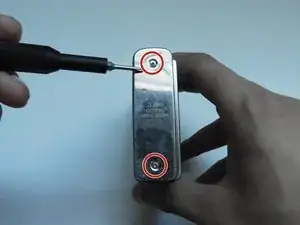
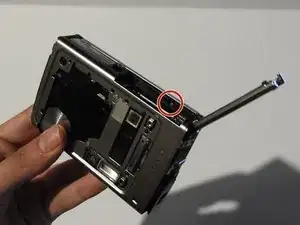
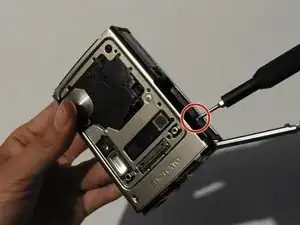
    • Using the Phillips #00 screwdriver, unscrew the two screws on the side of the camera.

  5. tv1RPB4DkPixVrkq
    tv1RPB4DkPixVrkq
    26BUALaRZQbRAHqq
    MNeRLhffDDMlIWpM
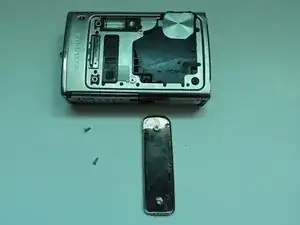
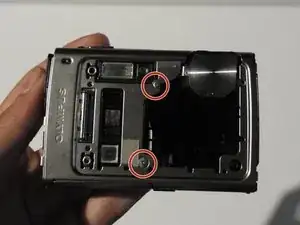
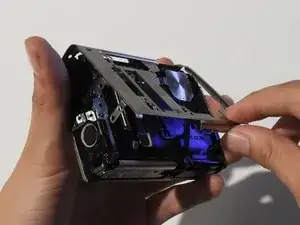
    • On the opposite side, use the Phillips #00 screwdriver to unscrew both screws.

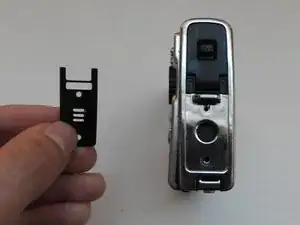
    • Take out the speaker plate.

    • Open the multi-connector cover and slide off the side panel.

  6. W4QwOp5ZwtgjGTKt
    W4QwOp5ZwtgjGTKt
    pUuXkVsLSkXAOoTb
    CgMOuwQkitPLwSmf
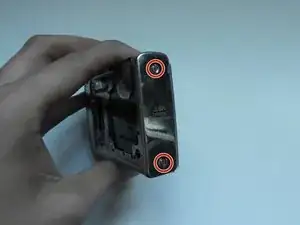
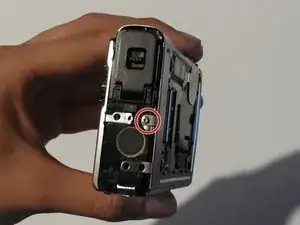
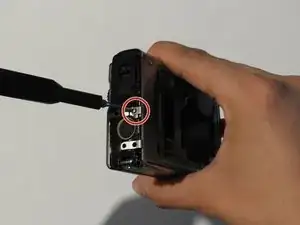
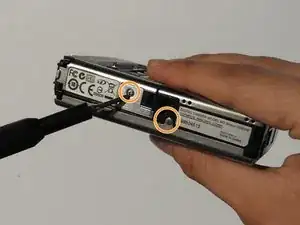
    • Using the Phillips #00 screwdriver, unscrew the screw above the speaker.

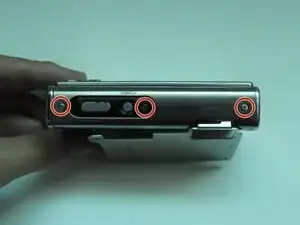
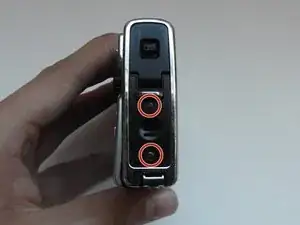
    • On the bottom side of the camera, unscrew the two screws.

  7. DpXB6SrDiBlRGTlg
    DpXB6SrDiBlRGTlg
    gntl1kjPoUHTmUgT
    M112BUcBfPKZSsR4
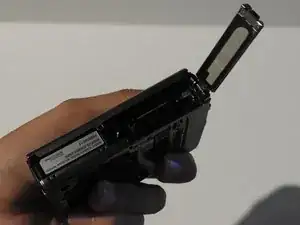
    • Open the battery compartment cover.

    • Use the Phillips #00 screwdriver to unscrew the screw in the battery compartment.

  8. Y1mpR4CiLWvhGidG
    Y1mpR4CiLWvhGidG
    3lcdLCPbNVfVlNLu
    AIMhB16DteNIUta5
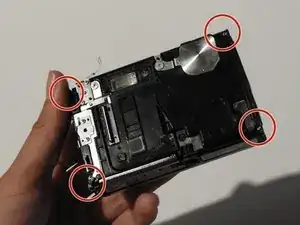
    • On the front of the camera, unscrew the two screws shown.

    • Gently pull on the side until the camera is separated from the back panel.

    • Remove the shutter and power button.

  9. h3FMwKasAl3nKsHE
    h3FMwKasAl3nKsHE
    joRXEpDdLnw5ZByJ
    RXIVliOVPEb3bJhU
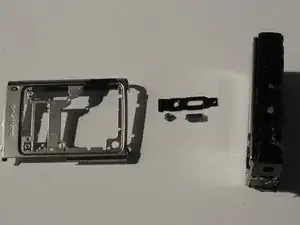
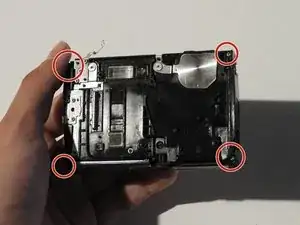
    • Use the Phillips #00 screwdriver to unscrew the four screws on the front of the camera.

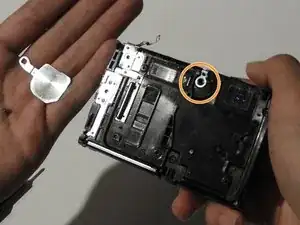
    • Unscrew the shutter using the Phillips #00 screwdriver.

  10. VB4wlSYKg2JveuCZ
    VB4wlSYKg2JveuCZ
    iih15OIlAePIdVJ6
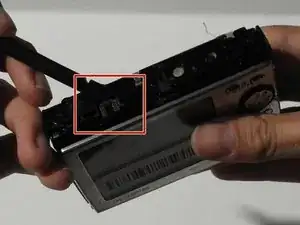
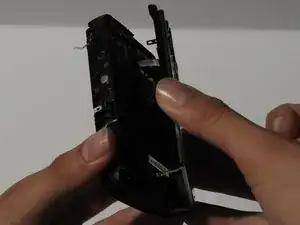
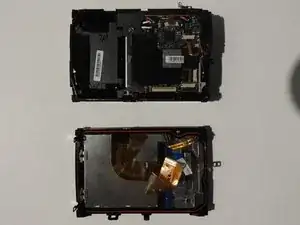
    • Release the top holding using a spudger.

    • Slowly and carefully separate the front and back of the camera, exposing the electrical ribbons.

  11. 1tvMVjeySOfGLUM3
    1tvMVjeySOfGLUM3
    sQgDbQpYo5tuQI1D
    gkQjMSUuHjisO4U6
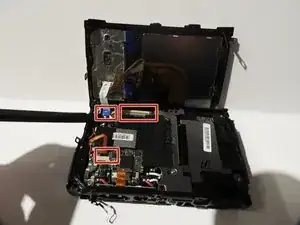
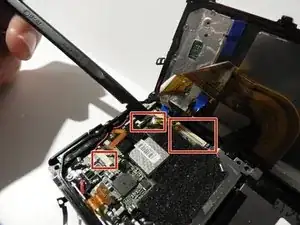
    • Using the spudger and tweezers if needed, remove the ribbons from the computer chips.

  12. HXbwfHWCwQgAxSnI
    HXbwfHWCwQgAxSnI
    rQ4WIeENRJbOnGQI
    ORZaaYbCfRewjgGQ
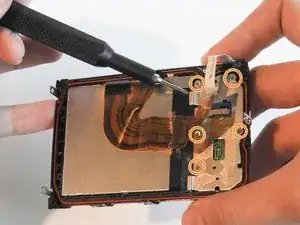
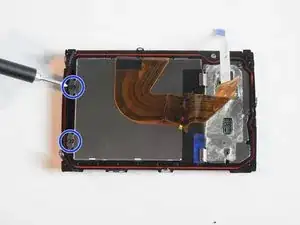
    • Unscrew the two screws found on the left side of the screen using the PH#00 head.

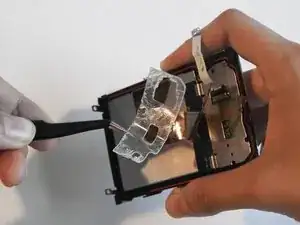
    • Peel off the gel tape using tweezers.

    • Unscrew the five 0.6 mm screws using the PH#00 head.

  13. 5bkSHl6drHTEmMYR
    5bkSHl6drHTEmMYR
    FFiVDRjqracJGDD5
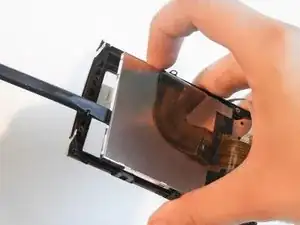
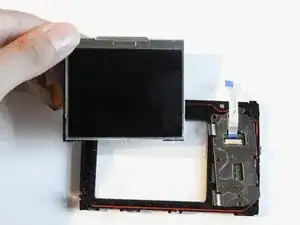
    • Use the spudger to carefully pry off the LCD screen.

  14. u6BNG2MG12eZYOkj
    u6BNG2MG12eZYOkj
    BsPp2ekUOIvBjNVN
    VPmttgC2thVwp6uF
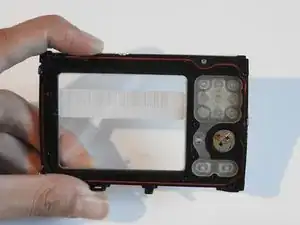
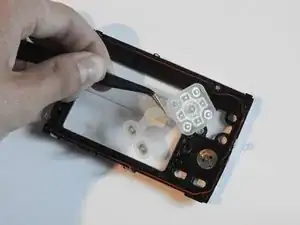
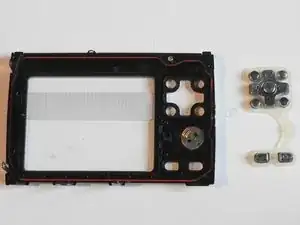
    • Use the tweezers to take out the rubber button holder and its buttons.

Abschluss

To reassemble your device, follow these instructions in reverse order.
Shanmei Zheng

Mitglied seit: 18/02/14

301 Reputation

0 Kommentare