Einleitung

This guide will show you how to replace the front facing-camera assembly of the Onda V701. The front facing-camera is the only camera on the device and replacing it is a very easy process.

  1. CtiBkB2PXQ26YLnK
    CtiBkB2PXQ26YLnK
    YnGTGfcc4O4AoEQ3
    HpmFAsSLZmdQZGNX
    • Ensure device is powered off before disassembly.

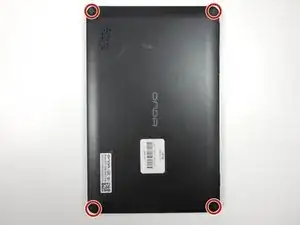
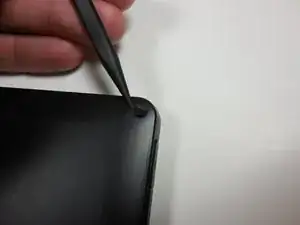
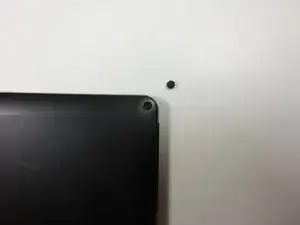
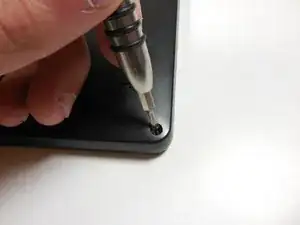
    • Remove the 4 rubber screw plugs using a spudger.

  2. nQJbIHvQJ2IHG4KP
    nQJbIHvQJ2IHG4KP
    RQmSaRYapisXr3dy
    CfVHlQSeJeXHXmAA
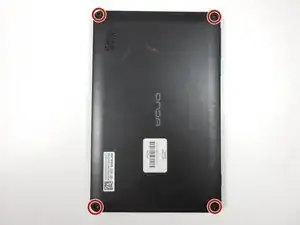
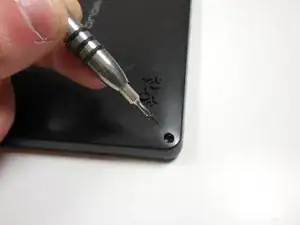
    • Remove the four 4.8mm mounting screws using a PH00 screwdriver.

  3. ZPbI3BjUdjEgF5jp
    ZPbI3BjUdjEgF5jp
    oseNSlXtMhM1aKbW
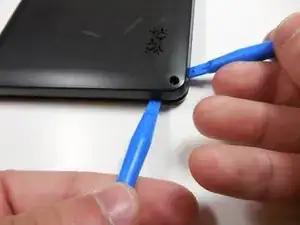
    • Starting at one corner, gently pry the back panel assembly from the screen assembly using two plastic opening tools.

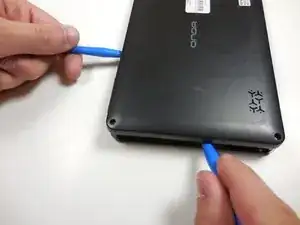
    • Slide the opening tools around the perimeter of the device to separate the back panel assembly from the screen assembly.

  4. AijcGKmKo3OQNiiO
    AijcGKmKo3OQNiiO
    CtKRFsUNeyksjxiJ
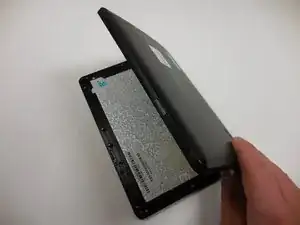
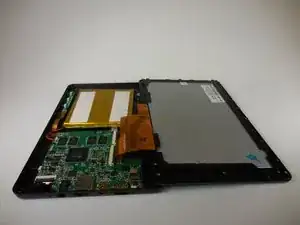
    • Gently lift the screen assembly away from the back cover assembly.

    • Be careful when separating the two pieces as the screen assembly is still connected to the mother board by two ribbon cables.

  5. N5v2AFargOo35GfL
    N5v2AFargOo35GfL
    tJhleKiubSVpRFhK
    mmH6TGZcvhQ6NtJh
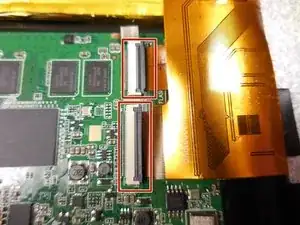
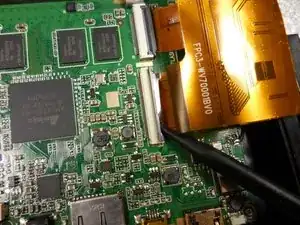
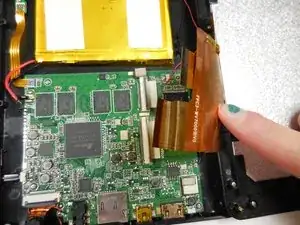
    • Disconnect the two ribbon connectors by flipping the gray tabs up with a fingernail or a spudger.

    • Remove the ribbon cables.

  6. ltWAvbNY65fpo5Ot
    ltWAvbNY65fpo5Ot
    qJEhb5N23eONGokw
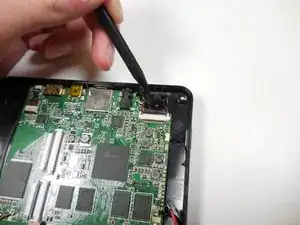
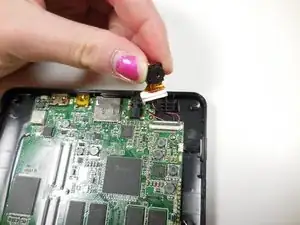
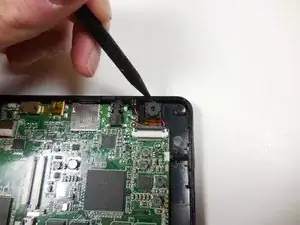
    • Gently pry the front-facing camera away from the back panel using a spudger.

  7. cvfNjLgnUSqpGE2n
    cvfNjLgnUSqpGE2n
    VMhI2TBoSv2ZftbY
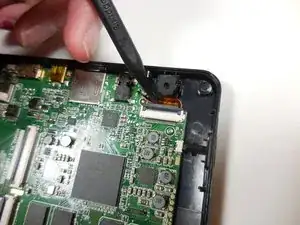
    • Flip the gray locking tab of the ribbon connector up using a spudger.

    • Remove the ribbon cable from the connector.

  8. uTUnebZgvRINFZrf
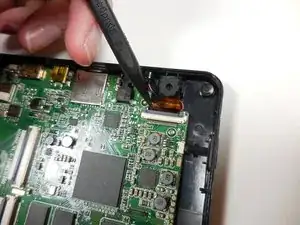
    • Remove the front-facing camera assembly.

Abschluss

To reassemble your device, follow these instructions in reverse order.
Bradley Huber

Mitglied seit: 11/03/15

366 Reputation

0 Kommentare