Einleitung

This is the prerequisite guide to follow in order to access all of the components in your OneLink Safe and Sound.

  1. uglrHRHnDweYQm4F
    uglrHRHnDweYQm4F
    TWdMto3ggFfQG5vY
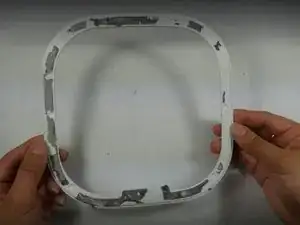
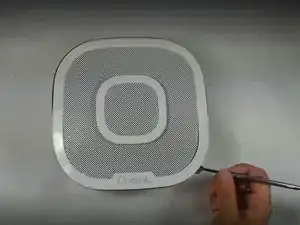
    • Run the metal spudger under the plastic rim and around the perimeter, on the top of the device to loosen the adhesive.

    • Remove plastic rim.

  2. lx2ZSfqEviaEqOjt
    lx2ZSfqEviaEqOjt
    gPLcncqWIFOaPYWe
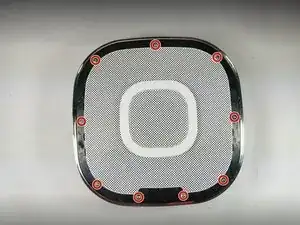
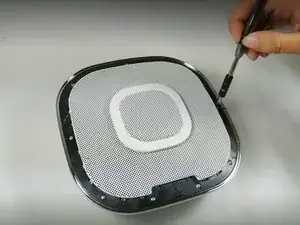
    • Use a Phillips #0 screwdriver to remove nine screws from the top of the device.

  3. LaCPXH4HQEaCXDkn
    LaCPXH4HQEaCXDkn
    xiNSFkGhx5O3CsyC
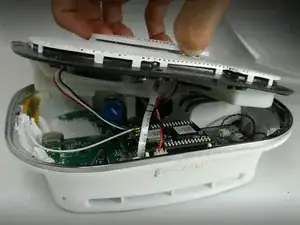
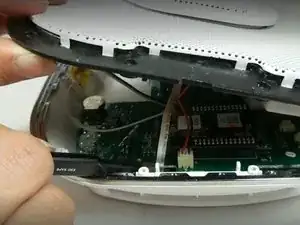
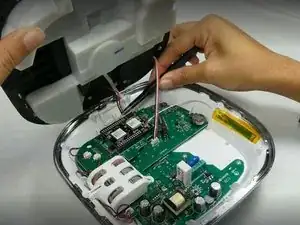
    • Don't yank or pull the lid off as there are ribbons and cables connecting the top of the device to the motherboard. They need to be disconnected before the top is removed.

    • Use tweezers or a spudger to disconnect the ribbon from the motherboard.

  4. nEEVGBeYNkSIYqCF
    • Use tweezers to unplug the speaker cable from the motherboard.

  5. EnmXY4LVaETUUS2N
    EnmXY4LVaETUUS2N
    VvGBmHZ5vfmFfRbJ
    • Use the plastic opening tool to remove the microphone connection from the motherboard.

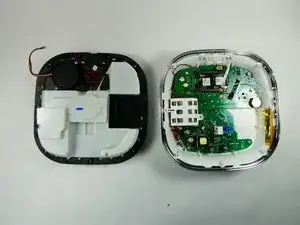
    • Remove the top of the device.

Abschluss

To reassemble your device, follow these instructions in reverse order.
Arianna Roberts

Mitglied seit: 10/11/22

639 Reputation

0 Kommentare