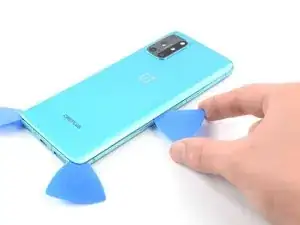
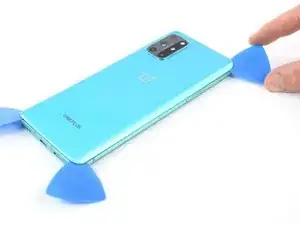
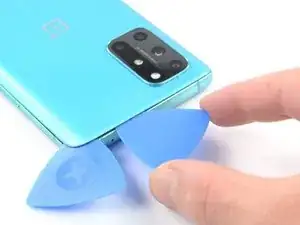
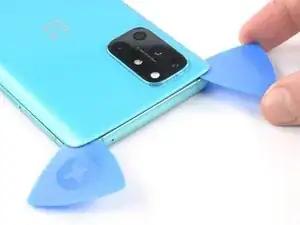
Einleitung
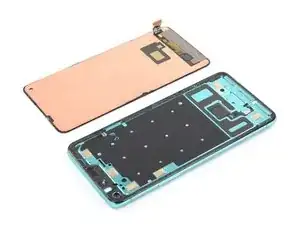
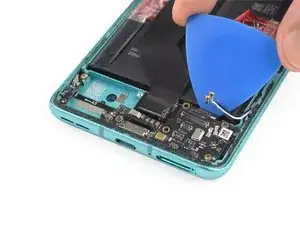
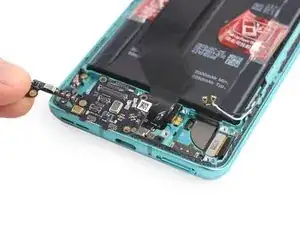
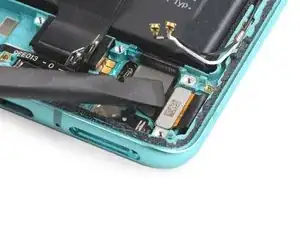
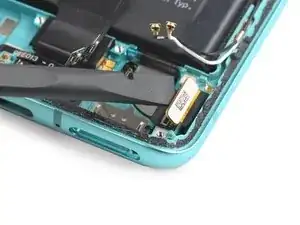
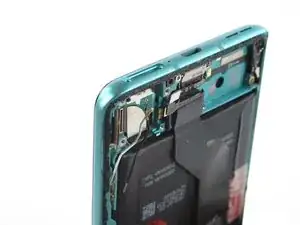
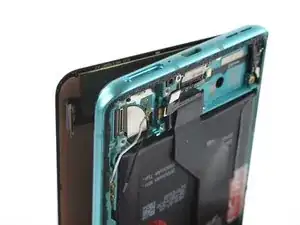
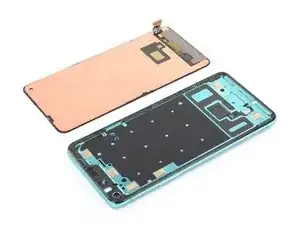
Use this guide to replace a cracked or broken screen on your OnePlus 8T.
If the frame is deformed, it's important to replace it to make sure the new screen will mount correctly and won’t suffer damage from uneven pressure.
Before disassembling your phone, discharge the battery below 25%. The battery can catch fire and/or explode if accidentally punctured, but the chances of that happening are much lower if discharged.
Note: This guide instructs you to replace only the screen while leaving the original frame and motherboard in place. However, some replacement screens for this phone come pre-installed in a new frame (a.k.a. chassis), which requires a very different procedure. Make sure you have the correct part before starting this guide.
You’ll need replacement adhesive to reattach components when reassembling the device.
Werkzeuge
Ersatzteile
-
-
Switch off your phone.
-
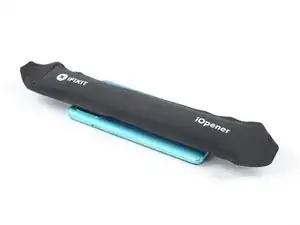
Heat an iOpener to loosen the adhesive beneath the rear glass. Apply the iOpener for at least two minutes. You might want to repeat this step several times during the rear glass removal.
-
-
-
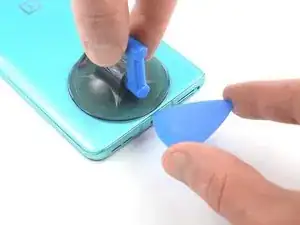
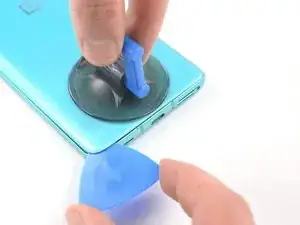
Apply a suction cup to the back of the phone, as close as possible to the center of the bottom edge.
-
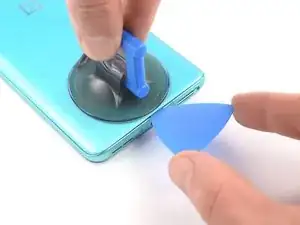
Pull on the suction cup to create a gap between the rear glass and the frame.
-
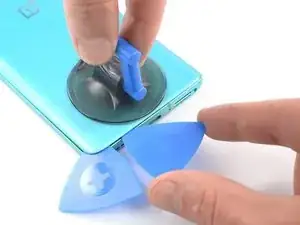
Insert the tip of an opening pick into the gap and slide it to the bottom left corner.
-
Leave the opening pick in its place to prevent the adhesive from resealing.
-
-
-
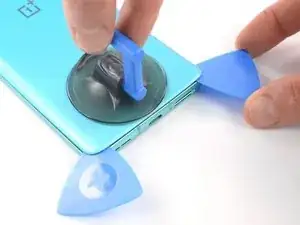
Insert a second opening under the bottom left corner.
-
Slide the opening pick along the bottom edge to the bottom right corner.
-
Leave the pick in its place to prevent the adhesive from resealing.
-
-
-
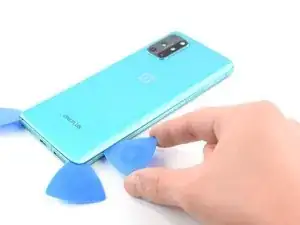
Insert a third opening pick under the bottom right corner.
-
Slide the opening pick along the right edge to the top right corner.
-
Leave the opening picks in their place to prevent the adhesive from resealing.
-
-
-
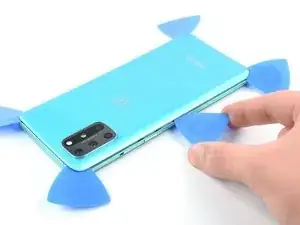
Insert a fourth opening pick under the top right corner.
-
Slide it along the top edge to the top left corner to cut the adhesive.
-
Leave the opening pick in its place to prevent the adhesive from resealing.
-
-
-
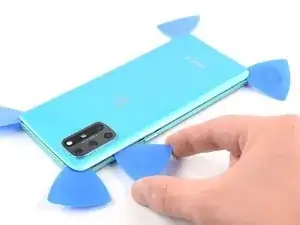
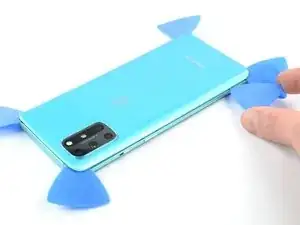
Insert a fifth opening pick under the top left corner.
-
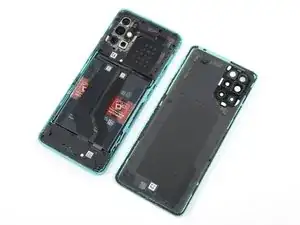
Slide the opening pick along the left edge to the bottom left corner to cut the remaining adhesive.
-
-
-
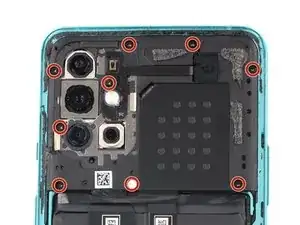
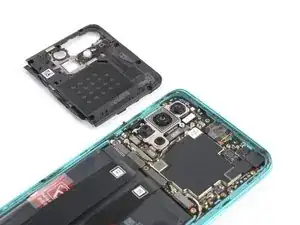
Use a Phillips screwdriver to remove the nine 3.8 mm-long screws securing the motherboard cover.
-
-
-
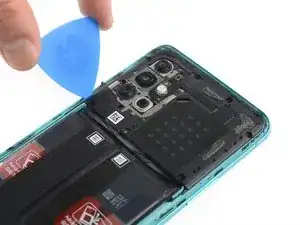
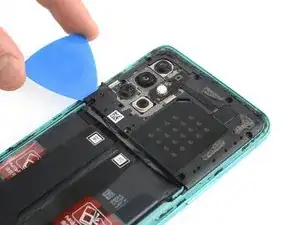
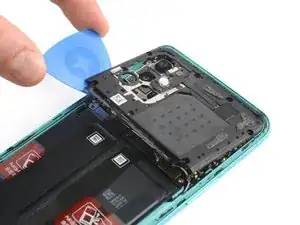
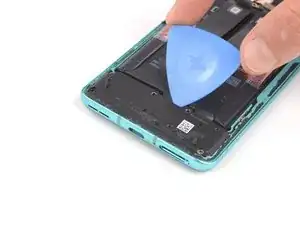
Insert the tip of an opening pick under the bottom left corner of the motherboard cover.
-
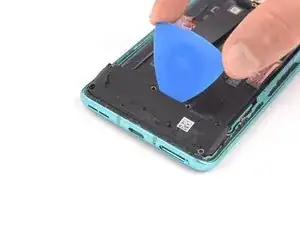
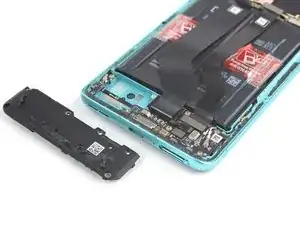
Use the opening pick to lift the motherboard cover up and release the plastic clips that hold it in place.
-
-
-
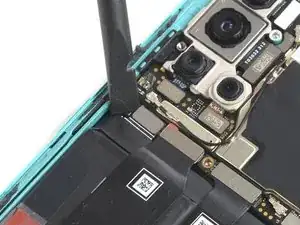
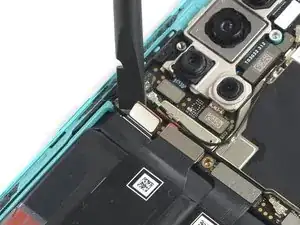
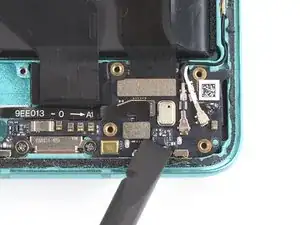
Use a spudger to disconnect the battery by prying the connector straight up from its socket.
-
-
-
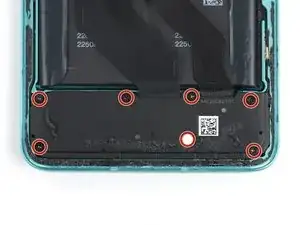
Use a Phillips screwdriver to remove the seven 3.8 mm-long screws securing the daughterboard cover.
-
-
-
Insert the tip of an opening pick under the top edge of the daughterboard cover.
-
Use the opening pick to lift the motherboard cover up and release the plastic clips that hold it in place.
-
Remove the daughterboard cover.
-
-
-
Use a spudger to disconnect the first fingerprint sensor connector by prying it straight up from its socket.
-
-
-
Use a spudger to disconnect the second fingerprint sensor connector by prying it straight up from its socket.
-
-
-
Use a spudger to disconnect the interconnect cable by prying the connector straight up from its socket.
-
-
-
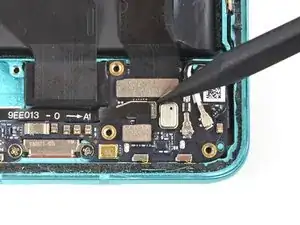
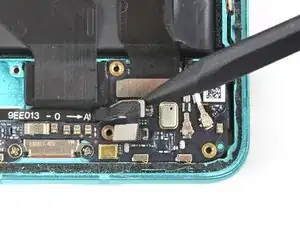
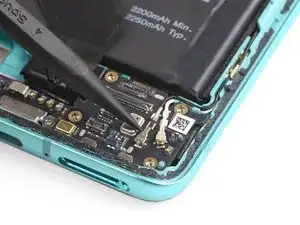
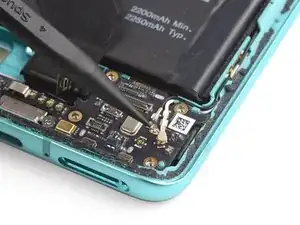
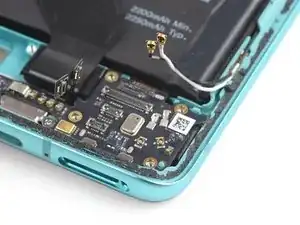
Carefully disconnect the two antenna cables by prying them straight up from the daughterboard.
-
-
-
Use an opening pick to pry up the daughterboard.
-
Use your fingers to separate the daughterboard from the phone assembly.
-
-
-
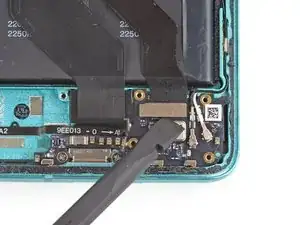
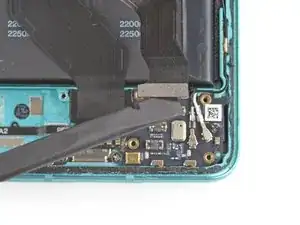
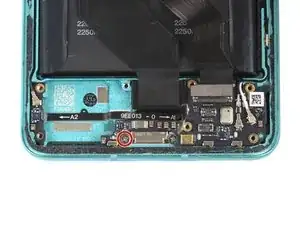
Use the flat edge of a spudger to pry up and disconnect the screen connector from its socket at the frame.
-
-
-
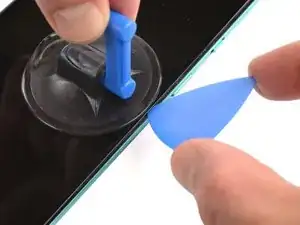
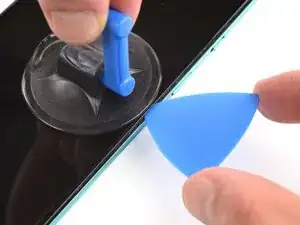
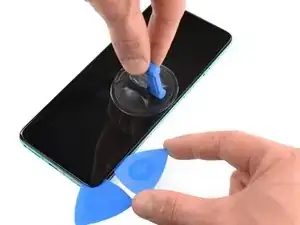
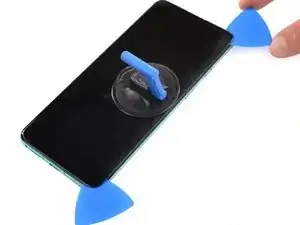
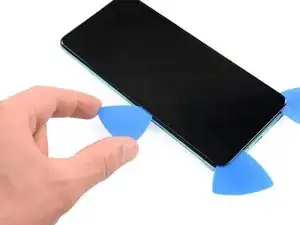
Apply a suction cup to the right edge of the screen.
-
Pull the suction cup up with strong, steady force to create a gap.
-
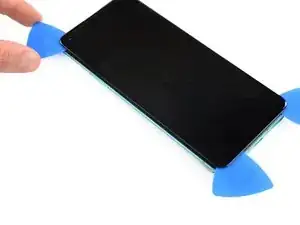
Insert the point of an opening pick into the gap and slide it to the bottom right corner.
-
Leave the opening pick in its place to prevent the adhesive from resealing.
-
-
-
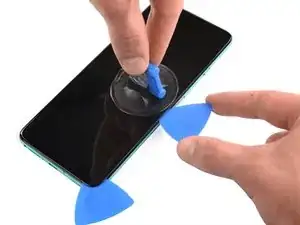
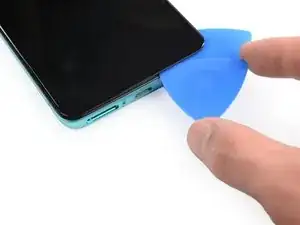
Insert a second opening pick at the bottom right corner.
-
Slide the opening pick along the right edge to the top right corner.
-
Leave both opening picks in their place to prevent the adhesive from resealing.
-
-
-
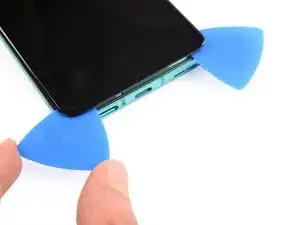
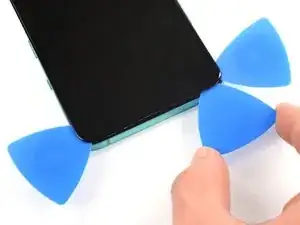
Insert a third opening pick under the bottom right corner.
-
Slide the opening pick along the bottom edge to the bottom left corner to slice the adhesive.
-
Leave the pick in its place to prevent then adhesive from resealing.
-
-
-
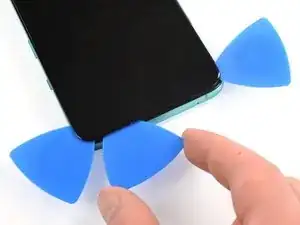
Insert a fourth opening pick under the bottom left corner.
-
Slide the opening pick along the left edge to the top left corner to slice the adhesive.
-
Leave the pick in its place to prevent the adhesive from resealing.
-
-
-
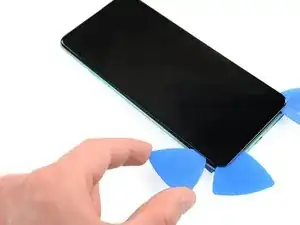
Insert a fifth opening pick under the top left corner.
-
Slide the opening pick along the top edge to the top right corner.
-
If possible, turn on your device and test your repair before installing new adhesive and resealing.
Compare your new replacement part to the original part—you may need to transfer remaining components or remove adhesive backings from the new part before installing.
To reassemble your device, follow these instructions in reverse order. Apply new adhesive where necessary after cleaning the relevant areas with isopropyl alcohol (>90%).
The best way to secure the new screen is to apply a sheet of custom-cut double-sided tape to the back of the screen.
Take your e-waste to an R2 or e-Stewards certified recycler.
Repair didn’t go as planned? Try some basic troubleshooting, or ask our Answers community for help.
4 Kommentare
Thank you iFixit & Adriana! These intructions are spot on and guided me perfectly through a successful front and rear screen replacement.
Jim M.
Hi Jim, we're happy to hear that we were able to help you with your repair!
I broke my phone one plus 8T just now, how should i proceed next ? I want it really to be fixed but not sure if its still in a condition that i can be repaired
Do you remove the front earpiece speaker grill as well when you remove the front screen? As I am putting the screen back on, not sure if the top of the screen needs to be under the grill, but for some reason, it isn't matching or it's bulging from that area.
