Einleitung
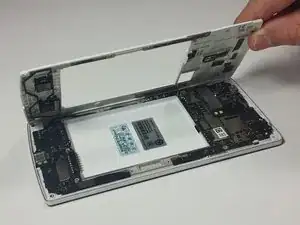
Removing the chassis is easy, but there are a few sneaky tricks to the process. Keep in mind that removing the chassis voids most manufacturer warranties.
Werkzeuge
-
-
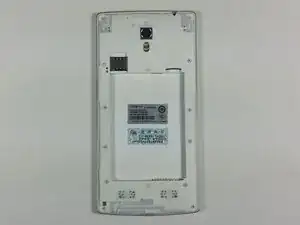
Turn the phone over so that you are facing the back side of the phone.
-
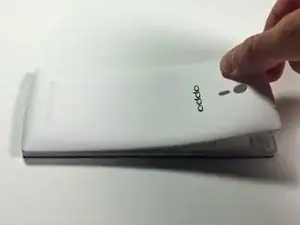
With your fingers, pry the back cover up starting from the top of the phone near the headphone jack and camera.
-
Completely remove the back cover by moving down the sides and bottom with your fingers.
-
-
-
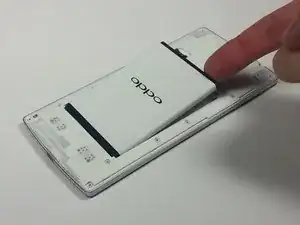
With your finger, remove the battery from the phone by gently lifting the top-right corner nearest to the camera.
-
-
-
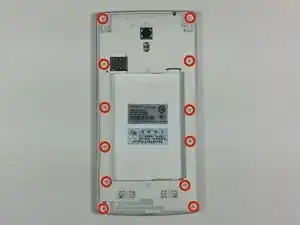
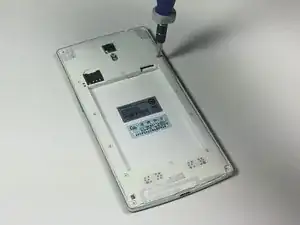
Remove the twelve exposed 3.6 mm Phillips screws on the rear of the phone using the 3.6 mm Phillips screwdriver.
-
-
-
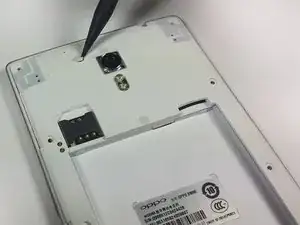
Remove the three circular rubber screw covers on the back of the phone by slipping the spudger into the border between the rubber cover and the chassis. In one motion, pry the stopper out of the hole. This can take some force.
-
-
-
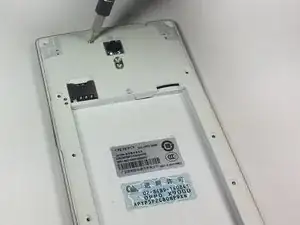
With the 3.6 mm Phillips screwdriver, remove the three newly exposed 3.6mm Phillips screws.
-
-
-
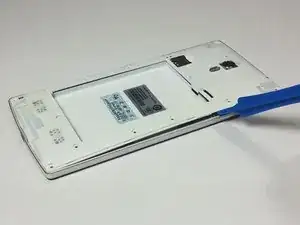
Insert the plastic opening tool underneath the chassis near the power button and pry the chassis from the phone. This should take a little force.
-
To reassemble your device, follow these instructions in reverse order.
