Einleitung

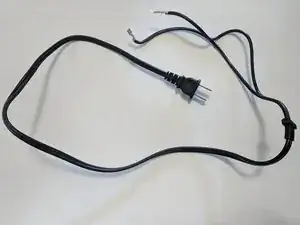
The power cord is responsible for providing power to your device. This guide will instruct you on how to replace the power cord.

  1. ZE1xoaP6vccOfjOT
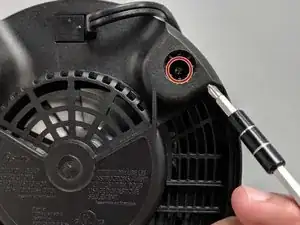
    • Use the prying tools to open the four plastic screw holes on the bottom of the blender.

  2. eJkjXYteu3S2tHkN
    • Use the Phillips #1 Screwdriver to unscrew the four 16 mm screws and remove the plastic bottom.

  3. OnYKUHU1TpLFTkcr
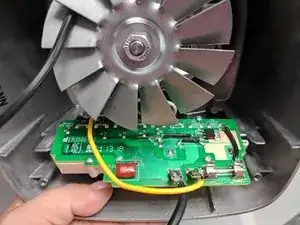
    • Gently remove the circuit board.

  4. RBYBkGuNb1BXVi2H
    RBYBkGuNb1BXVi2H
    u4m3GXNZ4gQOZn4h
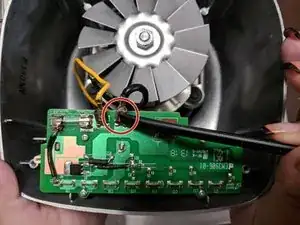
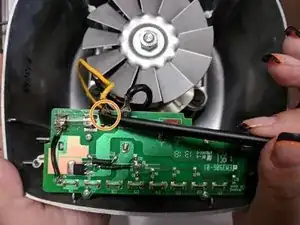
    • Use the spudger to detach the black wire from the circuit board.

    • Repeat for yellow wire.

  5. V1l4wRiVu2mnFqAY
    V1l4wRiVu2mnFqAY
    nUfyk1OWlXEgYyt3
    sVSCadm2upJGTkhF
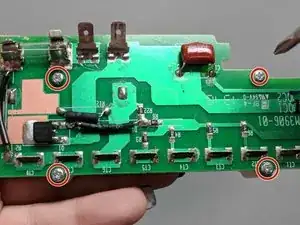
    • Use the Phillips #1 to remove the four 8mm screws.

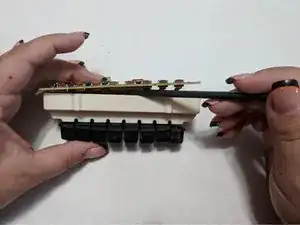
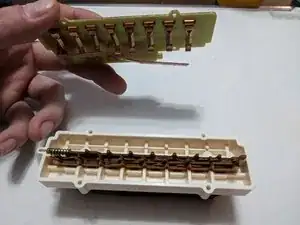
    • Use the medal spudger to detach the circuit board from the buttons.

    • Gently pull and release circuit board from buttons.

  6. 1wtDdkSoVUXgoGJU
    1wtDdkSoVUXgoGJU
    jxFXreL4Kuuu1eOY
    sAbyVSqnbSGdQYmU
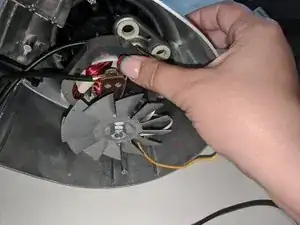
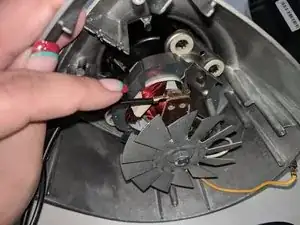
    • Locate petal prong on the end of the power cord.

    • Bend metal prong until it's straight with your finger.

  7. EYOLQAQNR4SEBfyh
    EYOLQAQNR4SEBfyh
    pSDNtKXnjmF6aXoG
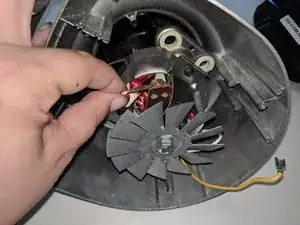
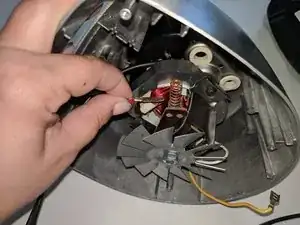
    • Spring will pop out when you pull out metal prong

    • Pull prong out of the hole.

  8. ELPeJJMTkyIXWnA4
    ELPeJJMTkyIXWnA4
    KZUP1WKxRNmEDZ5N
    YcMMyjeZm11CQU4m
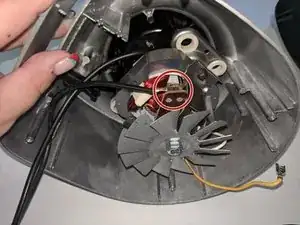
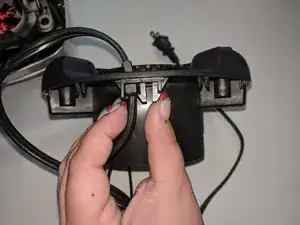
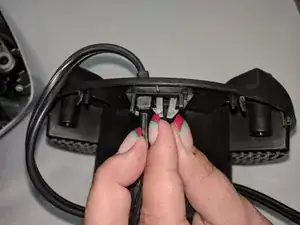
    • Pinch plastic prongs on base of blender to remove plastic securing device.

    • Remove plastic securing device.

    • Pull power cord out of blender base.

Abschluss

To reassemble your device, follow these instructions in reverse order.
Loren Hyer

Mitglied seit: 20/09/17

101 Reputation

0 Kommentare