Einleitung
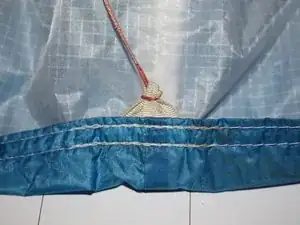
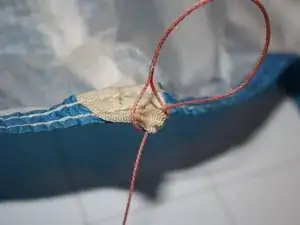
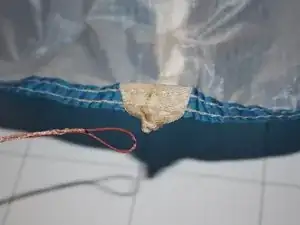
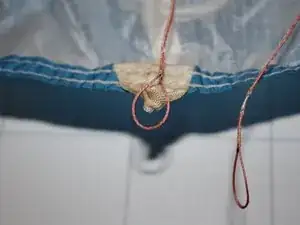
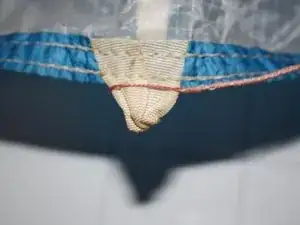
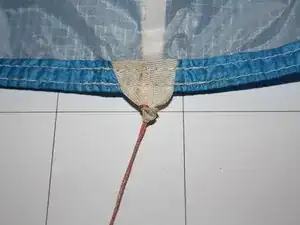
This guide shows how to detach the brake handle, unrigging the brake lines until getting to the broken line, unrigging the broken line, rigging a new replacement line and re-rigging the brake again, finally attaching the brake handle again.
Ersatzteile
-
-
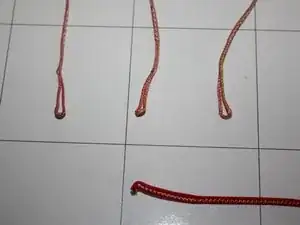
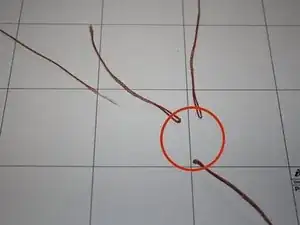
It is most important not to tangle lines when replacing any line on your glider. If you do not have much space it is even more important to first identify the broken line and then isolate the the broken line and all cascades from the glider to the risers.
-
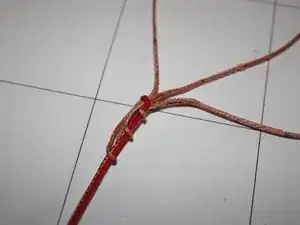
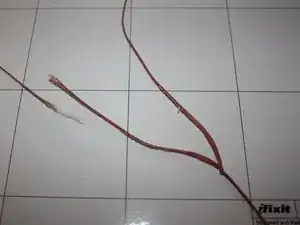
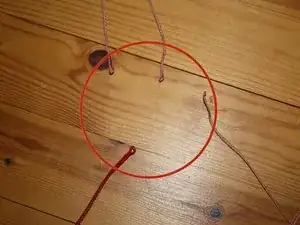
In this case a brake line of the upper cascade is broken.
-
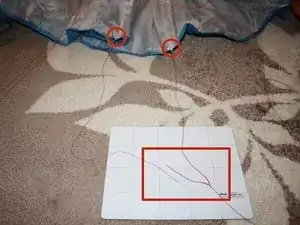
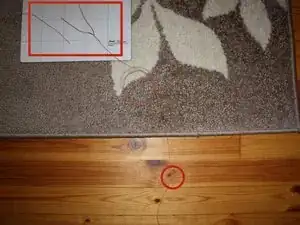
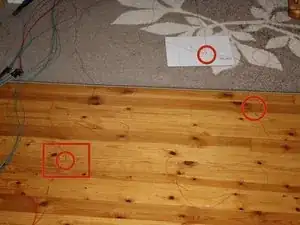
Start by isolating the affected suspension loops on the glider and untangle all lines - down to the brake handle
-
-
-
Isolate and arrange all cascades as clean as possible. It is easier to work with the lines if you know and see where they are going.
-
Note that in this case we need to open 4 cascades and the brake handle knot to replace the upper cascade brake line.
-
brake handle knot
-
line cascades (looped trough)
-
-
-
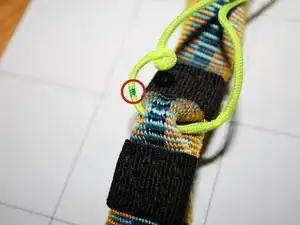
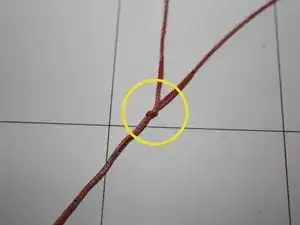
In this case i added a small mark exactly on that position on the line that was hidden in the brake handle.
-
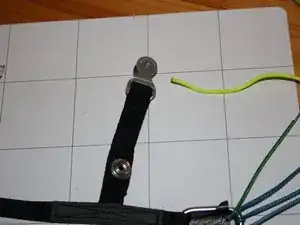
Slowly pull the brake line to the side that goes up to the wing to free the brake handle.
-
The brake handle is now free
-
-
-
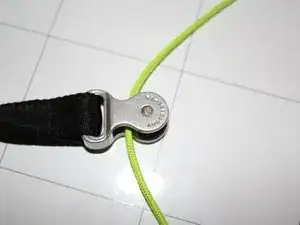
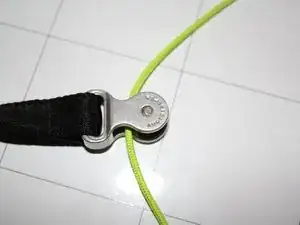
The brake line on the Rush 4 - as on most other gliders - goes through a pulley.
-
Remove the free brake line from the pulley by pulling on the end that goes up to the glider
-
-
-
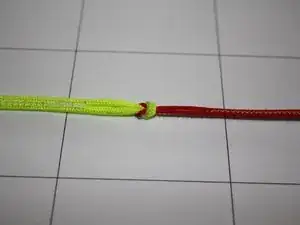
Following the brake line up to the damaged part, we reach the first line connection which is a looped through line connection
-
To open the line connection, loosen the connection carefully by pushing the lines against each other carefully.
-
-
-
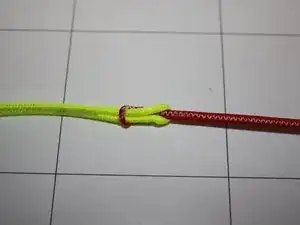
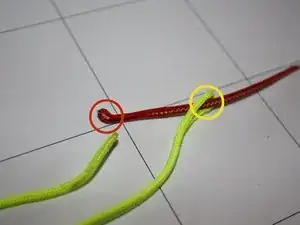
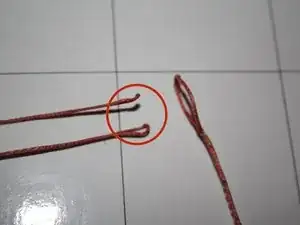
To open the looped through connection of the lines first pull the open end of the yellow line all the way through the loop of the red line
-
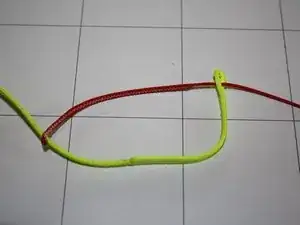
After the line has been pulled through the loop of the red line, pull the red line through the loop of the yellow line from the side that goes further up to the glider to remove it from the yellow line
-
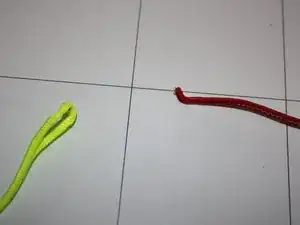
The yellow line is now free.
-
-
-
Following the - now red - brake line further up to the glider we will soon reach the first of the three cascades which need to be opened to replace a brake line of the upper cascade.
-
The procedure to open that connection is basically the same as for the previous uncascaded loop through connection.
-
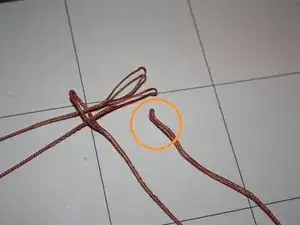
Carefully pull the open end (red line) all the way through the loops of the cascading lines.
-
Pull the cascading lines through the loop of the line that is to be removed
-
-
-
Open all the cascades until you get to the line that needs to be replaced.
-
Take note of the other cascades as shown in the picture as an example. It is best if you group the ends of the lines that need to be reconnected later.
-
-
-
The line is looped through the suspension point on the glider in the same way as the lines are connected on the cascades or simple line to line looped through connections
-
Carefully push the line against the suspension point to loosen the connection
-
Pull the open end of the line through the suspension loop
-
remove the lines loop from the suspension point
-
The - in this case damaged - line is free
-
-
-
Put one loop of the replacement line around the line suspension point
-
Arrange it until it is at the very top of the suspension point.
-
Pull the other end of the line through the suspension point
-
Voila! Connected!
-
-
-
Put the - in this case - two cascading lines coming from the glider through one of the loops of the line going down.
-
Pull the other end of the line going down all the way through the loops of the lines coming from the glider.
-
Carefully arrange everything and pull tight
-
-
-
Insert the brake line back into the pulley.
-
Take note that you insert the brake line from above so that the pulley is not tangled later.
-
-
-
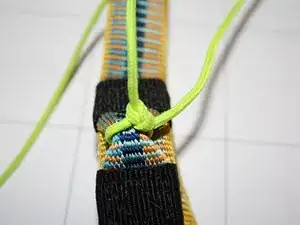
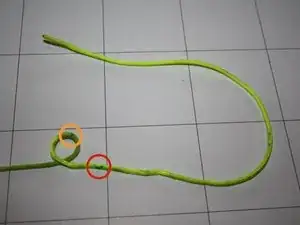
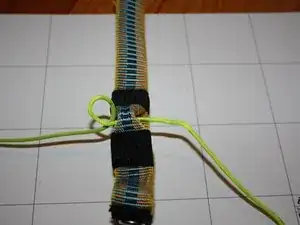
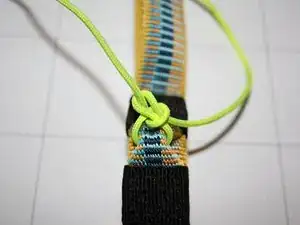
For reconnecting the brake handle to the glider make a loop just above the mark where the brake handle has to be
-
This image also shows the mark of the manufacturer which later sits exactly above the brake handle knot
-
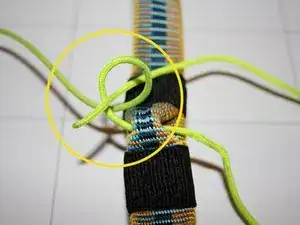
Finally, put the end of the line back through the loop we did above the mark and continue with the next step.
-
-
-
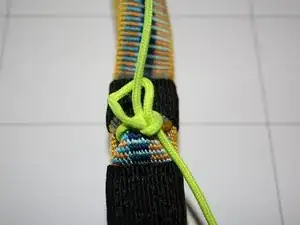
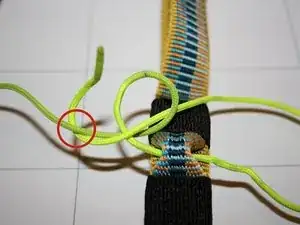
With the open end of the line that has just been put through the loop, go around the line that goes up to the glider and come back
-
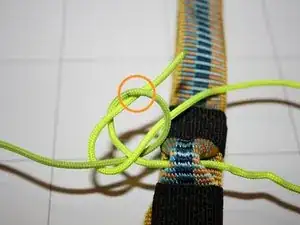
Continue with the end of the line and go back through the loop we are coming from
-
Arrange carefully as shown in the last picture and pull tight
-
Voila! Brake line knot :)
-
-
-
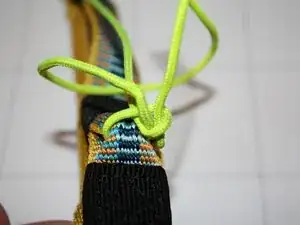
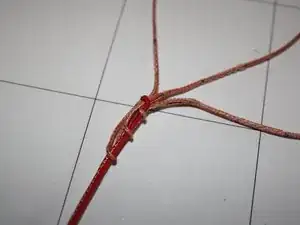
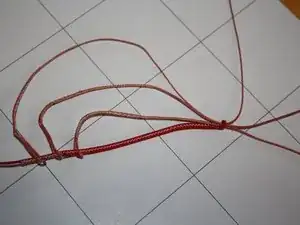
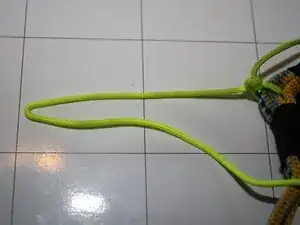
Bend the line like in the first picture
-
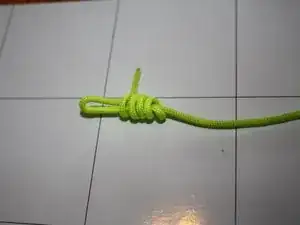
Bend again and go back around the lines approx. 5 or 6 times.
-
Put the end of the line through the loop at the end and pull tight carefully
-
If you feel that something is missing please let me know!
