Einleitung

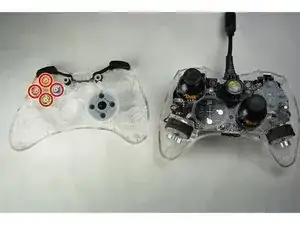
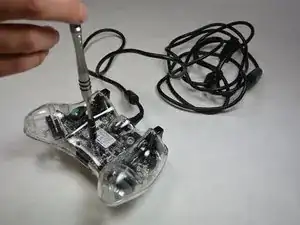
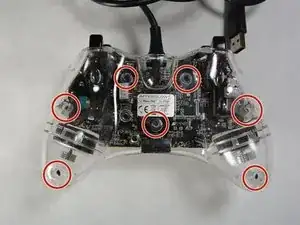
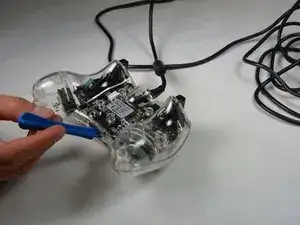
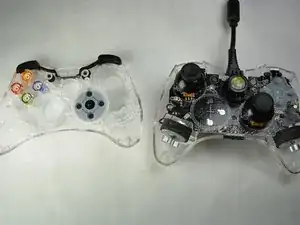
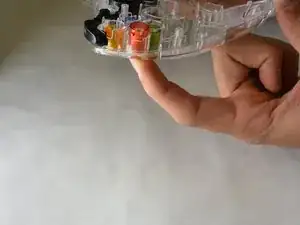
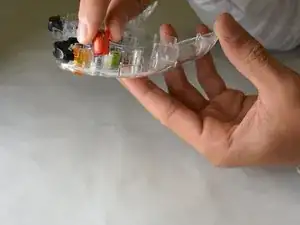
This guide will provide step-by-step instructions for replacing the A, B, X, and Y buttons on the controller.

  1. Rn6ElGaMftUQaAoH
    Rn6ElGaMftUQaAoH
    KBpOxfCT5TOSlkSC
    • Loosen the seven 11 mm Phillips #0 screws located on the back of the controller.

  2. ukAwrn5NE2qni53J
    • Using a plastic opening tool, pry the back cover from the front.

    • The covers should separate without needing a plastic opening tool, but in some cases you may need to use it.

  3. e4vNBLNJZvOEtxtK
    • Remove the top cover from the bottom and place next to each other.

  4. kLvekRvFFjLUjMRO
    • Remove the rubber button covers from the A, B, X, and Y buttons.

    What about the rubber cover that's on all the buttons, similar to the rubber cover behind the D-Pad? What orientation is that meant to be in when reassembling the controller after replacing the buttons?

    Rohebat -

  5. KE2MevplP2ofVQmd
    KE2MevplP2ofVQmd
    mxXY2HqGSaWHJAhV
    • Push up on the buttons from the front and pull them out from the back.

Abschluss

To reassemble your device, follow these instructions in reverse order.

Joi Officer

Mitglied seit: 17/09/15

262 Reputation

3 Kommentare

What about removing the Dpad? i really need help.

Elijah Douglas -

I’m sorry but, I have to say that the reassembly process is harder than simply ‘follow the instructions in reverse’; if you try and place the half with the buttons, the buttons fall out or end up misaligned ; and if you use the other half, the rubber covers and the tumblers will fall out.

Again, this guild comes off a little too simple, there’s more to it.

Christopher Mali-Martinez -

the circuit board comes off the other half. You can stack them very easily. You're simply incorrect.

Tyler Anderson -