Einleitung
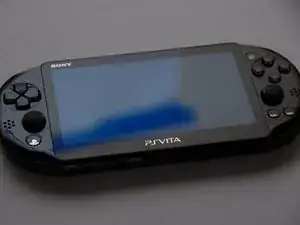
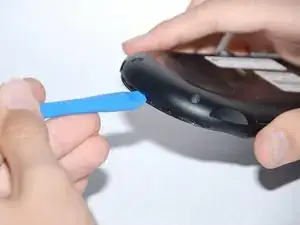
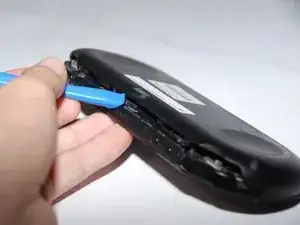
Note::: taking apart your device may void the warranty on the device, please proceed with caution and consider having it sent in first if possible to be worked on by the company. A screwdriver would be required for this action. So far we have been using the J00 head in the ifixit kit. Be careful when completing this action as you should have the entire back cover ready to be pulled off before attempting to do so. Having just the bottom or the top pulled up is not enough to get a safe removal, as there is some ribbons that may be damaged if pulled off wrong.
Werkzeuge
-
-
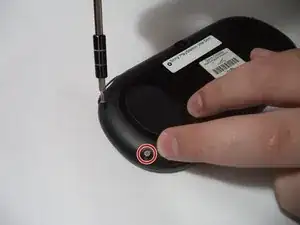
All 6.35mm screws were removed using a J00 bit from the iFixit pro toolkit.
-
There are four screws on the back of the device, remove them as shown.
-
-
-
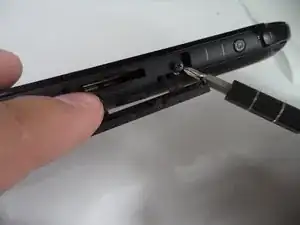
There are two screws on the bottom, near the charging port, remove them using the J00 screwdriver on the 6.35mm screws from the iFixit pro toolkit.
-
Finally, remove the top screw under the dust cover using the J00 screwdriver on the 6.35mm screws from the iFixit pro toolkit.
-
-
-
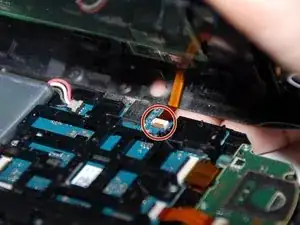
Upon removing the back panel you will need to slowly and carefully remove the ribbons connecting the hardware to access the needed parts to be repaired.
-
-
-
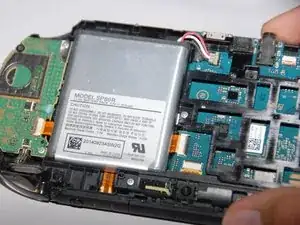
Once the ribbons have been removed, then the back is fully removed and you can access the hardware within.
-
To reassemble your device, follow these instructions in reverse order.

I actually broke a 32GB storage card because I didn’t remove it first before I open the chasis. Beware of this!!! REMOVE YOUR CARD FIRST!!!
Daniel Wang -