Einleitung
Note::: taking apart your device may void the warranty on the device, please proceed with caution and consider having it sent in first if possible to be worked on by the company. This guide's goal is to help you replace the buttons on the PS Vita Slim. You may need to do this if the buttons get sticky, worn out, or damaged. The buttons should be a simple procedure. As long as you take your time and you carefully interact with the system you should be fine.
Werkzeuge
Ersatzteile
-
-
All 6.35mm screws were removed using a J00 bit from the iFixit pro toolkit.
-
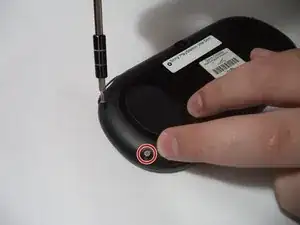
There are four screws on the back of the device, remove them as shown.
-
-
-
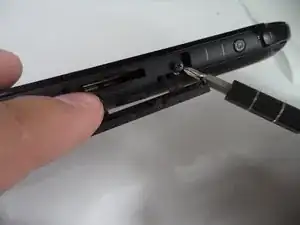
There are two screws on the bottom, near the charging port, remove them using the J00 screwdriver on the 6.35mm screws from the iFixit pro toolkit.
-
Finally, remove the top screw under the dust cover using the J00 screwdriver on the 6.35mm screws from the iFixit pro toolkit.
-
-
-
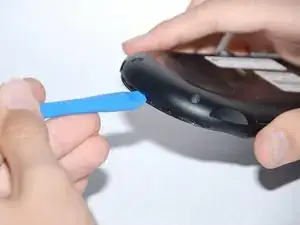
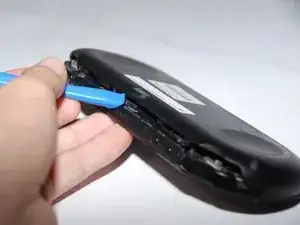
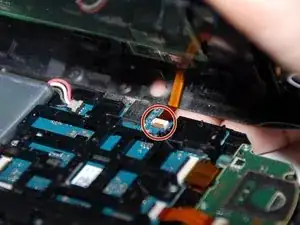
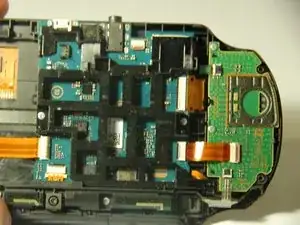
Upon removing the back panel you will need to slowly and carefully remove the ribbons connecting the hardware to access the needed parts to be repaired.
-
-
-
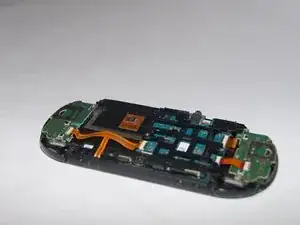
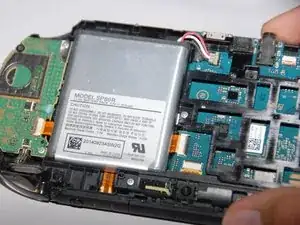
Once the ribbons have been removed, then the back is fully removed and you can access the hardware within.
-
-
-
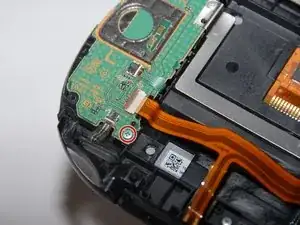
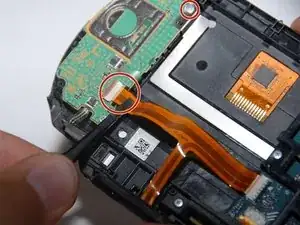
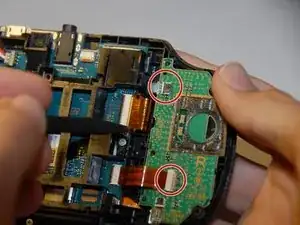
The next step is to take the ribbon off of the green casing on the left.
-
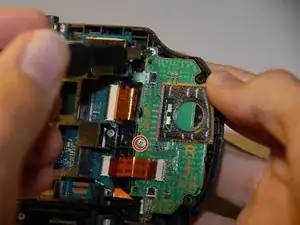
Then simply unscrew the two screws holding down the green casing using a J00 bit from the iFixit pro toolkit, they should both be 6.35 mm .
-
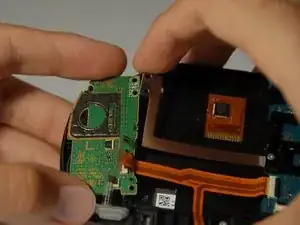
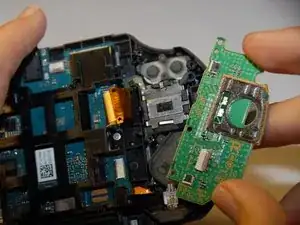
Now simply raise the last restraint, a metal bar that is holding the casing down. Once it has been removed you can take off the green casing.
-
-
-
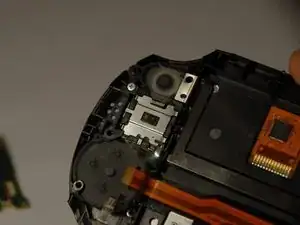
After the green casing has been taken off you should be able to see the back of the D-pad.
-
-
-
First step is the removal of the ribbons on the green casing.
-
Once the ribbons have been removed, next you will want to remove the two 6.35 mm screws using the J00 screwdriver.
-
Now you should be able to remove the green casing.
-
-
-
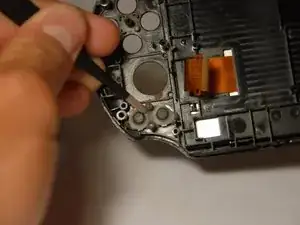
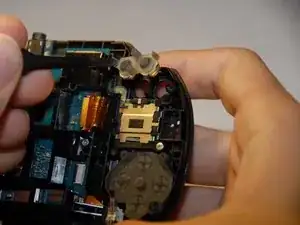
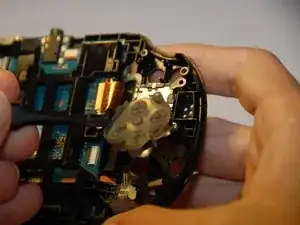
Once the green casing has been removed you are now be able to see the button pads that need to be removed.
-
The D-pad and other such buttons can now be replaced or simply cleaned.
-
To reassemble your device, follow these instructions in reverse order.

I actually broke a 32GB storage card because I didn’t remove it first before I open the chasis. Beware of this!!! REMOVE YOUR CARD FIRST!!!
Daniel Wang -