Einleitung
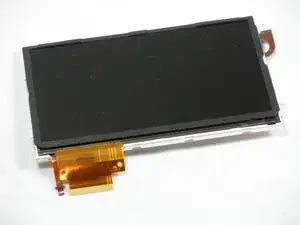
Cracked/broken LCD? No problem! Replace it with ease.
Werkzeuge
Ersatzteile
-
-
Place PSP face down, so that the UMD Drive is facing upwards.
-
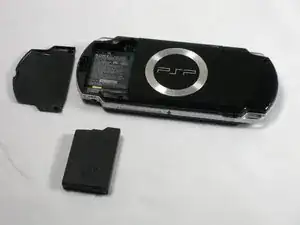
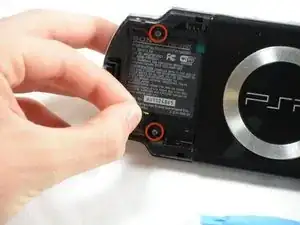
Locate the battery door and open.
-
Remove the battery from inside.
-
-
-
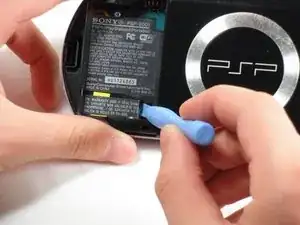
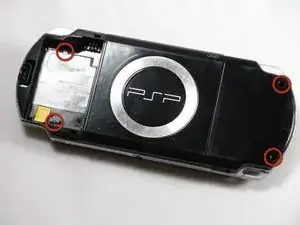
Locate the sticker in the battery compartment labeled: "En: Warranty Void if Seal Damaged."
-
Remove the sticker using the PSP Opening Tools.
-
-
-
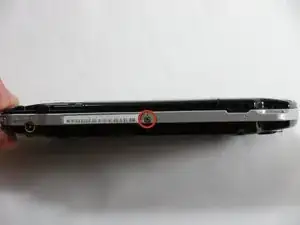
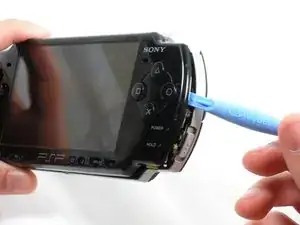
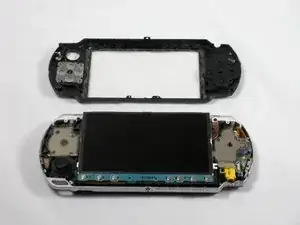
Gently pry the front bezel away from the casing using a PSP opening tool.
-
Start on the right hand side of the PSP bezel, and carefully work the tool around the side.
-
-
-
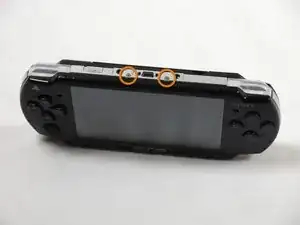
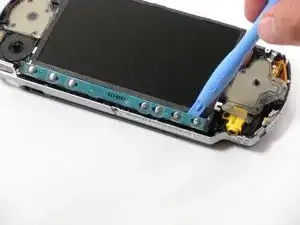
Remove the home bar by gently prying on the left and right sides of it with the opening tools. Lift the bar out of the device.
-
-
-
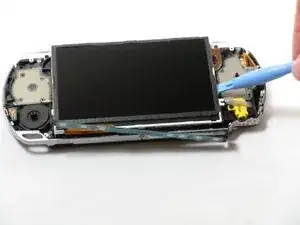
With the home bar out of the way, gently pry up the display using the opening tools.
-
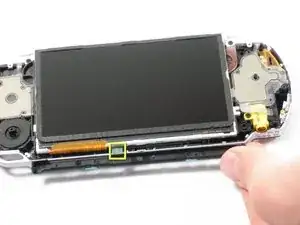
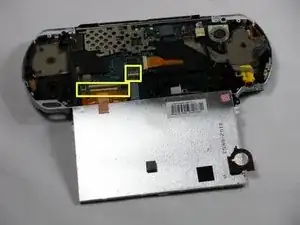
Lift the black tabs of the ribbon cable connectors using a opening tool. Pull the ribbons out towards the bottom of the PSP to disconnect.
-
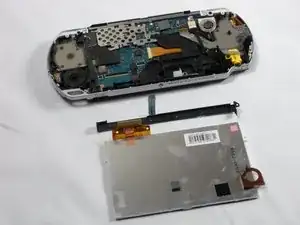
Gently lift out the display.
-
To reassemble your device, follow these instructions in reverse order.
3 Kommentare
That does’t seem that hard. Is this tutorial working with the PSP2004?
Yes it is, just did it :)
Billy -
Thanks for the great tut just fixed a trash find psp with a cracked lcd.
