Einleitung
Werkzeuge
Ersatzteile
-
-
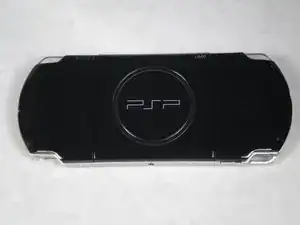
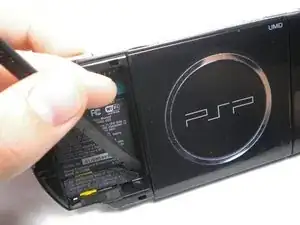
Place the PSP face down and locate the battery cover on the left side of the device.
-
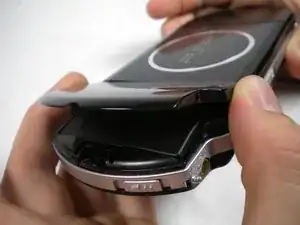
Lift and remove the battery cover to reveal the battery.
-
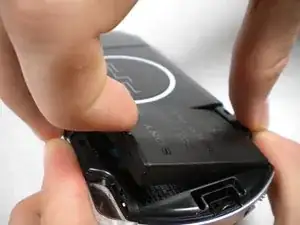
Remove the battery.
-
-
-
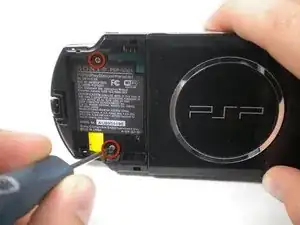
Peel back the warranty sticker that is behind the battery with a spudger or your fingernail.
-
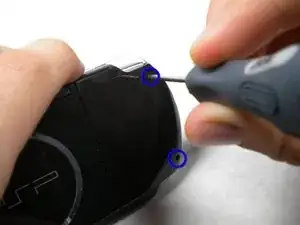
Unscrew all four screws from the back of the PSP with the Phillips #00 Screwdriver.
-
Two are located behind the battery's warranty sticker.
-
Two are located on the right side of the PSP.
-
-
-
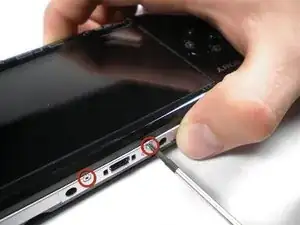
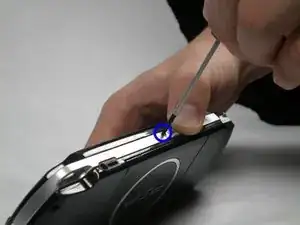
Unscrew two screws from the top of the PSP.
-
Turn the PSP around, and unscrew a single screw from the bottom edge (next to the barcode).
-
-
-
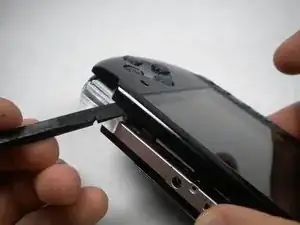
Slide the spudger in between the outer casing of the PSP, beginning at the "R" shoulder button, and gently pry off the casing.
-
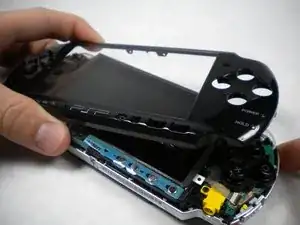
Remove the front casing completely.
-
-
-
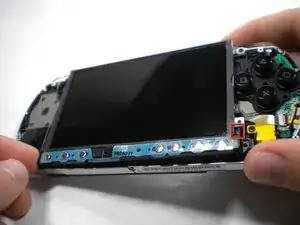
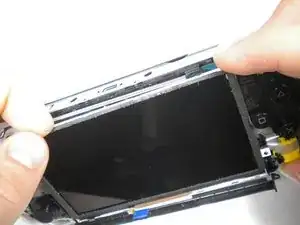
Push the homebar to the right to release the tab on the right side of the LCD screen.
-
Slowly begin to lift the LCD screen off the PSP from the top edge.
-
-
-
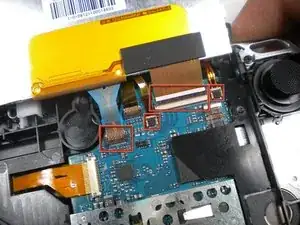
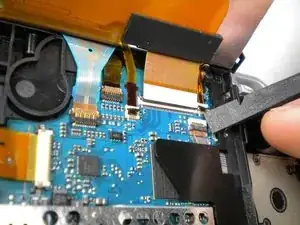
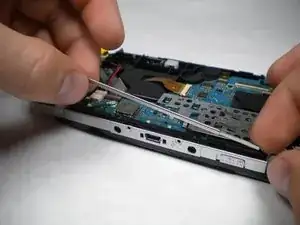
Using a spudger or fingernail, flip the small black/brown locks on the four ribbon cable connectors up.
-
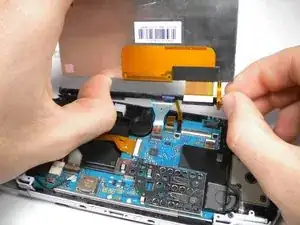
Pull all four ribbon cables out, and remove the LCD screen and homebar from the PSP.
-
-
-
If your button pads did not get removed when removing the front casing, now would be a good time to remove them.
-
-
-
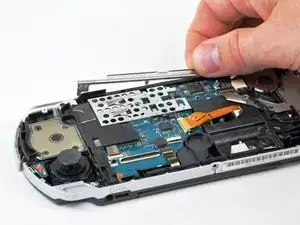
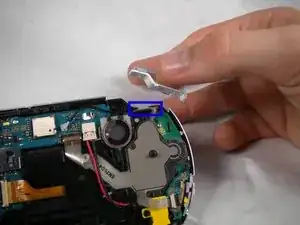
Remove the thin metal tab that lies above the LCD screen (this helps hold the LCD screen in place).
-
-
-
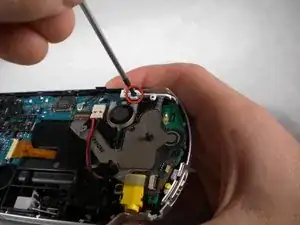
Remove the screw securing the 'R' trigger.
-
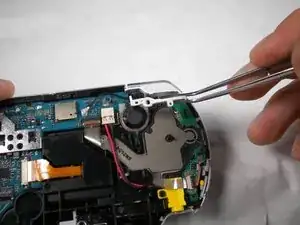
Remove the white plastic piece that holds the 'R' trigger in place.
-
Remove the 'R' trigger from the PSP.
-
Using a spudger, lift up the 'R' trigger rubber button.
-
-
-
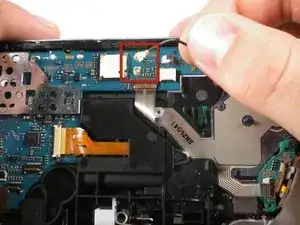
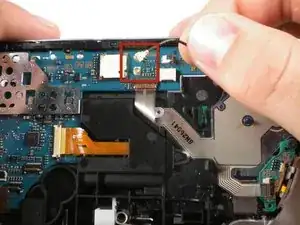
Using your fingernails or a spudger, gently pry the antenna cable from its socket.
-
Straighten up the antenna cable until it stands up vertically from the PSP.
-
-
-
Using your fingernails or a spudger, peel up the top Sony product sticker, located in the battery socket, until all of the WI-FI antenna is visible.
-
Using your fingernails or a spudger, peel off the antenna and remove.
-
You can replace it with a new one if needed.
-
To reassemble your device, follow these instructions in reverse order.
