Einleitung
Before you begin please be aware that you will be completely disassembling the device in order to get to the bulb inside. This will only require a Philips screw driver and able hands.
-
-
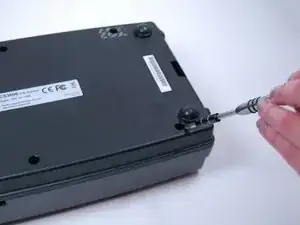
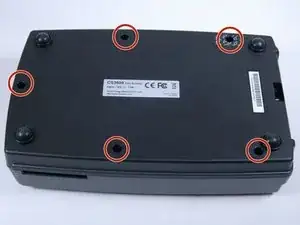
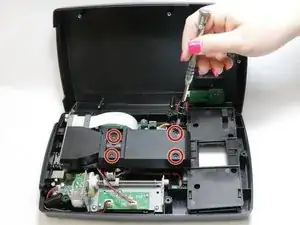
Start by removing the 5 screws that are 5mm x 9mm located on the bottom of the device with a J1 screwdriver.
-
-
-
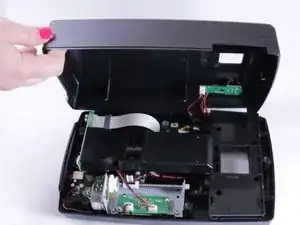
Now that the screws have been removed, carefully but firmly open up the device at the seam until it is presented as shown.
-
-
-
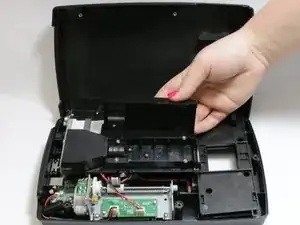
Now grab the plastic cover you just removed screws from and gently remove it from the device.
-
-
-
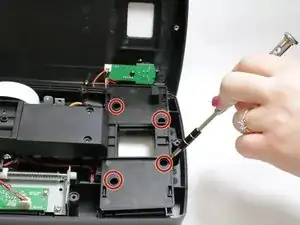
You may now pick up the plastic covering you removed screws from in Step 3 with ease revealing the bulb.
-
-
-
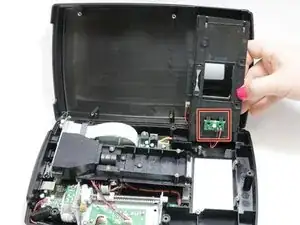
Lodge the plastic opening tool underneath the bulb casing. Using some upward force, pop the bulb off the casing.
-
-
-
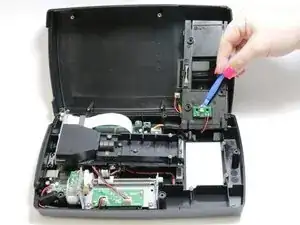
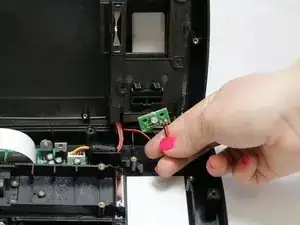
You have now removed the bulb from the casing. Gently pull the wires forward and prepare a soldering station.
-
-
-
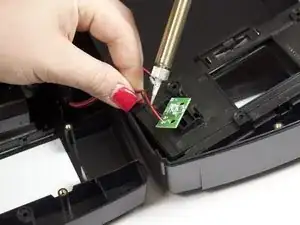
Carefully desolder the 2 wires from their solder contact points to detach the bulb panel from the motherboard.
-
To reassemble your device, follow these instructions in reverse order.