Einleitung

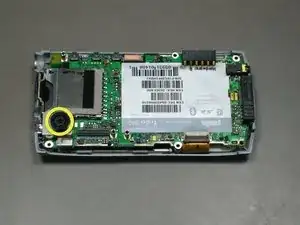
This guide will help you access and replace the Treo's camera if it is no longer functional.

  1. EYQmfHZNVUh6ZJVD
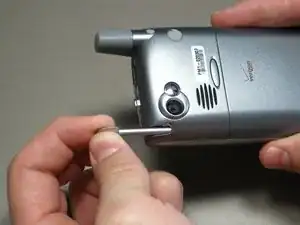
    • Position the phone so the screen faces down.

    • Remove the stylus found on the back of the phone.

  2. T3MmZPIEagCWjCxj
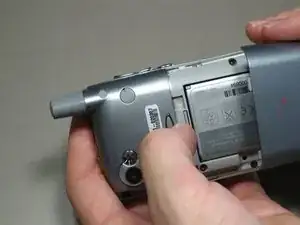
    • To remove the battery cover, hold down the button in the middle of the phone's back.

    • Slide the cover down to remove it, and set the cover aside.

  3. eA6HMp6SIZ5y151k
    eA6HMp6SIZ5y151k
    N1gFNGsoHtru65BH
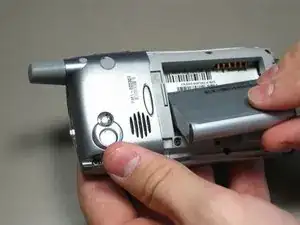
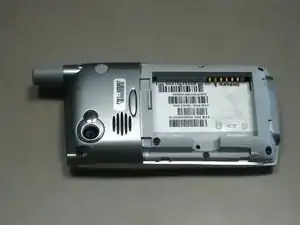
    • Lift the edge of the battery, separating contact points, and pull out as pictured.

  4. DBXBDyBhAgJQXcjh
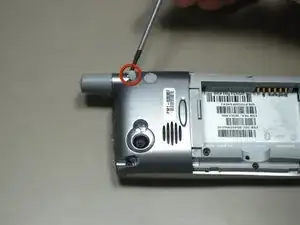
    • Remove the round rubber cover on the back of the phone located immediately below the antenna.

    • This will uncover a screw that will be removed in the next step.

  5. ANUSFAI1XfPRdItq
    ANUSFAI1XfPRdItq
    xIJNnjoE3UOfTTBQ
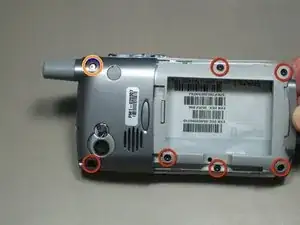
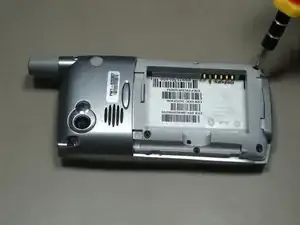
    • Remove the six 6.9 mm screws as pictured with a T5 Torx screwdriver.

    • Remove the single 9.8 mm screw next to the antenna on the back plate using a Phillips #00 screwdriver.

  6. J5ZXMWKxwybe3eSK
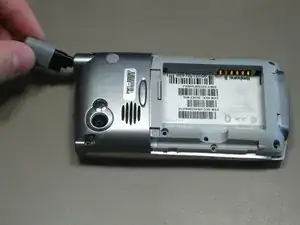
    • Remove the antenna.

  7. LHMSXFOoVvYK1WmE
    LHMSXFOoVvYK1WmE
    t2estXpOTIumdXhI
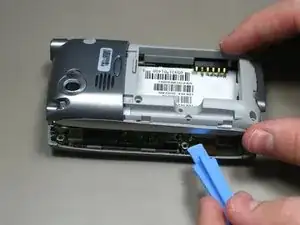
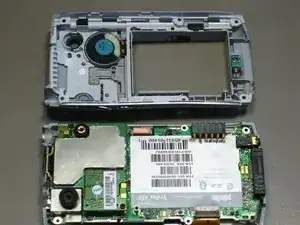
    • Pry the back cover off using an iFixIt opening tool.

    • The back cover is attached by several small clips on the inside.

  8. L1VmxdEhLXJVwQ5m
    L1VmxdEhLXJVwQ5m
    FyvCUZLin6FnQ3fn
    f5dQFaI1DZs5iLHr
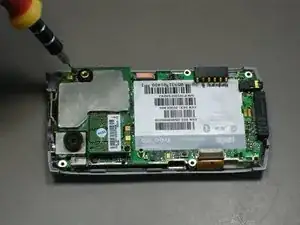
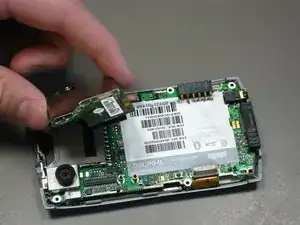
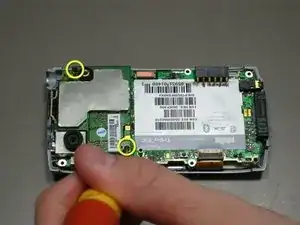
    • Remove the two 3.75 mm screws.

    • Pull off the logic board.

  9. KgOI4bt1bLXVaNPQ
    KgOI4bt1bLXVaNPQ
    ebQA6LoDyvfhlwea
    ecUZcBDu1AATogK5
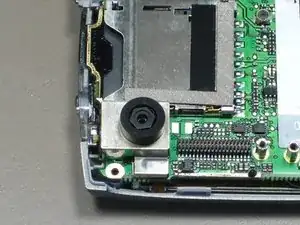
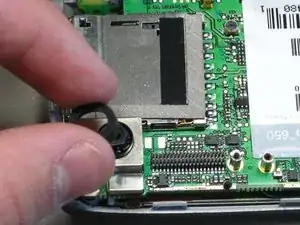
    • Pull the rubber ring off of the camera.

  10. BZhUUYPlIgReRPrH
    BZhUUYPlIgReRPrH
    fCDYsButoG6w52H2
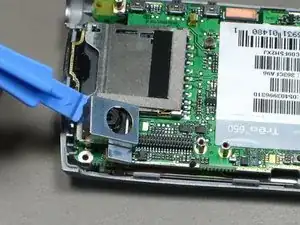
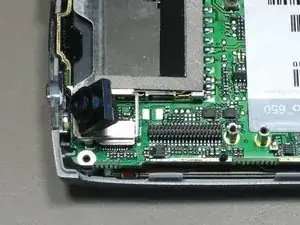
    • Pry off the metal camera case.

    • Lift up the camera, but do not remove. The connector must be detatched first.

  11. AFOj2HUnsVH5FHob
    AFOj2HUnsVH5FHob
    WCNI5aAKD4NfJyId
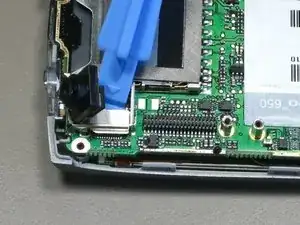
    • Pry off the camera connector plug.

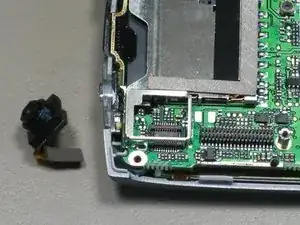
    • Remove the camera.

Abschluss

To reassemble your device, follow these instructions in reverse order.
cgood

Mitglied seit: 28/10/09

122 Reputation

0 Kommentare