Einleitung

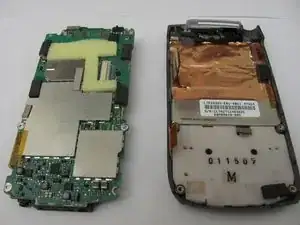
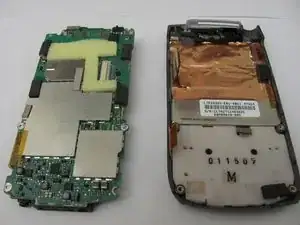
Follow this guide to gain access to your Treo's motherboard.

  1. UOX5gc5TRsGJnGjr
    UOX5gc5TRsGJnGjr
    Kj6VPuIKIU5o1G6d
    KIKPyYCigtOUA2uM
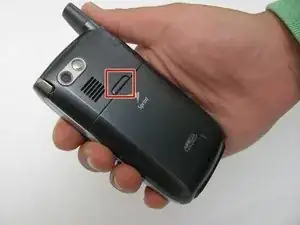
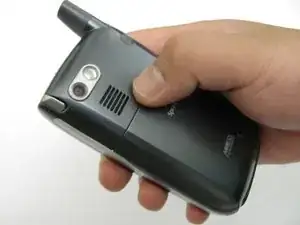
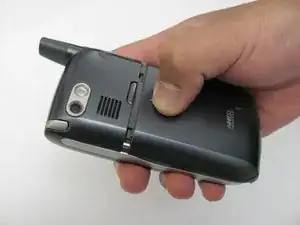
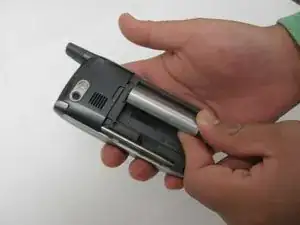
    • Press the button located just above the Sprint™ logo and then slide the cover down.

  2. fEhBWSNIPBOKLXi3
    fEhBWSNIPBOKLXi3
    wtPwsS4THsNOrAED
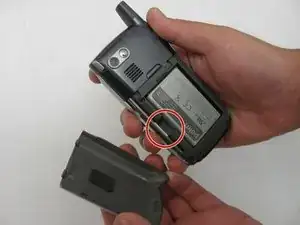
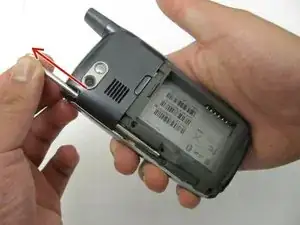
    • Use the small notch on the left hand side of the phone to remove the battery.

  3. Uy1LakZB2BKONVwR
    • Remove the stylus from the phone.

  4. 3Rux2oXpMfOftYJW
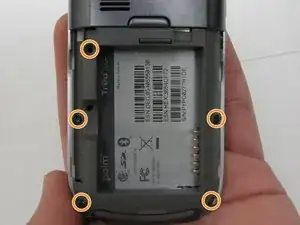
    • After removing the battery and stylus, unscrew the 5 Torx screws (using a T-5 Torx screw driver)

  5. bGMSV1OYaMZNkcey
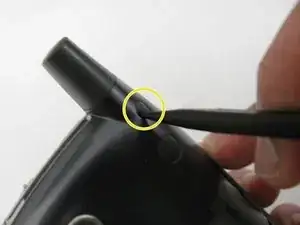
    • Using the spudger, remove the small rubberized patch under the antenna.

  6. ovxEnJNT2ZUOFKjS
    • Unscrew the last two screws using the previous screw driver.

  7. MVDSLsSQc2XsJCDU
    MVDSLsSQc2XsJCDU
    AvVXeilHNRCXPogE
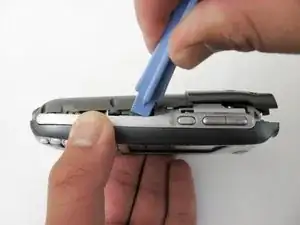
    • Using the plastic opening tool, gently separate the back case from the phone body.

  8. MEs2SpvgkP4cCicT
    MEs2SpvgkP4cCicT
    KS3FBTKNdLrZbrTa
    HXZNvKdFlPCSTf4X
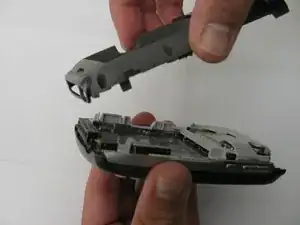
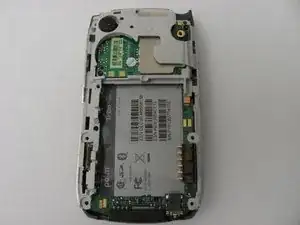
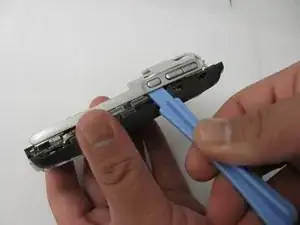
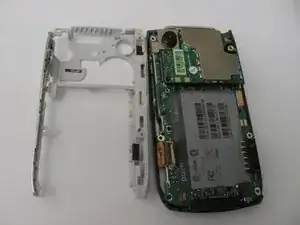
    • Using a plastic opening tool, gently edge your way between the back and border case (Picture 2) until they are completely separated (Picture 3).

  9. aZi3UnuDn1NtOD1o
    aZi3UnuDn1NtOD1o
    WkGtjnZoetREiImi
    FUOFZZ46eeUr3Xva
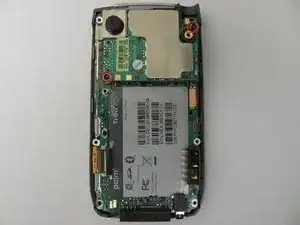
    • Remove the antenna chip by unscrewing the two screws with Torx T-5 screwdriver (Picture 1).

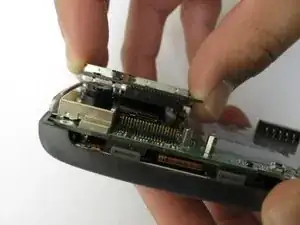
    • Once unscrewed, gently detach the antenna chip with your hands (Picture 2).

  10. XH6jMXNogHlUdd1Y
    XH6jMXNogHlUdd1Y
    QTv4vvURGgvlmIxr
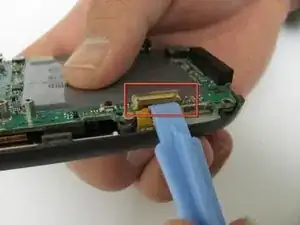
    • Use the plastic opening tool to unlock the tab holding the keyboard connection (Picture 1).

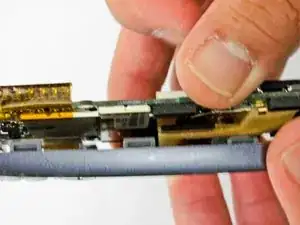
    • Once the keyboard connection is detached, use your hands to gently separate the motherboard from the back panel (Picture 2).

  11. wDr5ohtxnxBjT1Xk
    wDr5ohtxnxBjT1Xk
    VucjPncwdU1K2kJp
    I4lMKfxPoBKVngGC
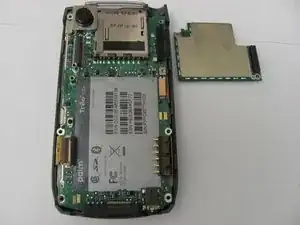
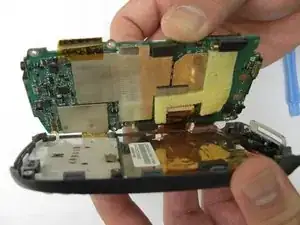
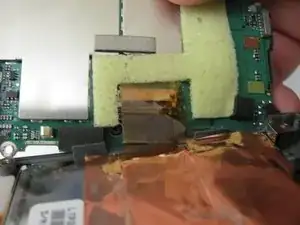
    • To completely detach the motherboard from the back panel, use the plastic opening tool to unlock the LCD connection from the motherboard (Picture 2).

    • Once the LCD connection is unlocked, the motherboard should now be completely detached from the back panel, keyboard, and LCD (Picture 3).

Abschluss

To reassemble your device, follow these instructions in reverse order.
Ivan

Mitglied seit: 29/04/12

11 Reputation

0 Kommentare