Einleitung

  1. Ze4kXBWDyCNMBNWa
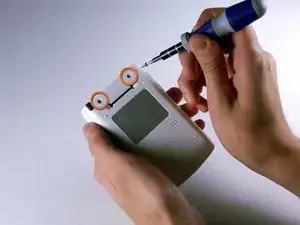
    • Unscrew the two 7.35mm Torx T6 screws.

  2. QsXJufgECvGgR5Wf
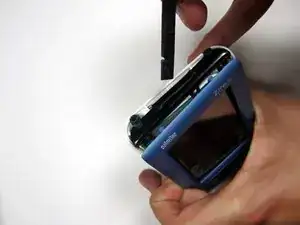
    • Using the flat end of the spudger, carefully pry the black cover on the top from the blue front cover.

  3. JMmGea4fX1obdfeO
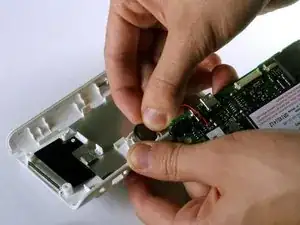
    • Carefully remove the speaker from the back white cover by just pulling it gently. It is glued on.

  4. PVd6cxOvMb6HCZ5M
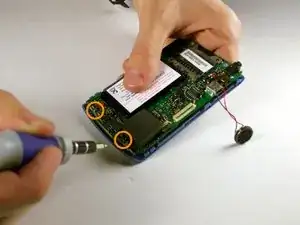
    • Unscrew the #00 5.75mm Phillips screws from the bottom of the motherboard. The front blue panel should fall right off.

  5. UNTDP2wlWowMB3JU
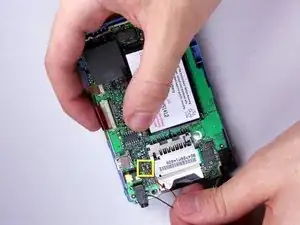
    • The soldering iron heats up leads, wires, and everything else it touches that is metal. Leaving it on too long may damage the board or burn you.

    • Desolder the speaker wires and solder the new speaker in its place.

    • The black and red wires are connected to the two solder bulbs in the yellow box.

Abschluss

To reassemble your device, follow these instructions in reverse order.
Gabe

Mitglied seit: 24/01/11

501 Reputation

0 Kommentare