Einleitung

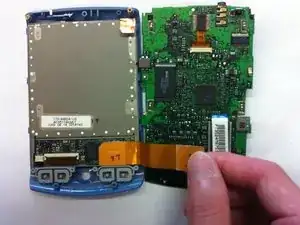
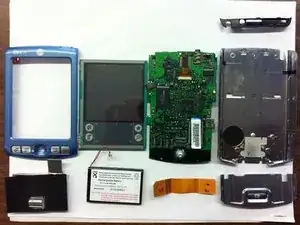
This is a guide for disassembling the motherboard and the screen.

  1. srE2NUeZpachZgsy
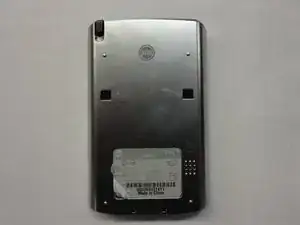
    • Flip the phone so it's facing screen-side down.

    • Slide the back cover upward to open.

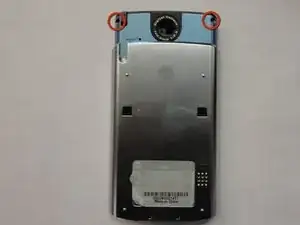
  2. 24KdbUTUvbkDjShs
    • Use a Torx T5 screwdriver to remove the top two screws.

    Informative tutorial, and the tools were required. However, there is an error in sliding the back off the lower unit. The bracket will not detach. Its wiring is glued and soldered to the back and can’t be pulled off along with the speaker without damaging the wire. Pulling the halves apart destroyed the wiring and trashed the unit.

    Bruce Johnson -

  3. egdpGqarqwGBUuCl
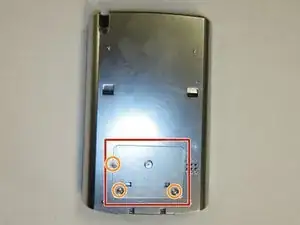
    • Remove the back sticker.

    • Remove the three bottom Phillips #00 screws.

  4. Oy5iy62CWBW6MfMr
    Oy5iy62CWBW6MfMr
    WGREjHIXIKWRRqct
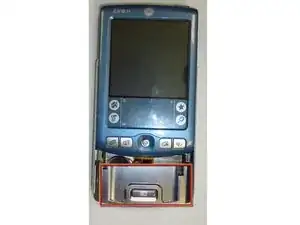
    • Flip the phone over so it's facing screen-side up.

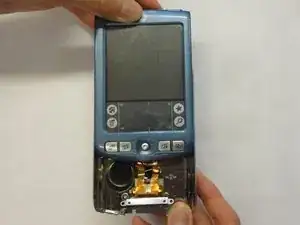
    • Slide the screen upward by a few millimeters without detaching the screen.

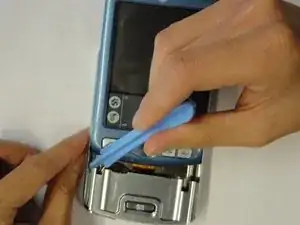
    • Use the plastic opening tool to pry off the front panel.

    I found it easier to go between the front panel and the back cover with a jimmy knife instead of the relatively thick plastic opening tool. It is very tight gap. Once you get inside that gap, the panel gets off immediately.

    Lukas Gwardak -

  5. fbtPxwaLwdYhdvEw
    fbtPxwaLwdYhdvEw
    QNBBPTIpoVGcUZUi
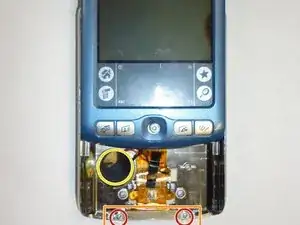
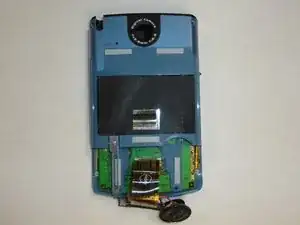
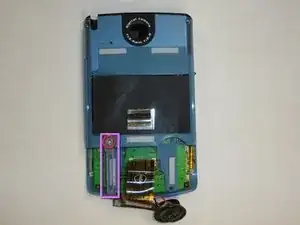
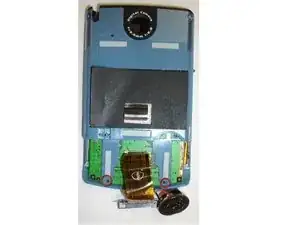
    • Remove the bottom two Phillips #00 screws.

    • Remove the bracket.

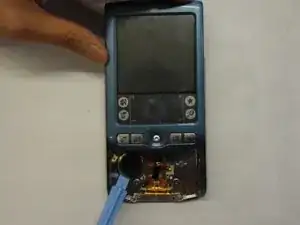
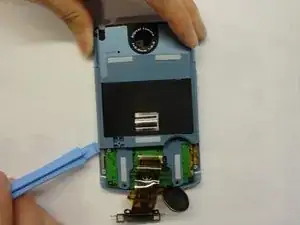
    • Use the plastic opening tool to pry off the speaker.

    removing this bracket also requires un-gluing the wiring harness from the back shell. This will likely destroy the speaker connection since it is soldered onto the wiring tape.

    Bruce Johnson -

    When prying off the speaker, be careful to not damage the diaphragm which is glued to the speaker grill beneath. You can remove the ribbon cable by carefully pulling up the bottom connector.

    Lukas Gwardak -

  6. gPLg1YvBVAW3SQiW
    gPLg1YvBVAW3SQiW
    ZGoJHAnkwpfFtEGD
    • Slide the back cover off.

  7. pWNqMCabLejQdTol
    • Remove the Philips #00 screw

    • Remove the sliver metal piece

  8. QfcyTlTj3VFFL5vv
    QfcyTlTj3VFFL5vv
    odm1mOdtPMekafkc
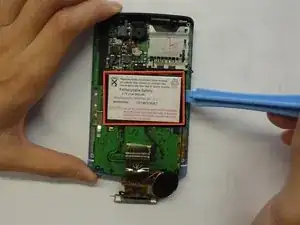
    • Remove the Philips screws #00

    • Remove the rear blue panel by prying both sides using the plastic opening tool

  9. 2cOsySa5WLVdSUXQ
    2cOsySa5WLVdSUXQ
    cUd6u3qMLeLrCGjV
    3EFfAZBYWExJcqkM
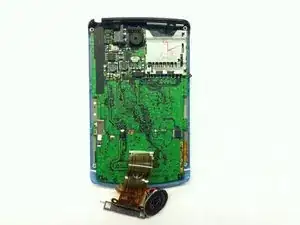
    • Remove the black plastic sticker

    • Pull the tap up to remove the metal cap

    You don't have to remove the black plastic sticker - you just need to separate the metal cap from the battery. The battery is glued to that metal cap..

    Lukas Gwardak -

  10. RplaL3bcKDLFYnHJ
    RplaL3bcKDLFYnHJ
    liXXFTQQmeAebFHV
    2it2JC3RA2JgLsTN
    • Remove the cable by pinching the sides and pulling

    • Pry off the battery with the plastic opening tool

    • Insert the new battery

  11. FA6YjneRVRYDKtKW
    FA6YjneRVRYDKtKW
    DMSflspcLljFNGEo
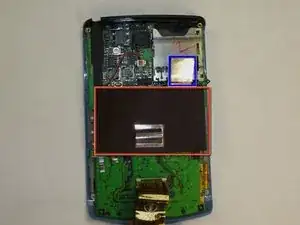
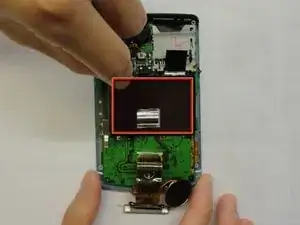
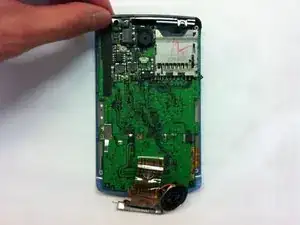
    • Remove Philips screw #00

    • Remove black plastic top part

  12. LXoEslLeXeBGmb1t
    LXoEslLeXeBGmb1t
    orcYaZ4orpWUvxRD
    VLmVqbuOhSrOmJuA
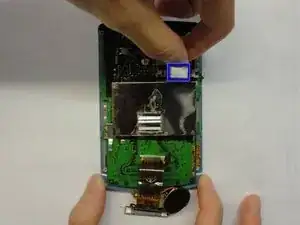
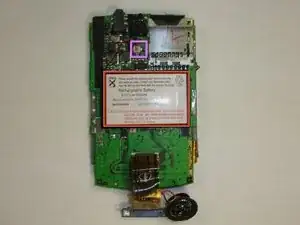
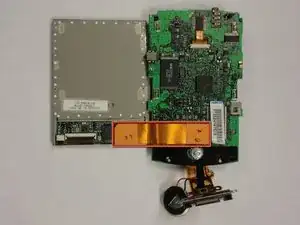
    • Pull off the orange cable

    • Now the screen and the motherboard can be separated

    • Finished

Abschluss

To reassemble your device, follow these instructions in reverse order.
Jinxian Jiang

Mitglied seit: 29/04/11

173 Reputation

0 Kommentare