Einleitung

This guide will teach you how to replace the audio on your Palm Zire m150. If you don't need to replace it, it will also teach you how to take the device apart in order to clean the control button.

  1. gwyIg2IrVUcO4fES
    gwyIg2IrVUcO4fES
    pFmmi6MhXSsAy5jO
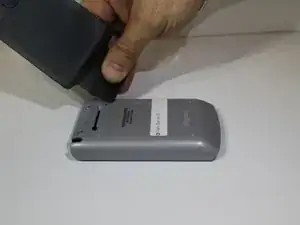
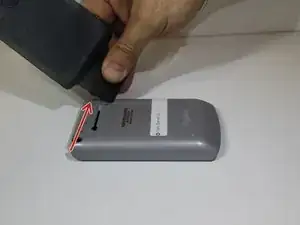
    • Remove cover, also known as the flap from the Palm Zire m150.

    • For the purpose of this guide and being able to see clearly, we removed the flap completely. You can keep your flap on if you wish.

  2. Vp6tjqtNKixjEJ3e
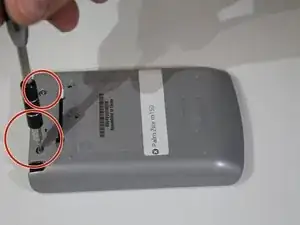
    • Remove both screws on the back.

    • Turn screw driver counterclockwise to remove screw

    • Be careful not to strip screws

  3. vsSuRLkvVqH4qlmK
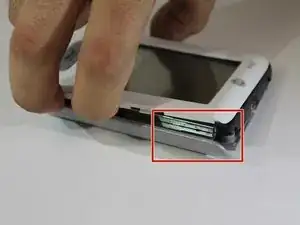
    • Remove the front part of the device from the bottom part of the device.

    • Separate front cover from back cover.

    • Be careful not to break the connector that connects the screen to motherboard.

  4. ROZuwlu3RXVFX1LV
    ROZuwlu3RXVFX1LV
    aqpbPYfm5GOcoAow
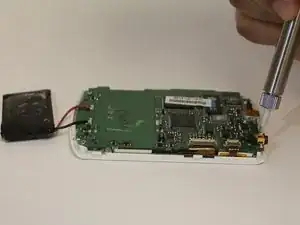
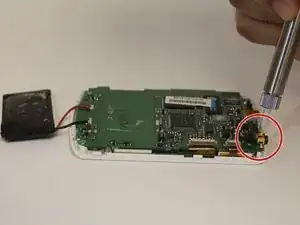
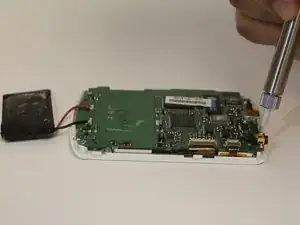
    • Insert NEW audio piece into the top case housing.

    • On the NEW audio piece, use a soldering iron to solder.

    • Let solder cool before reassembling unit.

    • Soldering iron needs time to warm up in order for use

    The palm zire m150 does not have a headphone jack. It´s a charger port.

    Falko “Volker” Richter -

Abschluss

To reassemble your device, follow these instructions in reverse order.
Kate

Mitglied seit: 26/01/16

528 Reputation

0 Kommentare