
Einleitung
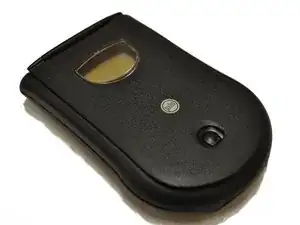
Make sure you have a replacement board before starting. Refer to the these sites for replacement parts. http://www.palmmediccanada.com/pm1xx.htm or http://www.directfix.com/category/_PM1.h...
Werkzeuge
-
-
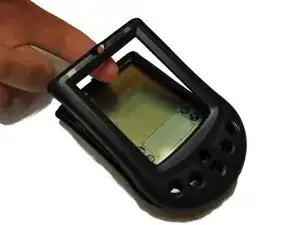
Remove Faceplate. There is a tab where the finger is located in the picture that needs to be pulled up.
-
The Faceplate will then easily lift off
-
-
-
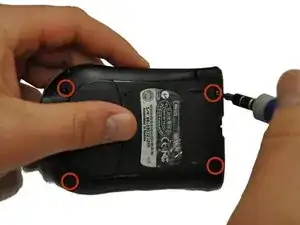
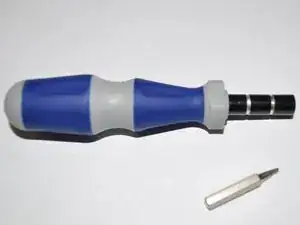
Using a T5 Torx bit screwdriver, remove the four screws located on the back of the device turning counter clockwise.
-
The link to purchase this screwdriver is Located here.
-
-
-
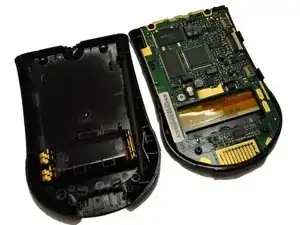
This is what the device looks like once you have taken the screws out and opened the device.
-
-
-
The Motherboard and screen will pop out of the back case easily.
-
Be careful when doing this step, the components are fragile.
-
-
-
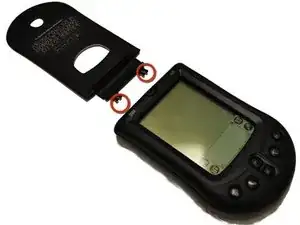
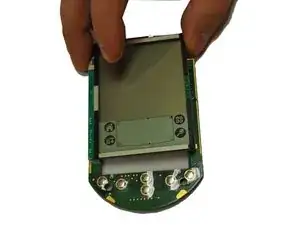
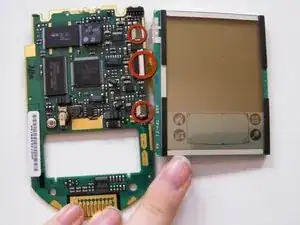
To remove the screen from the motherboard there are going to be three tabs that need to pulled up.
-
** This step needs to be done with special care because it is very fragile.**
-
Once they are all three popped up the motherboard and screen will separate easily.
-
-
-
Click here for Palm m105 motherboard replacement
-
Now that the screen and motherboard are separated you may discard the broken screen. The best way to dispose of the broken screen is to: Recycle it
-

To reassemble your device, follow these instructions in reverse order.