Einleitung
A brief guide on how to replace the battery for your Palm V
Werkzeuge
-
-
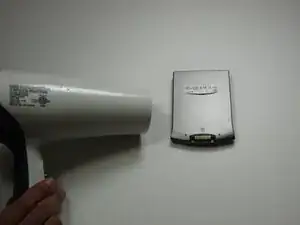
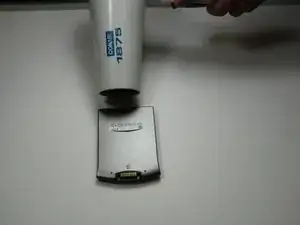
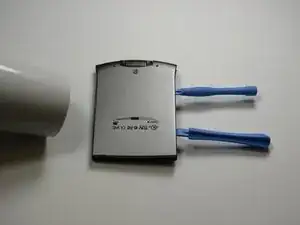
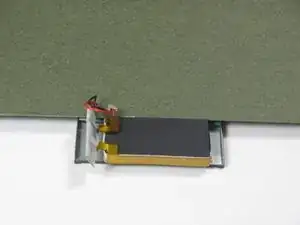
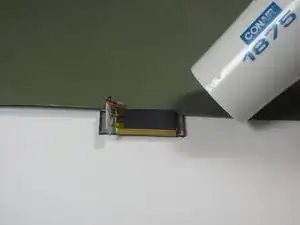
Heat the left and top edges with hairdryer for one minute.
-
Move hairdryer back and forth to evenly heat up surface.
-
-
-
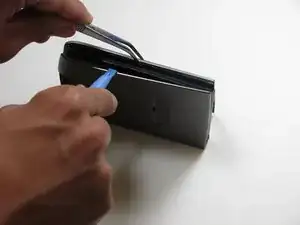
Use tweezers to hold Palm right side down on it's side.
-
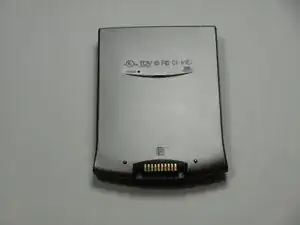
Use a plastic opening tool to pry open front and back casing.
-
-
-
Leave plastic opening tools in between front and back casing.
-
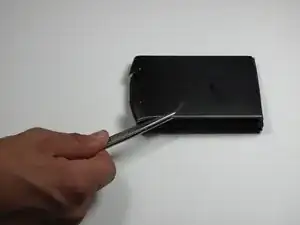
Rotate Palm and repeat steps 2 and 3 for right and back edges.
-
-
-
Now pry open front and back casing with plastic opening tools.
-
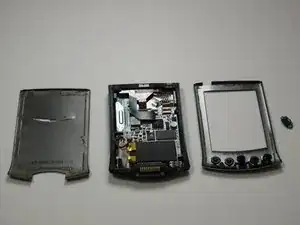
Separate front and back casing completely.
-
-
-
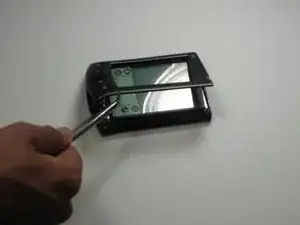
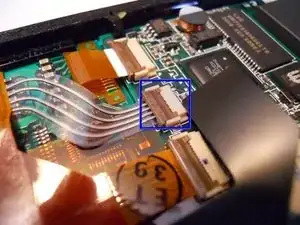
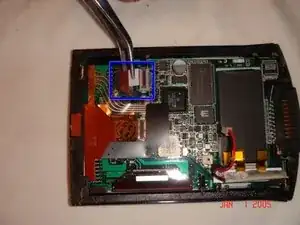
In order to seperate the screen from the motherboard you must disconnect the ribbon attached to the screen.
-
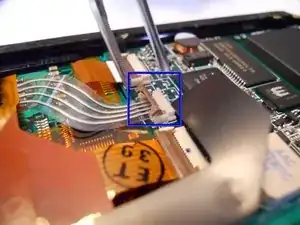
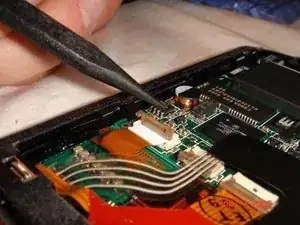
To do this, using tweezers, flip up the cable clamp that is connecting the ribbon to the screen.
-
Once the clamp is up you can use the tweezers to gently detach the ribbon.
-
-
-
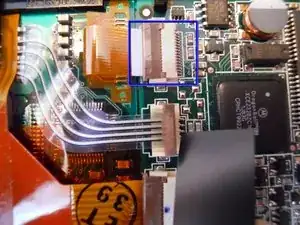
Now you must flip up the adjacent clamp as well, using tweezers like before.
-
After the clamp is flipped you can gently remove the second ribbon with tweezers.
-
-
-
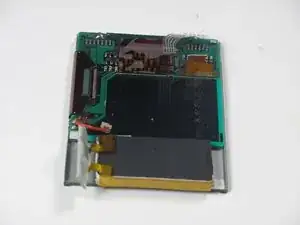
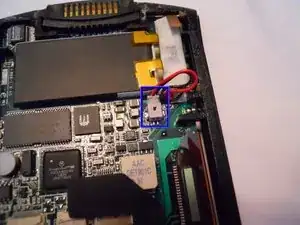
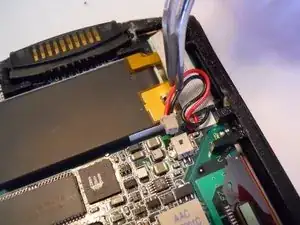
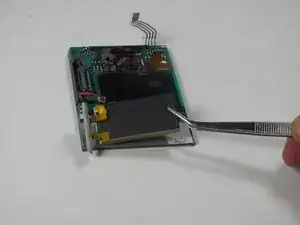
Before removing the screen you must detach one more wire, the battery connector.
-
Using the tweezers, squeeze the connector attached to the wire and genlty pull.
-
-
-
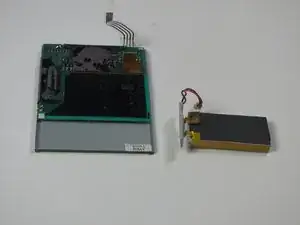
Now that both ribbons and the wire are disconeccted, you can apply a downward pressure to the battery. You will have to carefully rotate the frame so that the battery can go through.
-
-
-
Lay screen face down so the battery is facing upwards.
-
Cover the upper back portion of the device so the battery is the only exposed part.
-
To reassemble your device, follow these instructions in reverse order.
