Einleitung
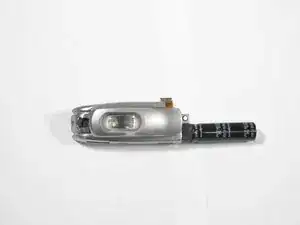
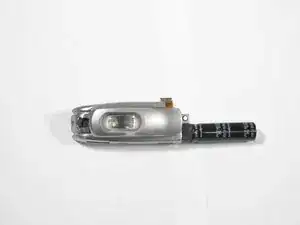
Be sure to remove the battery and SD card before opening the camera to get to the motherboard or flash. The motherboard must be removed to access the flash component.
Werkzeuge
-
-
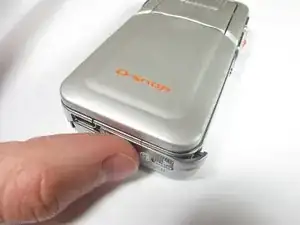
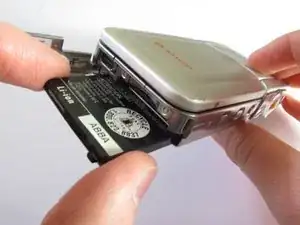
Push down on the SD card next to the battery in order to release the SD card.
-
Pull the SD memory card out of the camera in the same way that you would pull out the battery.
-
-
-
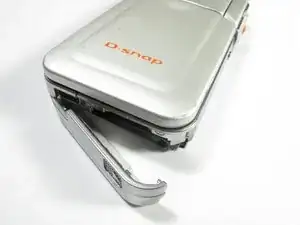
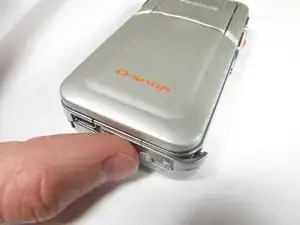
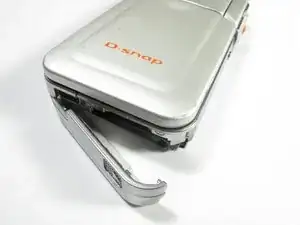
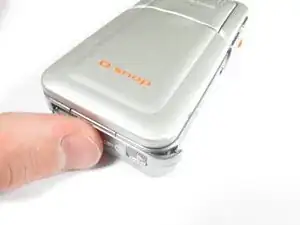
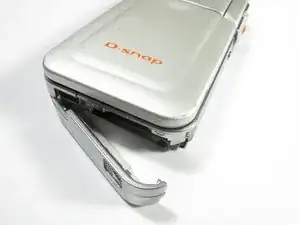
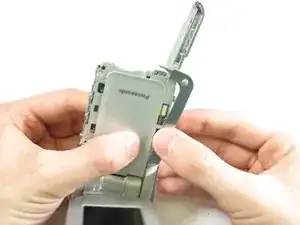
Remove the piece of the frame that covers the camera's function buttons by pulling upwards from the end, as shown in the picture.
-
It may feel like you are breaking the camera, since the frame makes a snapping sound as you remove it. However, as long as you are careful to remove the frames individually as shown, the frames will probably not break.
-
-
-
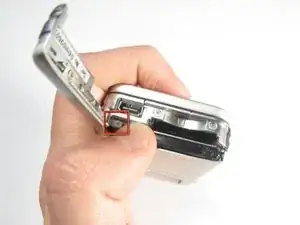
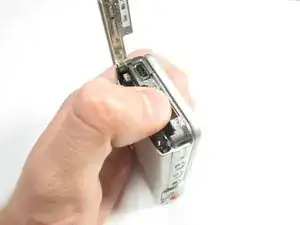
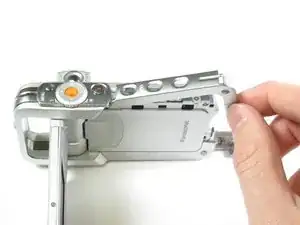
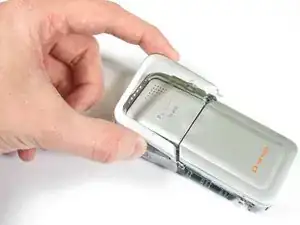
Turn the camera and remove the frame from the opposite side of the camera by pulling from either the top or the bottom in an outwards direction.
-
As in the previous step, it may seem like you are breaking the camera, because the frame makes snapping noises, as you pull it apart.This is to be expected, and will not harm the camera.
-
-
-
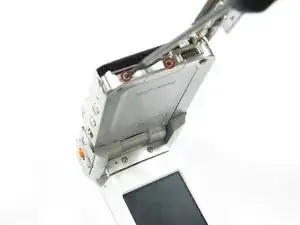
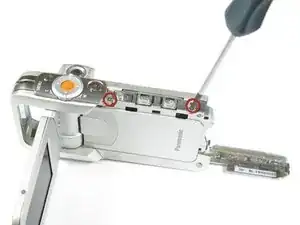
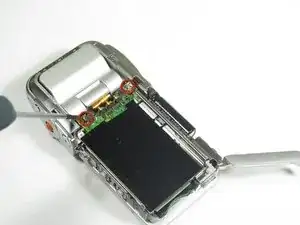
Remove the two screws (4.08mm" Philips) that are indicated in the picture.
-
Flip the camera 180 degrees and remove the corresponding screws on the opposite side of the camera
-
-
-
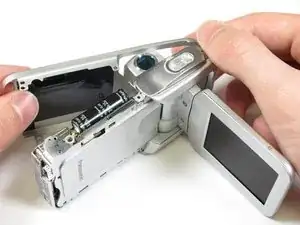
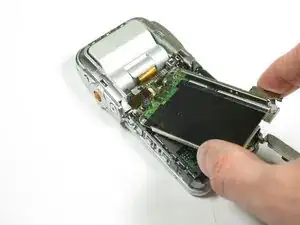
Remove the backing of the camera from the side opposite the screen
-
To make it easier for yourself, pull the screen outwards from the bottom of the camera, near the battery cover.
-
-
-
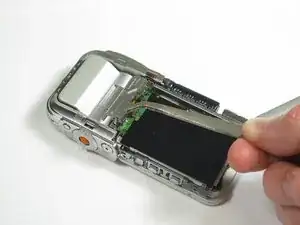
Remove the small cover from near the top of the motherboard, using tweezers or forceps, as in the picture.
-
-
-
Carefully remove the motherboard from the camera by grasping the sides and pulling upwards and then outwards.
-
-
-
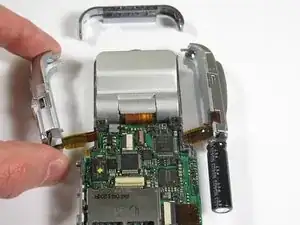
Carefully remove the top most piece of the upper frame as indicated in the picture.
-
You may need to manipulate the pieces of the frame until they disconnect from one another.
-
The two side pieces should "fall" off after this piece is removed.
-
To reassemble your device, follow these instructions in reverse order.
