Einleitung
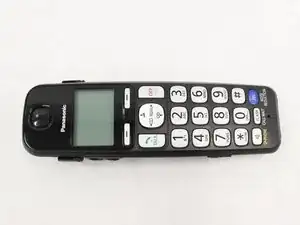
The front panel is a single piece of plastic covering the motherboard, the earpiece speaker, the buttons, and the LCD display. It's the piece that holds the phone together. If you need to replace any of the components inside of this device, or you just want to replace the front panel itself, you'll need to start with this guide.
Werkzeuge
-
-
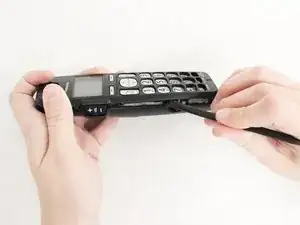
Using a spudger, open the device by starting from the bottom and working your way to the top.
-
-
-
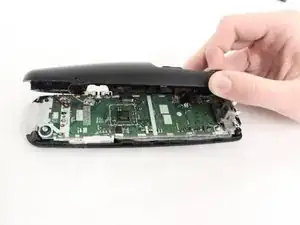
Once the back has been separated from the rest of the device, carefully place it to the side. Be careful not to completely remove it, however, as there are wires connecting the back to the handset.
-
-
-
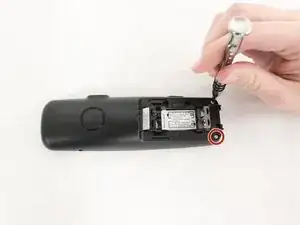
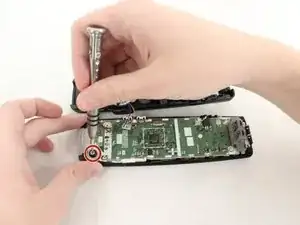
Using the same screwdriver as before, remove the Philips size #00 screw holding the motherboard in place.
-
-
-
With the screw removed, the front panel assembly can be separated from the rest of the device.
-
To reassemble your device, follow these instructions in reverse order.
