Einleitung

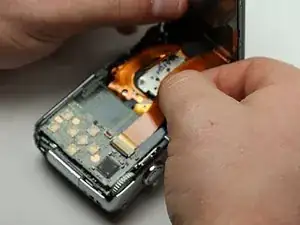
The LCD screen is one of the most vital components of the camera. It conveniently shows you the pictures you have taken with your camera and displays the options and settings for your camera.

  1. SJKZhwv5Q1kN2BiV
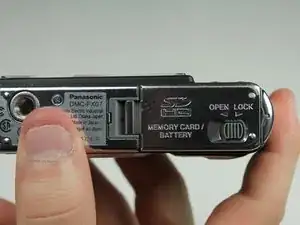
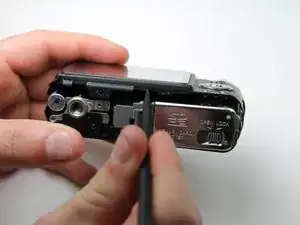
    • Move the switch on the battery door to the Open position.

    • The door will automatically swing open after you let it go.

  2. 3ZKsYoVItMVCPGWq
    3ZKsYoVItMVCPGWq
    XHScTkUwv5U2KKFg
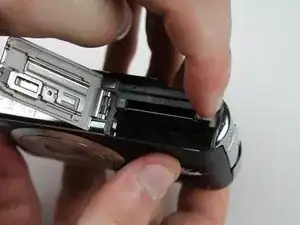
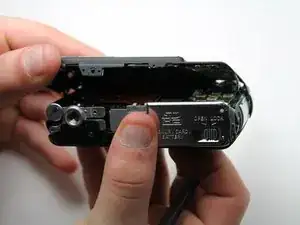
    • Push the small gray tab on the top right corner to the left. The battery will pop out slightly.

    • Keep your finger clear of the battery when it pops out.

  3. MMZ2WGveTdsohiOf
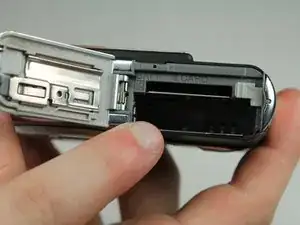
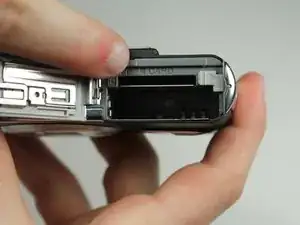
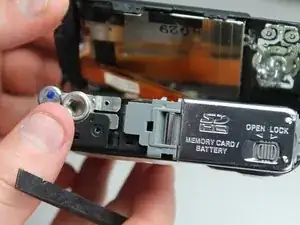
    • Push the memory card in and let go.

    • The memory card will pop out slightly.

    • Pull out the memory card.

  4. vqO6xXrIFebmGlX3
    vqO6xXrIFebmGlX3
    tMJMAsJH3KmxEltC
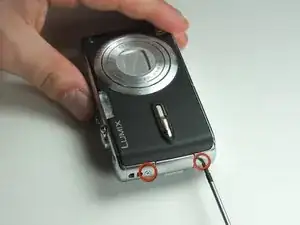
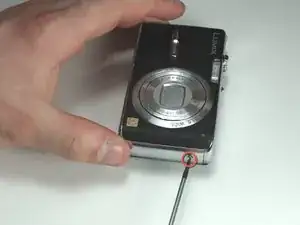
    • Unscrew the small screws on the sides of the camera.

    • The screws on the left side(#00P, 4.7mm) are longer than the screw on the right side(#00P, 3.3mm).

  5. wjY555FG4V1uqISP
    wjY555FG4V1uqISP
    2YPpJAvFdj1tWDGB
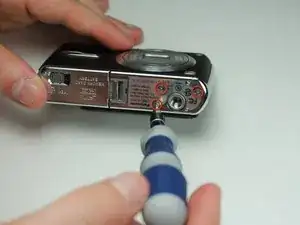
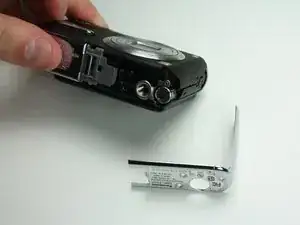
    • Unscrew the three small screws on the bottom(#00P, 3.3mm).

    • The bottom will fall off.

  6. tsHbrJGmgDDRjpI2
    tsHbrJGmgDDRjpI2
    BQpHIUX3aohXG3lR
    WMVuJKPbJDuoSVSJ
    • Lift up the bottom back cover by prying the bottom edge with the spudger.

    • Gently lift up the back cover with your hand from the bottom to the top.

  7. vBpfLUMnqIboLRGL
    vBpfLUMnqIboLRGL
    FdxXLQkor6qMlYWR
    WsSyjuHAouCy2piE
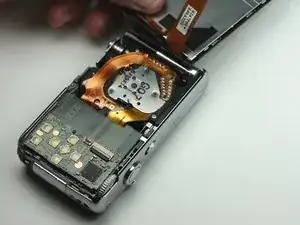
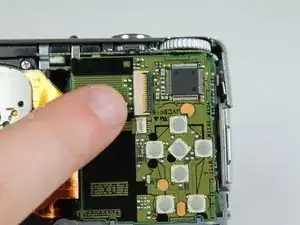
    • Lift the tabs on the ZIF connectors.

    • The ribbon cables should easily come out of the ZIF connectors.

  8. eZW4RGswaHoFW4Ul
    eZW4RGswaHoFW4Ul
    DaYKK2RZjWelHTBW
    NpQKtiEXNXPieO5h
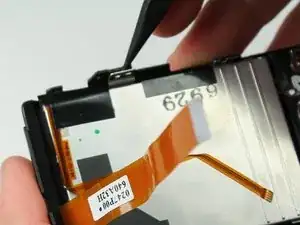
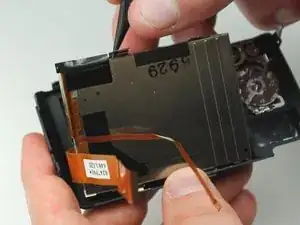
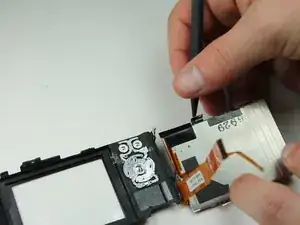
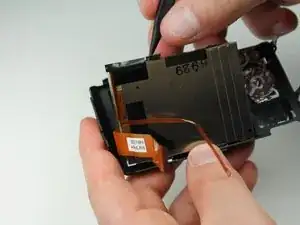
    • Use the pointed end of the spudger to pry off the LCD screen from the back cover. Place the tip of the spudger in the small hole in the bracket on the LCD screen and lift it out.

Abschluss

To reassemble your device, follow these instructions in reverse order.
James Cruz

Mitglied seit: 14/04/12

6 Reputation

0 Kommentare