Einleitung

  1. HUrpIjTkyFhvFCWK
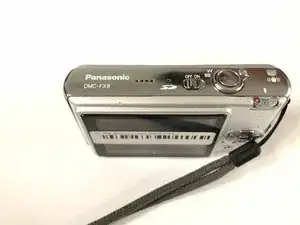
    • Make sure the power is off by switching the power switch to the left.

  2. g1WTOEnLrSBaJYVX
    g1WTOEnLrSBaJYVX
    RV6c322HZTXf2XNe
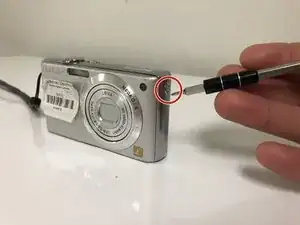
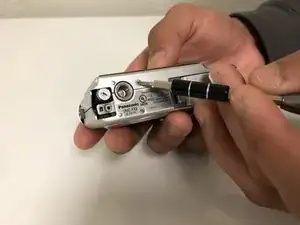
    • Use a Phillips #00 screwdriver to remove the screws on the left side of the camera.

  3. 1owMWJVSZMR6w5KV
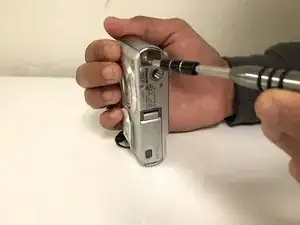
    • Remove the screws on the right side of the camera by using the Philips #00 screwdriver.

  4. sMMFCeKMHJVb5SjJ
    sMMFCeKMHJVb5SjJ
    VoTIyUyEjxnQssGT
    • Remove the screws on the bottom side of the camera using the Philips #00 Screwdriver.

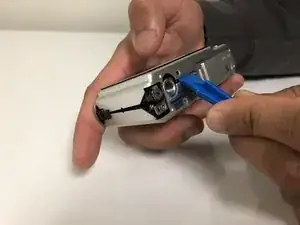
    • Separate the covers by gently applying force upwards, carefully placing the opening tool between the two covers.

  5. cwPL4Rk6vTy6CUU6
    cwPL4Rk6vTy6CUU6
    qYTJ2FTJvCTRl3V6
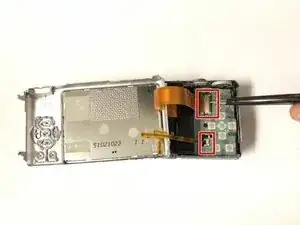
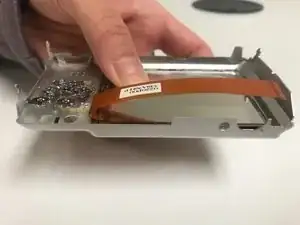
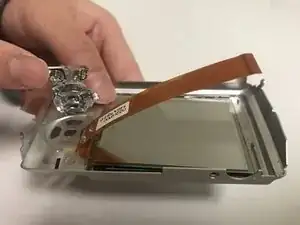
    • Lift the ZIF tabs up with the opening tool and carefully remove the digitizer ribbon cables.

    • Remove the LCD Screen from the glass frame carefully with the opening tool.

  6. rxeMsXcKRTHMTbXv
    rxeMsXcKRTHMTbXv
    Y51TdU2tHFCU1GXl
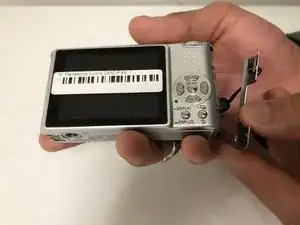
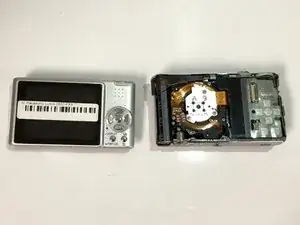
    • Push on the back panel buttons on the front side to remove the buttons.

    • Be cautious of the adhesive holding the button panels to the cover. Apply extra force if necessary.

Abschluss

To reassemble your device, follow these instructions in reverse order.
Kriselle Tubongbanua

Mitglied seit: 21/02/18

133 Reputation

0 Kommentare