Einleitung
Replacing the diopter adjustment dial requires removal of the rear panel of the device, as well as the removal of several small screws.
Werkzeuge
-
-
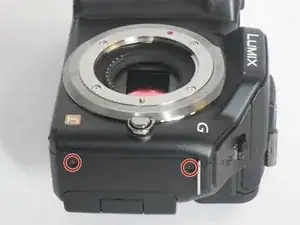
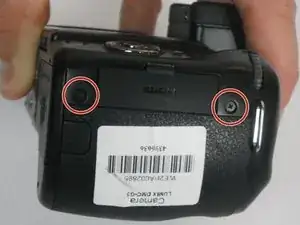
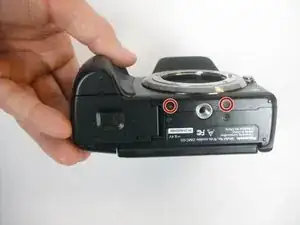
Remove the four 4.6mm J000 Phillips screws from the sides and two 3.2mm J000 Phillips screws along the bottom.
-
-
-
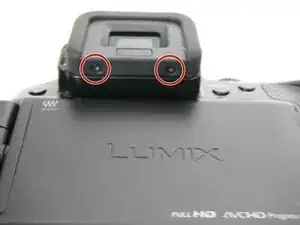
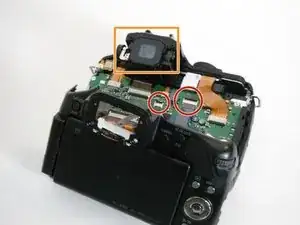
Remove the two 3.2mm J000 Phillips screws located on the bottom edge of the viewfinder cover.
-
Carefully remove the viewfinder cover.
-
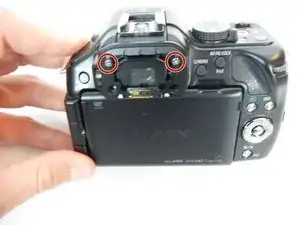
Remove the two 4.4mm J000 Phillips screws located near the top edge of the viewfinder.
-
-
-
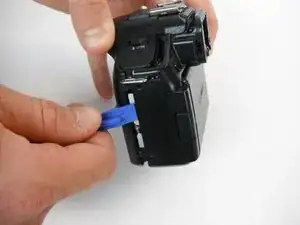
Slide the Wide Plastic Opening Tool upwards along the underside of the rear casing.
-
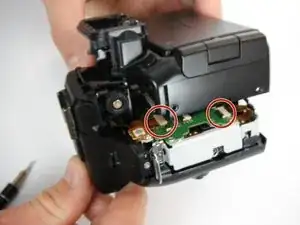
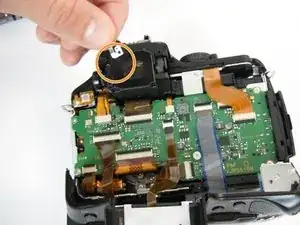
Slowly lower the casing into the position shown.
-
-
-
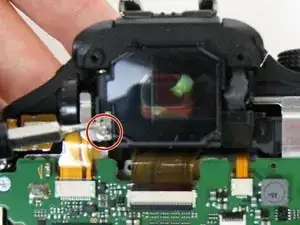
Use the Screwdriver J000 Phillips Head to remove the screw located at the lower-left corner of the face of the viewfinder glass.
-
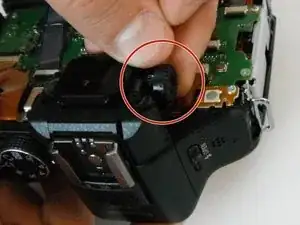
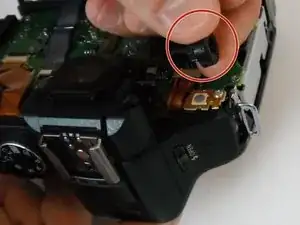
Carefully lift the L-shaped clicker underneath the previously removed screw.
-
To reassemble your device, follow these instructions in reverse order.
