Einleitung
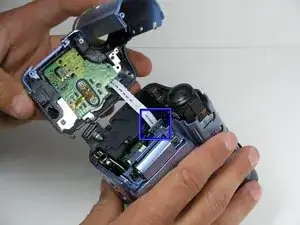
In order to repair the problems that may arise while using the Panasonic PV-GS9 you must disassemble the camcorder entirely. This will allow you to have three large pieces of the camcorder from which all the repairs can be made.
Werkzeuge
-
-
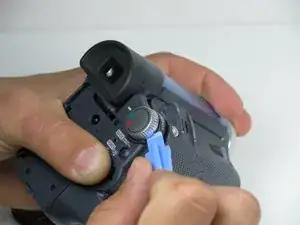
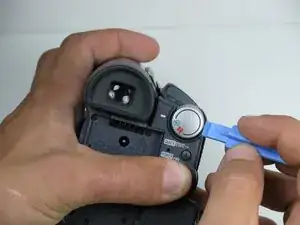
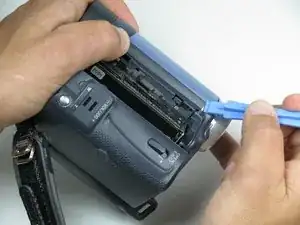
Using a plastic opening tool, remove the record/playback and record/power control knobs from the camcorder.
-
-
-
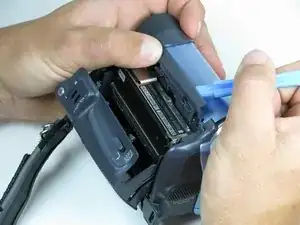
Open the tape compartment.
-
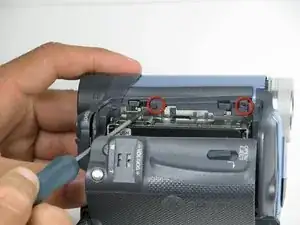
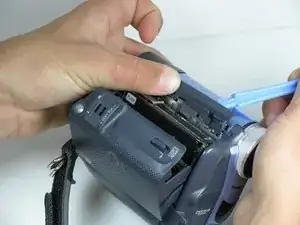
Using a #00 Phillips head screwdriver, remove the two 4.5mm screws from the camcorder.
-
-
-
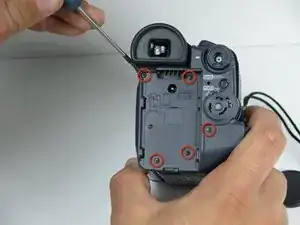
Rotate the camcorder so that the eye piece is facing you.
-
Remove the battery.
-
Remove the four black 4.5mm screws, sitting behind the battery.
-
Remove the 5th screw to the right of the battery dock.
-
-
-
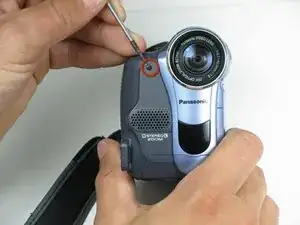
Rotate the camcorder so that the tape compartment is facing you.
-
Remove the single 4.5mm black screw above the hook for the hand strap.
-
Undoing the strap on one end may help.
-
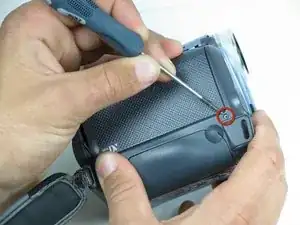
Rotate the camcorder so that the lens is facing you.
-
Remove the single 4.5mm black screw from the front panel.
-
-
-
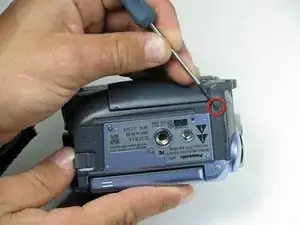
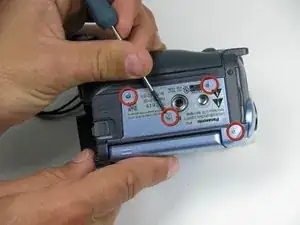
Rotate the camcorder so that the bottom is facing towards you.
-
Remove the single remaining 4.5mm black screw from the bottom.
-
Remove the four silver 4.5mm screws from the body.
-
-
-
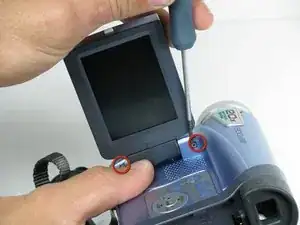
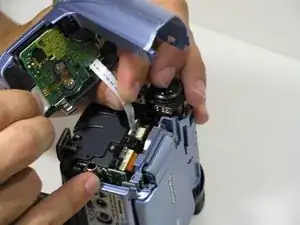
Open the LCD screen on the side of the camcorder.
-
Using a #00 screwdriver, remove the two 4.5mm silver screws located on either side of the hinge of the LCD screen.
-
-
-
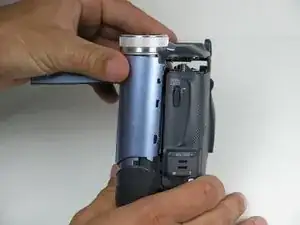
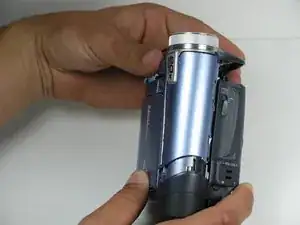
This should come apart with relative ease, however a plastic opening tool may help remove the panel.
-

To reassemble your device, follow these instructions in reverse order.