Einleitung
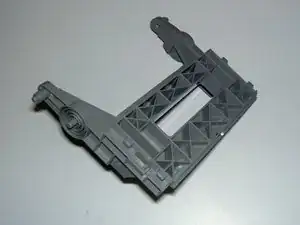
This guide will disassemble the device in the most concise way possible to allow you to replace the Tape Player Cover.
Werkzeuge
-
-
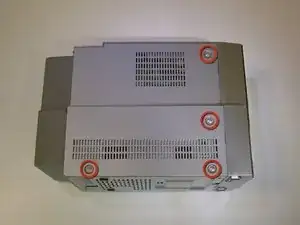
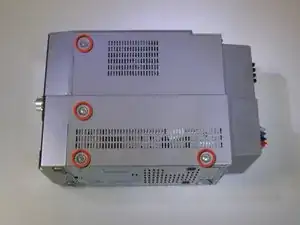
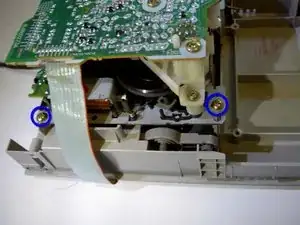
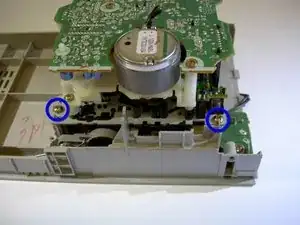
Using a philips screwdriver, remove these eight 9.5 mm screws on the left and right sides of the device and place aside.
-
-
-
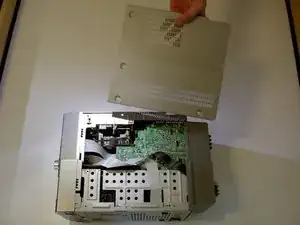
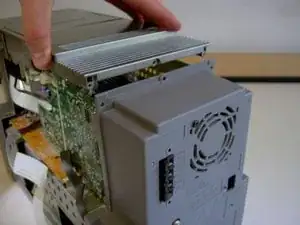
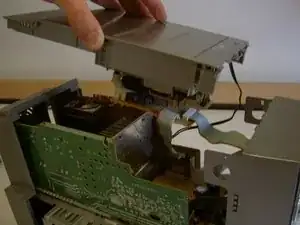
Lift the top of the device gently but firmly from the back part until fully detached.
-
Allow the top to rest on the back without reattaching it.
-
-
-
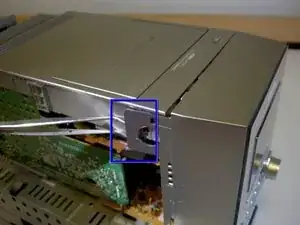
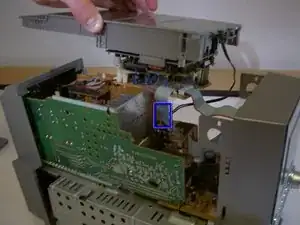
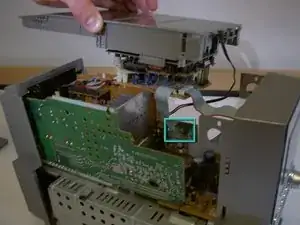
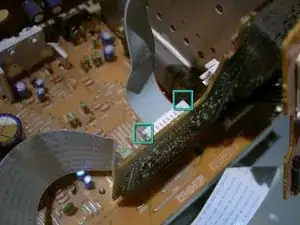
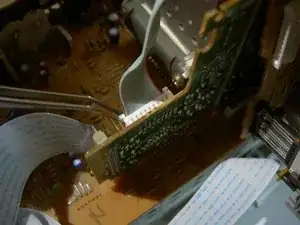
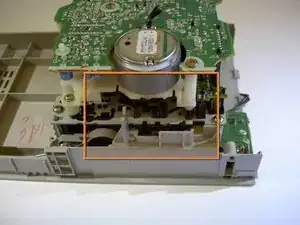
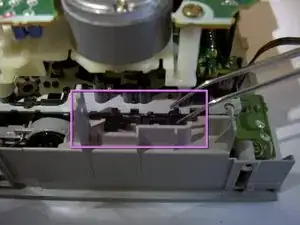
The second picture shows a close up of the region indicated in the first picture.
-
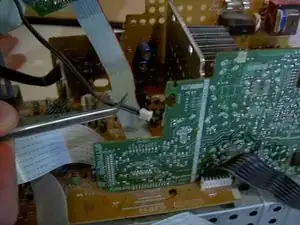
Remove the small black wire indicated. Grip the wire near its base and pull gently but firmly until it pops out of the slot.
-
-
-
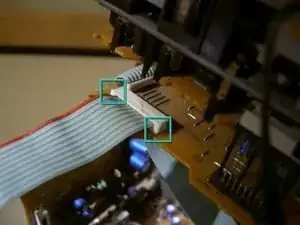
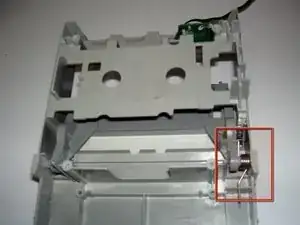
This step deals with the indicated area of the device.
-
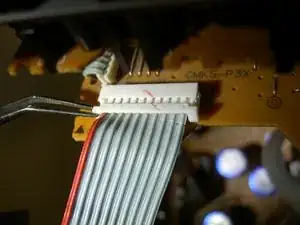
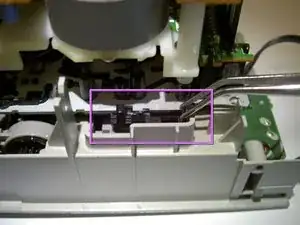
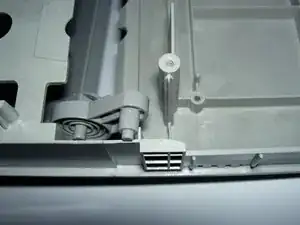
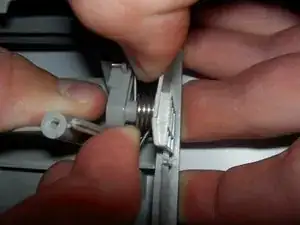
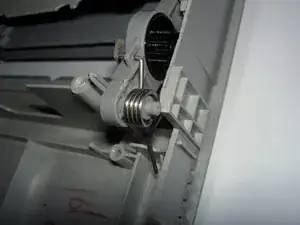
Using fingers or tweezers, lift the indicated tabs out until the cord's restraint looks like the final picture.
-
Gently pull on the cord near it's base until it comes free of the restraint.
-
-
-
This step deals with the indicated area of the device.
-
Lift the indicated tabs out until the restraint looks like the final picture.
-
Gently pull on the cord until it comes free of the attachment.
-
The top section of the device should now be free of the body.
-
-
-
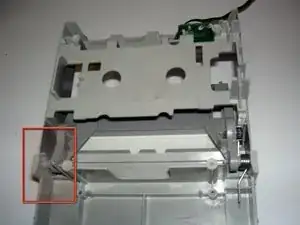
This step deals with the indicated area.
-
Using fingers or tweezers, pull the indicated latch to the right to disconnect the tape player unit from the top of the device.
-
While holding the latch to the right, lift the unit up from the plastic.
-
-
-
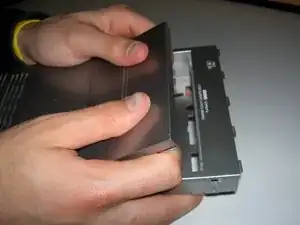
Using your thumbs, push the casing forward as indicated.
-
Once the casing has slid forward, it should come loose. Place it aside.
-
-
-
This step deals with the indicated area.
-
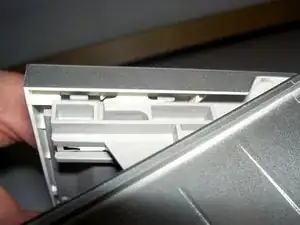
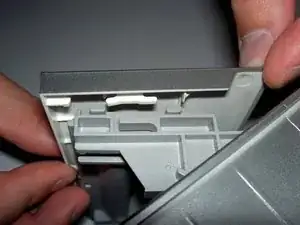
Pull back on the peg while pulling forward on the tab until the peg comes out of its hole.
-
Lift the peg up and allow it to rest on top of the casing, as indicated.
-
-
-
This step deals with the indicated area.
-
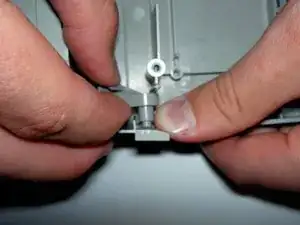
Pull back on the peg while pulling forward on the tab.
-
Once the peg is loose of its hole, lift upward until it is clear of the tab.
-
-
-
Lift the cover up and out from the inside of the top section.
-
If at first the cover does not come free, jiggle it around until it does. Do not force it out.
-
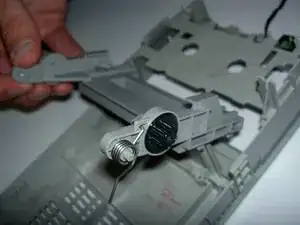
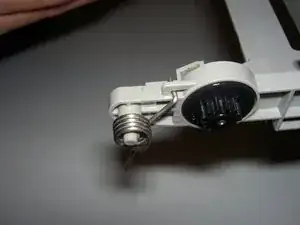
Note the position of the spring and gear, then remove and place them on your new tape player cover.
-
To reassemble your device, follow these instructions in reverse order.
