Einleitung
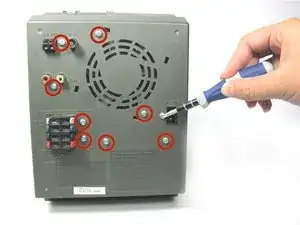
This replacement guide involves removing many screws. Before you start to take apart the device, you will need a #2 Phillips screwdriver and plastic opening tools. Also make sure you have the replacement back panel on hand.
Werkzeuge
-
-
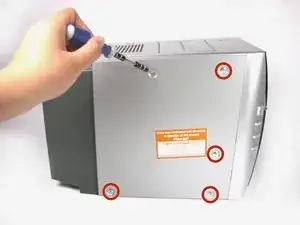
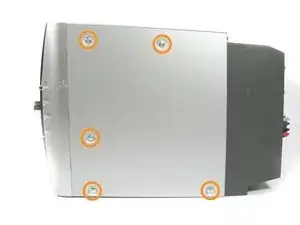
Remove the five 9 mm #2 Phillips screws from the side panel nearest the power button.
-
Repeat the process for the opposite panel.
-
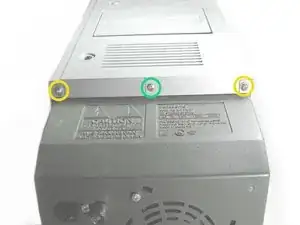
Remove the two 15 mm #2 Phillips screws from the back of the top panel.
-
Remove the middle 10mm #2 Phillips screw from the back of the top panel.
-
-
-
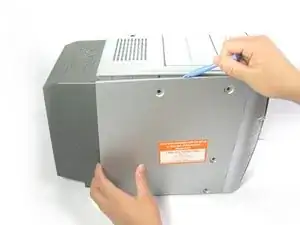
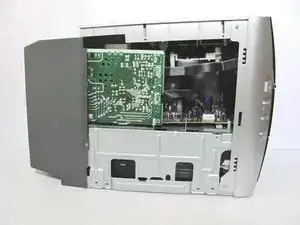
Swing the back half of the panel slightly away from the unit. Then, starting at the top back corner, slide plastic opening tool through the created gap from back to front. The panel should pop off. Repeat the process on the opposite panel.
-
-
-
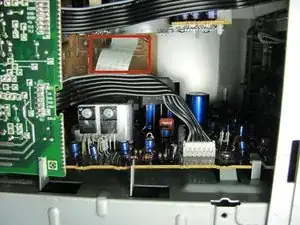
Looking in through the side nearest the power button, use your fingers to pull the white ribbon connection toward you, away from the rear circuit board.
-
-
-
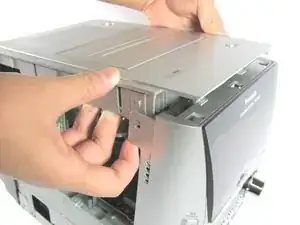
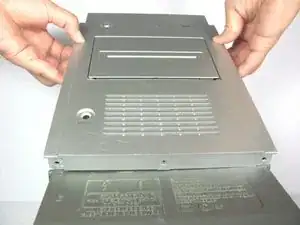
Remove the top panel. You will need to slightly bend the plastic tab outwards, to undo the clasp that is attached to the top.
-
-
-
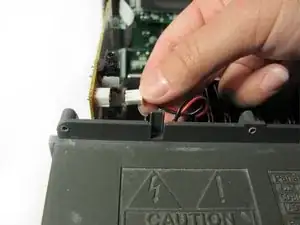
With a gentle tug, unplug the red and black cable from the tan circuit board.
-
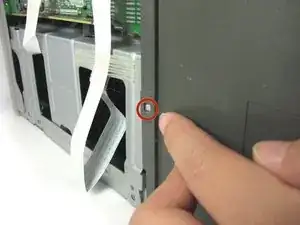
Using both hands, unlock the plastic back panel from the metal clasps (located on the sides of the unit) by pulling the plastic away from the metal. Focus on undoing first one clasp, then the other.
-
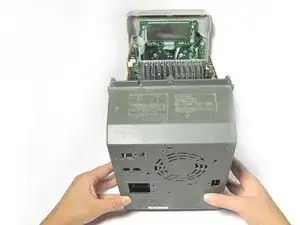
Slide the back panel toward you and off of the unit.
-
To reassemble your device, follow these instructions in reverse order.
