Einleitung

  1. jCFCYbs6ZOEUhilU
    jCFCYbs6ZOEUhilU
    ZeICHfJWCtjAFI4W
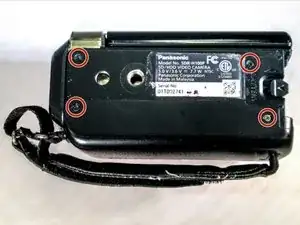
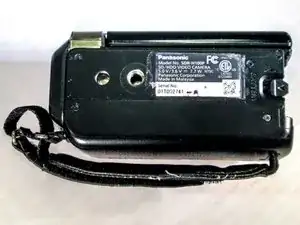
    • Remove the four 4-mm screws on the bottom of the camcorder.

    • The screws are two different colors: three blacks and one silver.

  2. uionNCG1JjKKGIGi
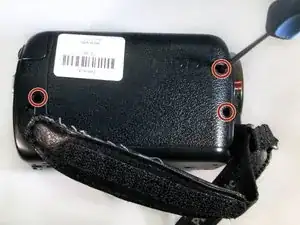
    • Remove the three 6-mm screws on the hand-strap side of the camera.

  3. wTOJBhYVT2oCmbvj
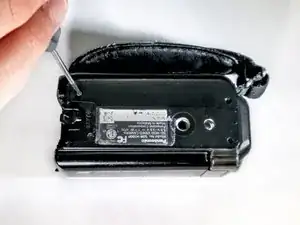
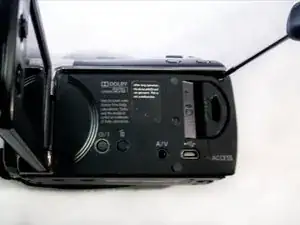
    • Pull out the charging port (DC input terminal) cover and remove the 4-mm screw located next to the input terminal.

  4. dTTFryr2PtHhRCQp
    dTTFryr2PtHhRCQp
    xxYvrLTKHjpIlK6t
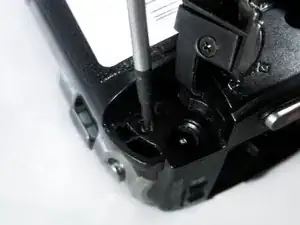
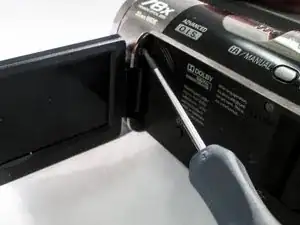
    • Flip out the LCD screen to expose the inner screws. Remove the two black 4-mm screws.

    • One screw is located by the hinge of the LCD screen. The second is close to the upper-right corner of the camcorder body.

    • Using a firm hold on both sides of the camcorder, gently pull apart the casing under the hand strap.

    • Pressure should be evenly distributed across entire device.

    • Detach gently so the ribbon cable is not damaged!

    I want to buy NEW SDR 100. I'm in Nigeria. How do I get one? And how much in Naira?

    olukanni morakinyo -

  5. AmSY1JuptkBmDSOg
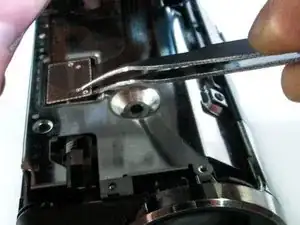
    • Use tweezers to grab the ribbon cable at the connection point and slowly lift it away from the connector.

    • This linkage point connects the HDD directly to the motherboard.

Abschluss

To reassemble your device, follow these instructions in reverse order.
Caleb Osborne

Mitglied seit: 08/04/15

801 Reputation

0 Kommentare