Einleitung

  1. sREPZyMITGer1ctu
    sREPZyMITGer1ctu
    SYMaaRaEffOtOiVT
    HIFSKBUfULo3BNSI
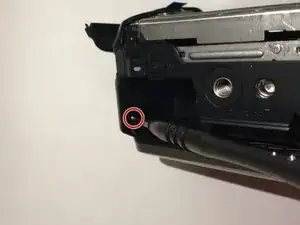
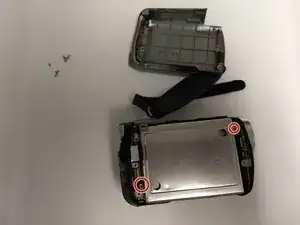
    • Remove battery first.

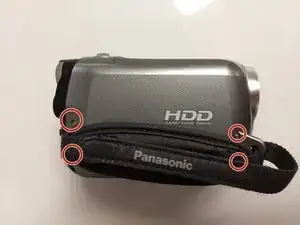
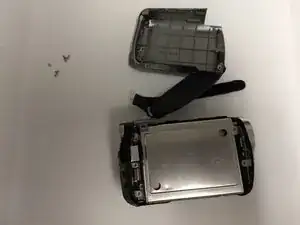
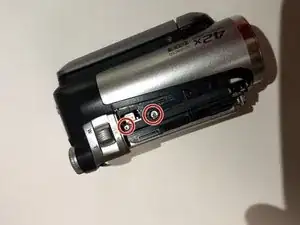
    • Remove right side shell. There are two screws that are right behind the strap that also need to be removed.

    • Prepare to keep track of many tiny screws.

    • Keep track of where all your screws unscrew from. Some of these screws have a slightly different size compared to others and will get stuck inside the holes when putting it back together.

  2. bOInRQdCGc2lr4WX
    bOInRQdCGc2lr4WX
    wPVd2NXOtshGEKUX
    2o2T4jKWlodnXMhr
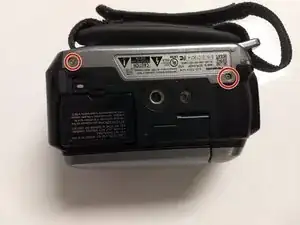
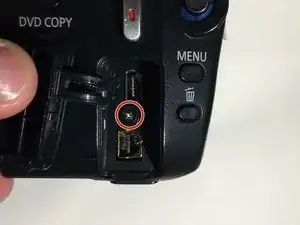
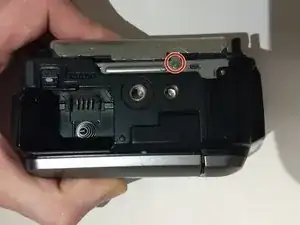
    • Remove indicated screws to release back panel.

  3. HPUdLKobZZLLmaiM
    HPUdLKobZZLLmaiM
    HMSbmvmM2DTM42IO
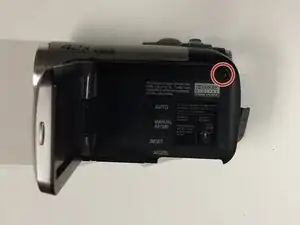
    • This is a continuation of Step 2.

    • Remove the last screw.

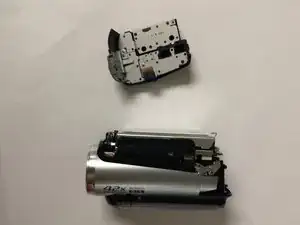
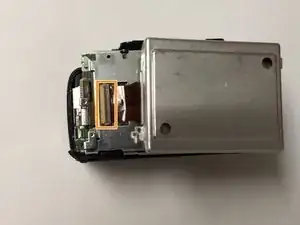
    • To remove the panel you simply pull it back.

    • There is a ribbon cable attached the the motherboard. Be sure to pull the panel back slowly, and detach the ribbon cable.

  4. hbW2X1V6pldcBMRn
    hbW2X1V6pldcBMRn
    sTgnoATdBiy2KoSm
    bRUqmJtYeX3s6fsx
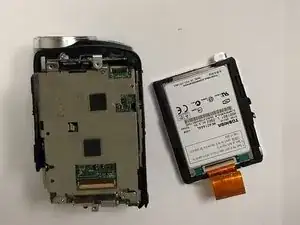
    • Remove the three screws highlighted in the pictures shown.

    • Do not use force on the hard drive.

    • To avoid damaging the device, slowly pick up the hard drive to reveal an orange ribbon cable attached to the motherboard pull back on the dark brown tab and carefully pull out the ribbon cable . Then you may proceed with removing the hard drive.

Abschluss

To reassemble your device, follow these instructions in reverse order.
Colton Basinger

Mitglied seit: 01/10/18

215 Reputation

0 Kommentare