Einleitung
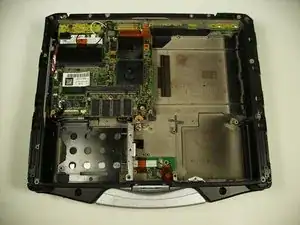
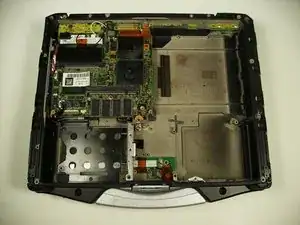
This guide provides the steps to remove the back cover. This process is necessary to access many of the components inside.
Werkzeuge
-
-
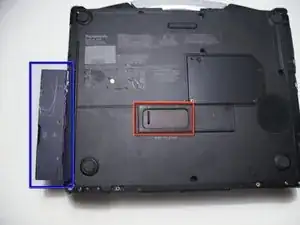
Flip the device upside down with the handle facing away from you.
-
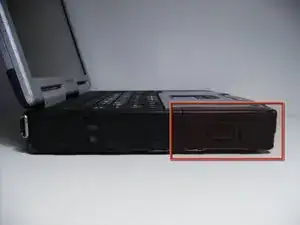
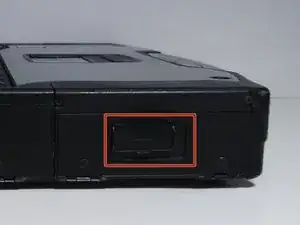
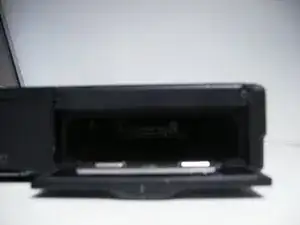
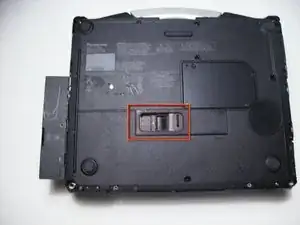
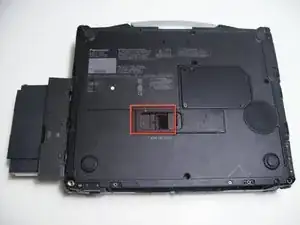
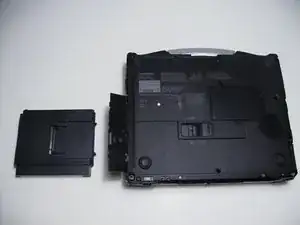
Open the optical drive bay by sliding its latch to the right.
-
Locate optical drive release mechanism on the bottom of the laptop.
-
-
-
Begin by turning the laptop upside down with the handle towards you.
-
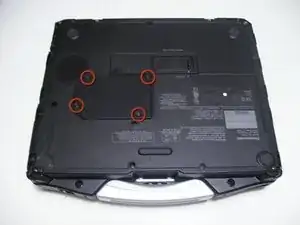
Use a Phillips size 0 screwdriver to remove the 4 screws holding down the ram cover.
-
-
-
Remove the panel and set it aside.
-
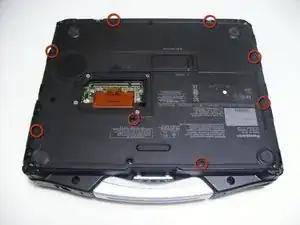
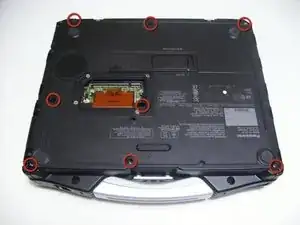
Use a Phillips size 0 screwdriver to remove these 8 small screws.
-
-
-
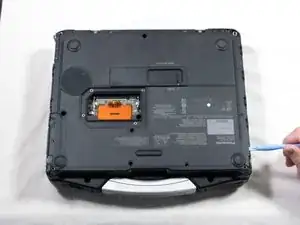
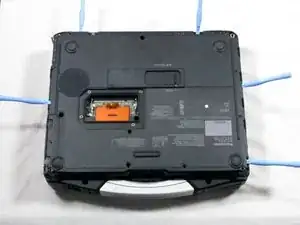
Use a plastic opening tool to release, but NOT remove, the back cover because it is sealed with adhesive.
-
-
-
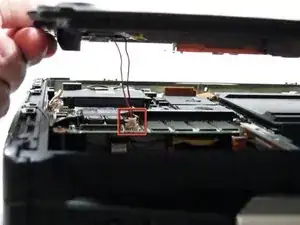
Slowly lift the cover so that you can disconnect the red and white wires connecting the speaker to the sound card.
-
To reassemble your device, follow these instructions in reverse order.
Ein Kommentar
thanks for this crucial tuatorial >
