Einleitung
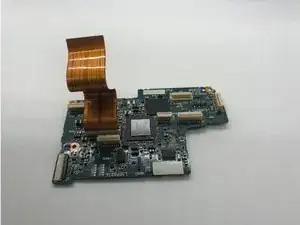
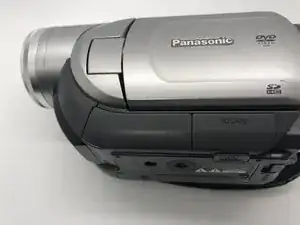
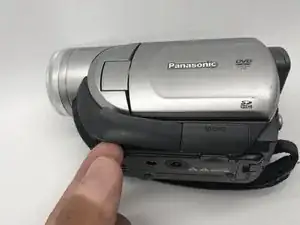
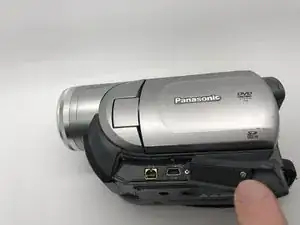
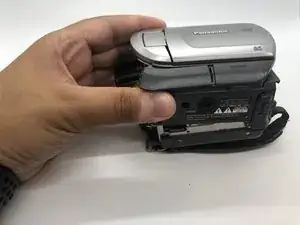
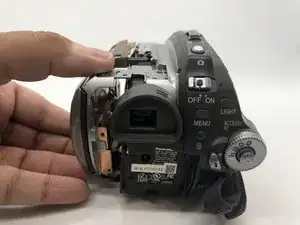
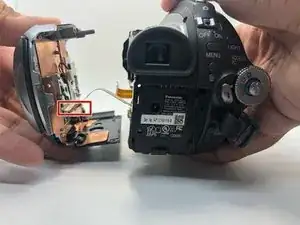
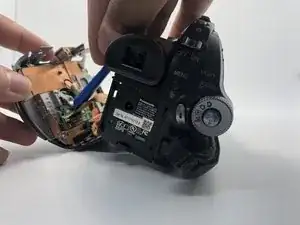
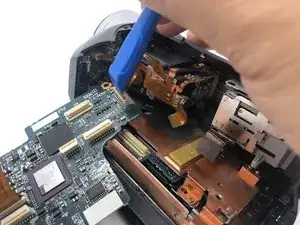
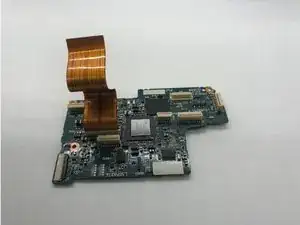
Mother board issues is the most common problem on older technology such as this camera. Moisture can get in form all of its usage and short out the most critical components of this device. Here it will be explained how to access and remove this faulty board.
Werkzeuge
Ersatzteile
-
-
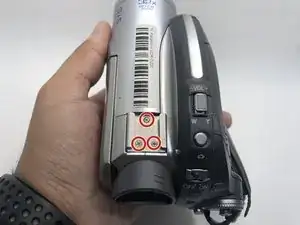
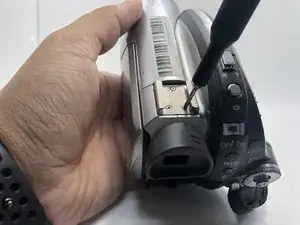
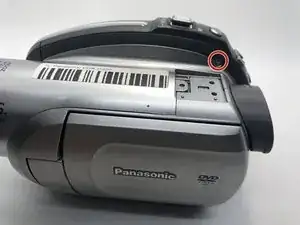
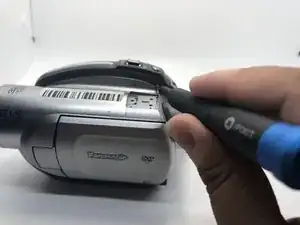
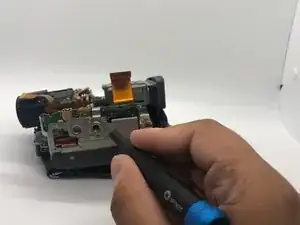
Use your Phillips #0 screwdriver to remove the three 5mm screws on top of the camera.
-
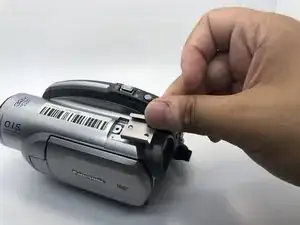
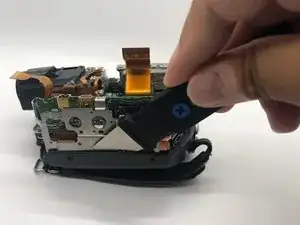
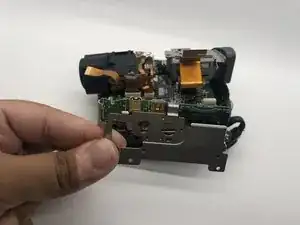
Remove the metal bracket.
-
-
-
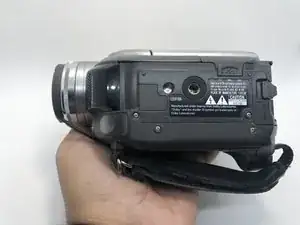
Rotate the camera to show the bottom of the camera.
-
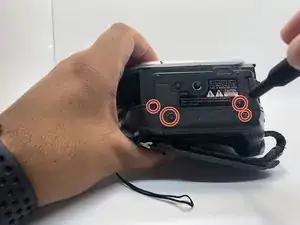
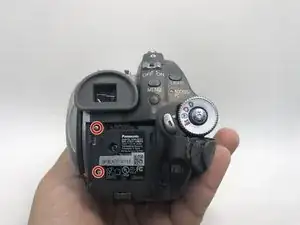
Remove the four 5mm screws on the bottom side of the camera with a Phillips #0 driver.
-
-
-
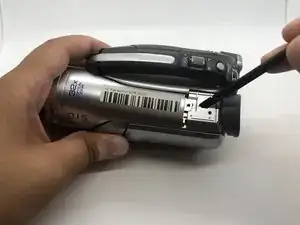
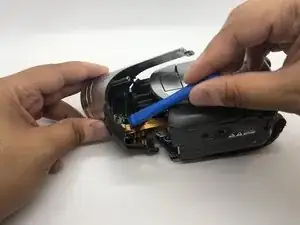
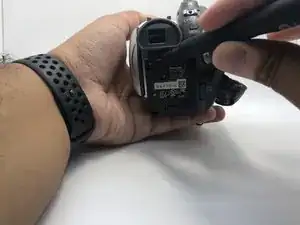
Using a spudger pry the top-front part of the camera from the main body.
-
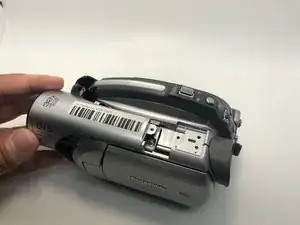
Slide the top portion of the camera forward revealing more 5mm screws.
-
-
-
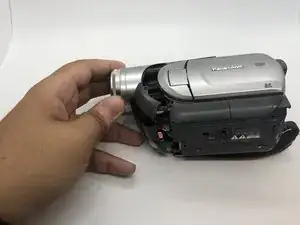
Flip the camera on the right side.
-
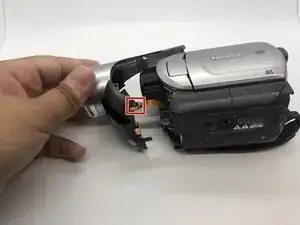
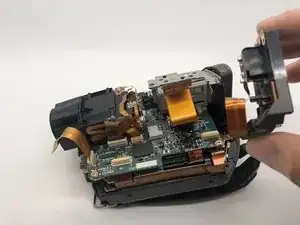
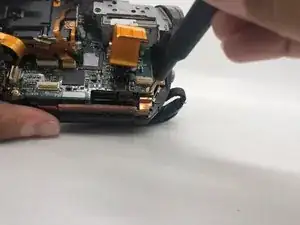
Gently pull the front part away from the main body to expose the cable connections holding them together.
-
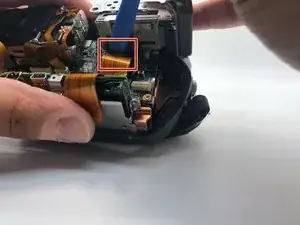
Use your plastic opening tool to disconnect the connection point safely.
-
Press the tab with plastic opening tool and then pull the ZIF connector to detach.
-
-
-
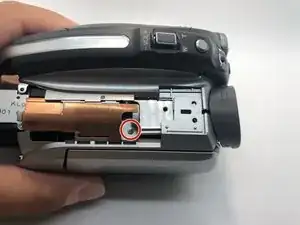
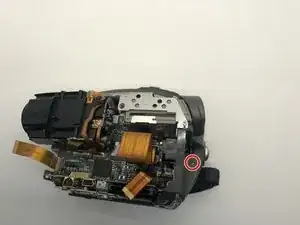
Use your Phillips #0 screwdriver to remove the two 5mm screws on the battery base of the camera.
-
-
-
Rotate the camera to the left side, where the side port is located.
-
Open the side port door.
-
-
-
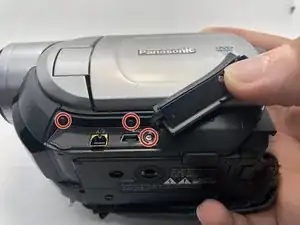
Remove three 5mm screws inside the side port by using Phillips #0 screwdriver.
-
Take off this part of the camera.
-
-
-
Rotate the camera to the battery side.
-
Gently pull the side of the camera apart with only your hands.
-
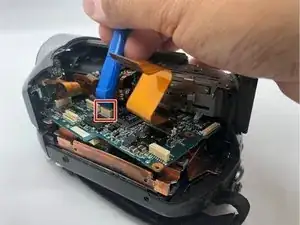
Disconnect the ribbon cable with your plastic opening tool, so that the left side of the camera can be removed.
-
-
-
Rotate the camera to show the left side.
-
Remove one 5mm screw on the side of the battery's base with your Phillips #0 screwdriver.
-
Take off the battery base from the camera.
-
-
-
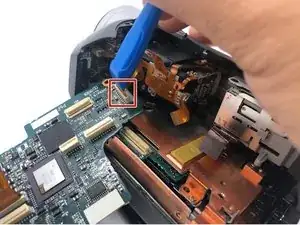
Disconnect another ribbon cable that runs from the motherboard to the bottom of the viewfinder with a plastic opening tool.
-
-
-
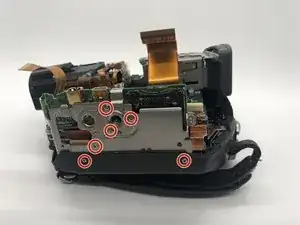
On the bottom side of the camera, remove six 5mm screws with your Phillips #0 screwdriver and the circuit board holder should be free.
-
-
-
Insert a Jimmy tool to relieve the pressure between the metal mount and the plastic cover.
-
Take off the port board from the bottom of the camera.
-
-
-
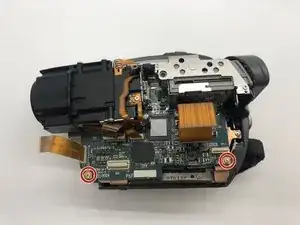
On the motherboard, remove two 5mm screws from the motherboard with your Phillips #0 screwdriver.
-
-
-
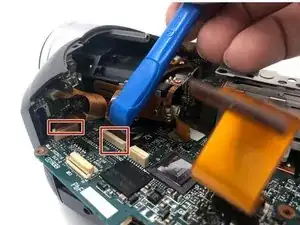
Remove the remaining three ribbon connections with your plastic opening tool.
-
Rotate the motherboard out of the camera carefully.
-
To reassemble your device, follow these instructions in reverse order.
