Einleitung
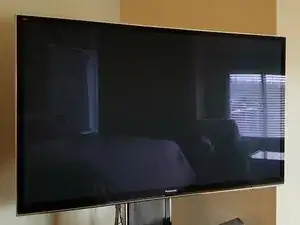
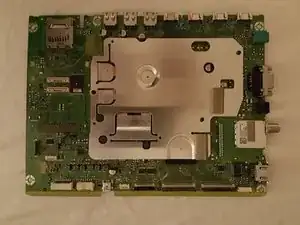
This guide walks through the processes of replacing the board that processes the HDMI inputs on a 2012 Panasonic Viera Plasma TV (55 inch model). If you have ever added memory or swapped a hard drive on a computer it should be similar.
I could not find a replacement part in stock anywhere online as it is no longer manufactured. However, it is possible to send your broken board away by mail to have it fixed. Mine stopped working after a thunderstorm apparently caused an electrical surge.
If you choose to do this keep in mind that you will be unable to use your TV while waiting for the board to come back. The fee for sending the board away for repair was about $95 and took about two weeks.
Werkzeuge
Ersatzteile
-
-
Remove the TV from the stand and place glass down on a flat, soft, and clean surface where you will have easy access to all four sides of it.
-
-
-
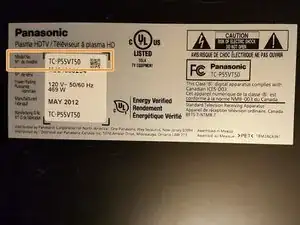
The model number of your TV is located on the back panel.
-
This guide was written specifically for a TC-P55VT50 (55 Inch Panasonic Viera Plasma TV) model year 2012.
-
Other Panasonic Viera's may be similar - but I make no promises!
-
-
-
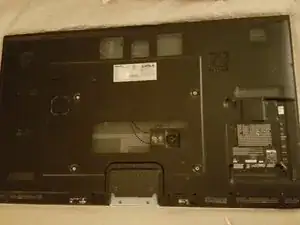
The back of the TV is held in place by many small Phillips head screws. Most of these are around the edges but there are also some by the power input and media inputs. Make sure to keep these screws in a safe place!
-
Per Dave Watson's comment, as you remove all of the screws in the back that at the bottom of the TV, there are two components that you have to unscrew and remove: the WIFI and blue tooth modules. The blue tooth module has a clip at the top that must be pushed down so you can remove it. The WIFI pops right off.
-
-
-
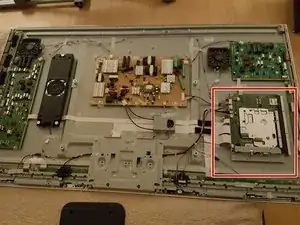
With the back cover removed we can see that everything is spread out. Be careful of the copper coils in the middle as these are part of the TV's power supply.
-
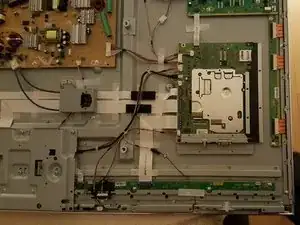
The board we want to replace is located in the lower right - see red box in image.
-
-
-
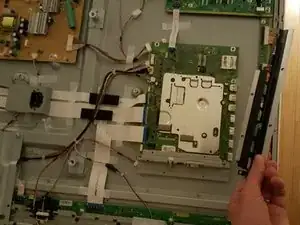
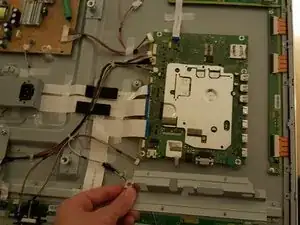
To remove the board, we first need to remove all the various connectors to it. Note that ribbon cables are a little tricky with the connector folding down onto the ribbon.
-
-
-
Remove the first mounting bracket - note that it overlays the bottom bracket, the order that these are removed is important.
-
-
-
Note that there is a small amount of soft silicone under the board so you may have to wiggle it lose.
-
-
-
Now that you have liberated the HDMI input board you can send it away for repairs.
-
While you have the cover off your TV - consider cleaning the two fans as mine were dusty and starting to make some noise.
-
To reassemble your device, follow these instructions in reverse order.
16 Kommentare
How did you know that board was the faulty part? Thanks
The built in apps still worked, as did the component input. Only the HDMI inputs did not work. Plus, some googling revealed it is sensitive to power surges and we had a storm before it stopped working.
Out of curiosity, where did you mail it for repair?
PTS Electronics, Inc.
http://www.ptselectronicsinc.com/
No issues, mailed the board in, waited, got it back and it worked. Never had to email or call anyone. It was $95 at the time.
These instructions make me feel confident that I can do it. Great job thanks

My husband says that a plasma TV cannot be placed face down, that it must always stay upright or the TV will be damaged. My Viera owner’s manual seems to say the same.
jyo_923 -